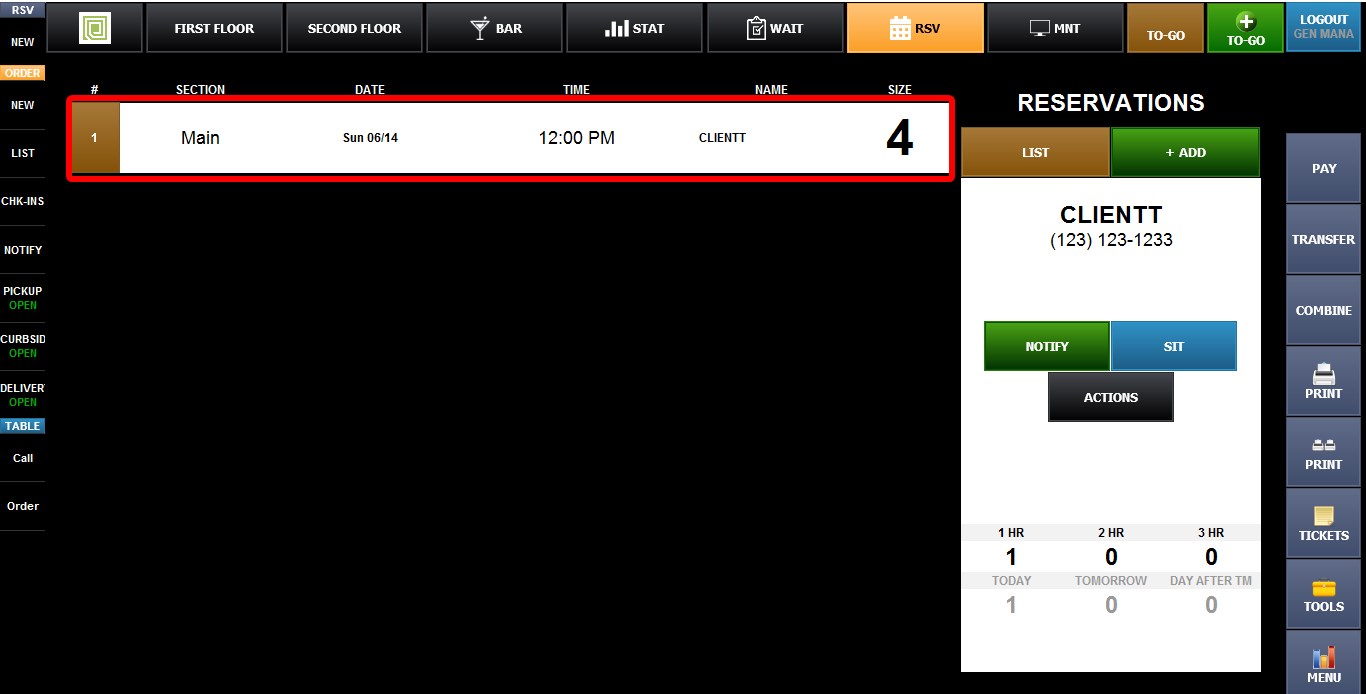
Adding a Reservation
Reservations allow guests to book a table in advance for a specific date and time. This helps staff manage table availability and prepare for arriving parties.
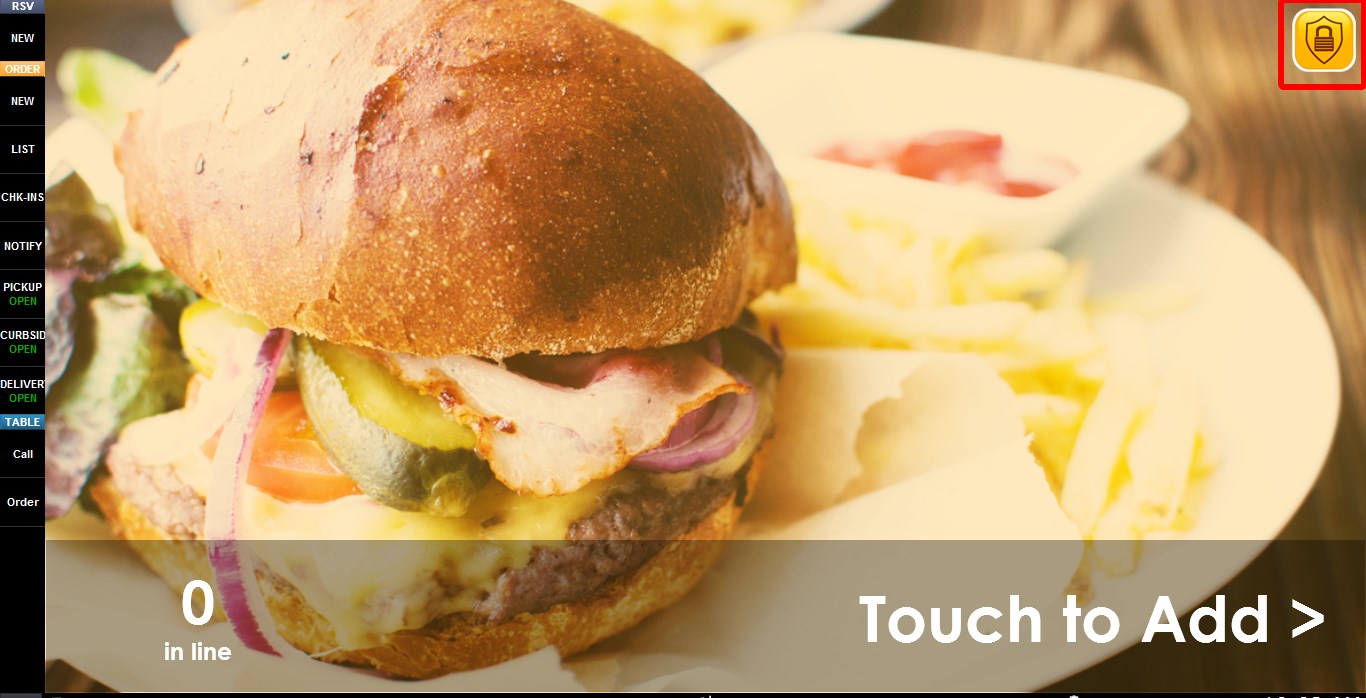
MAIN SCREEN> LOCK ICON> RESERVATION BUTTON.
Refer to the Host Mode KB for instructions on entering Host Mode.
Click the LOCK icon to to access the Table Map.
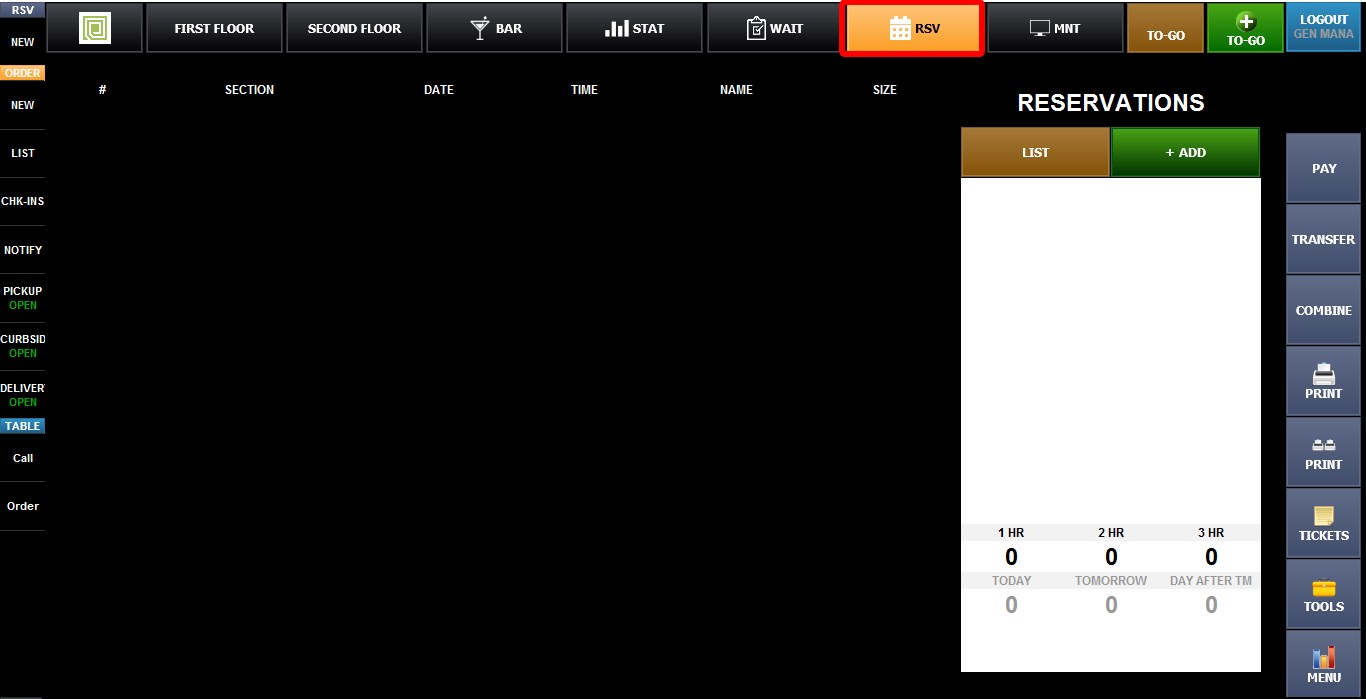
Click RSV (Reservation).
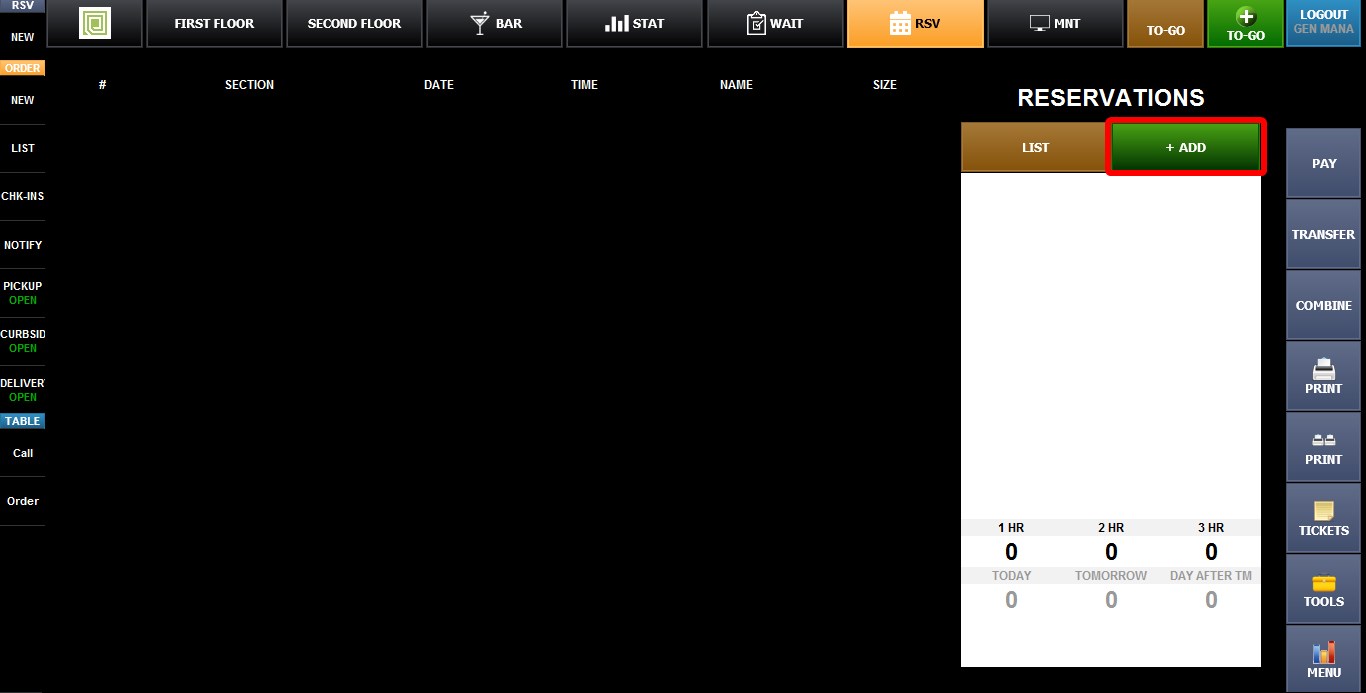
Click +ADD button. The Reservation screen will open.
Complete the reservation information.
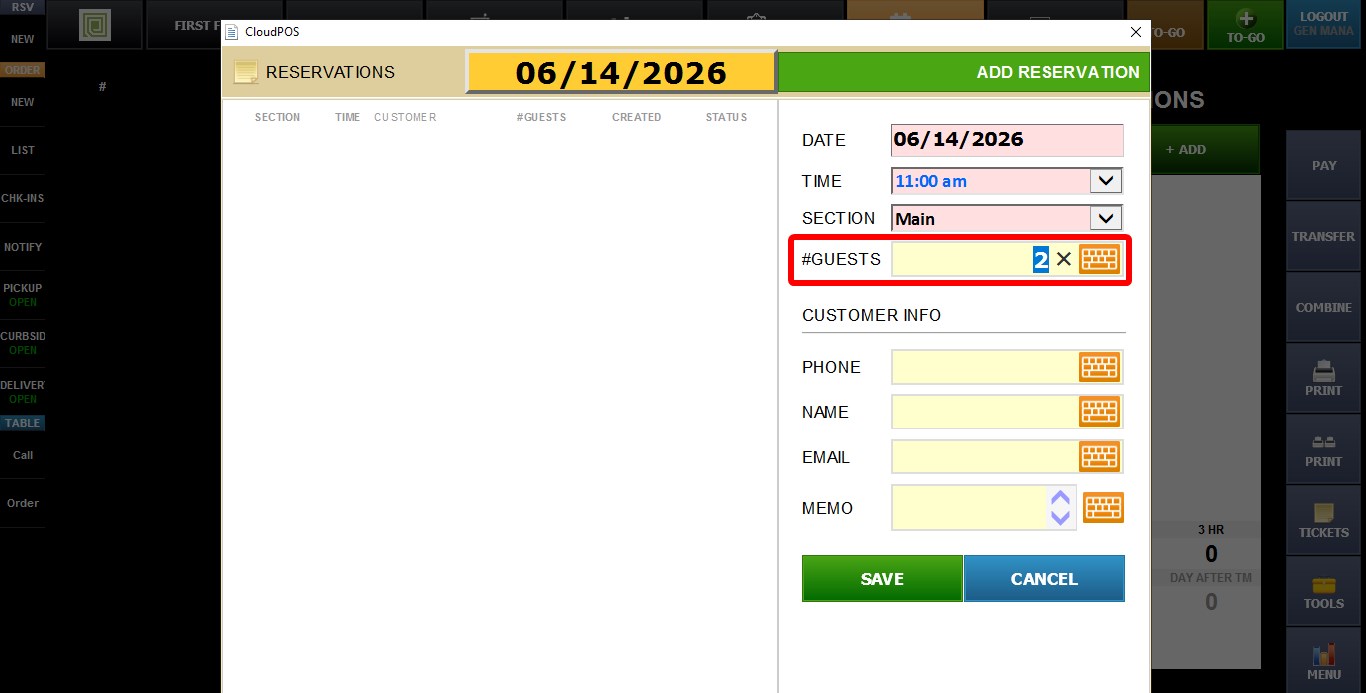
RESERVATION DETAILS.
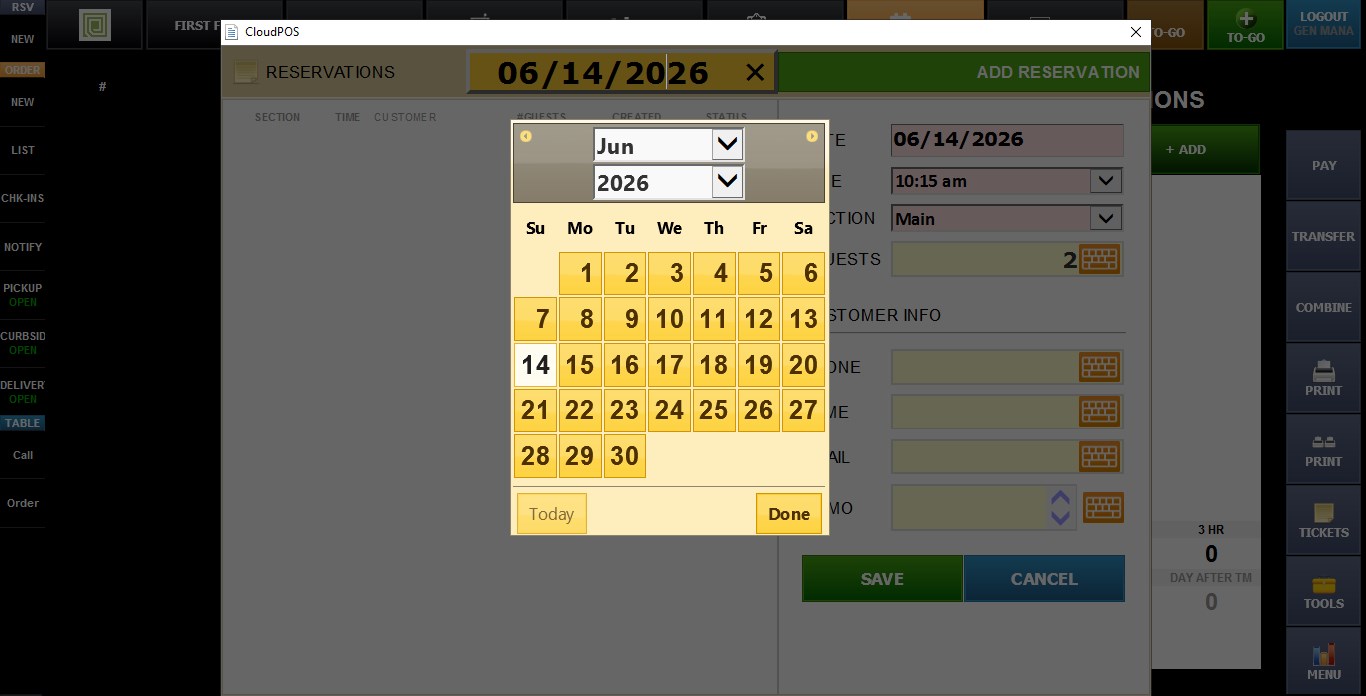
1. DATE: Click to open the calendar and select the reservation date.
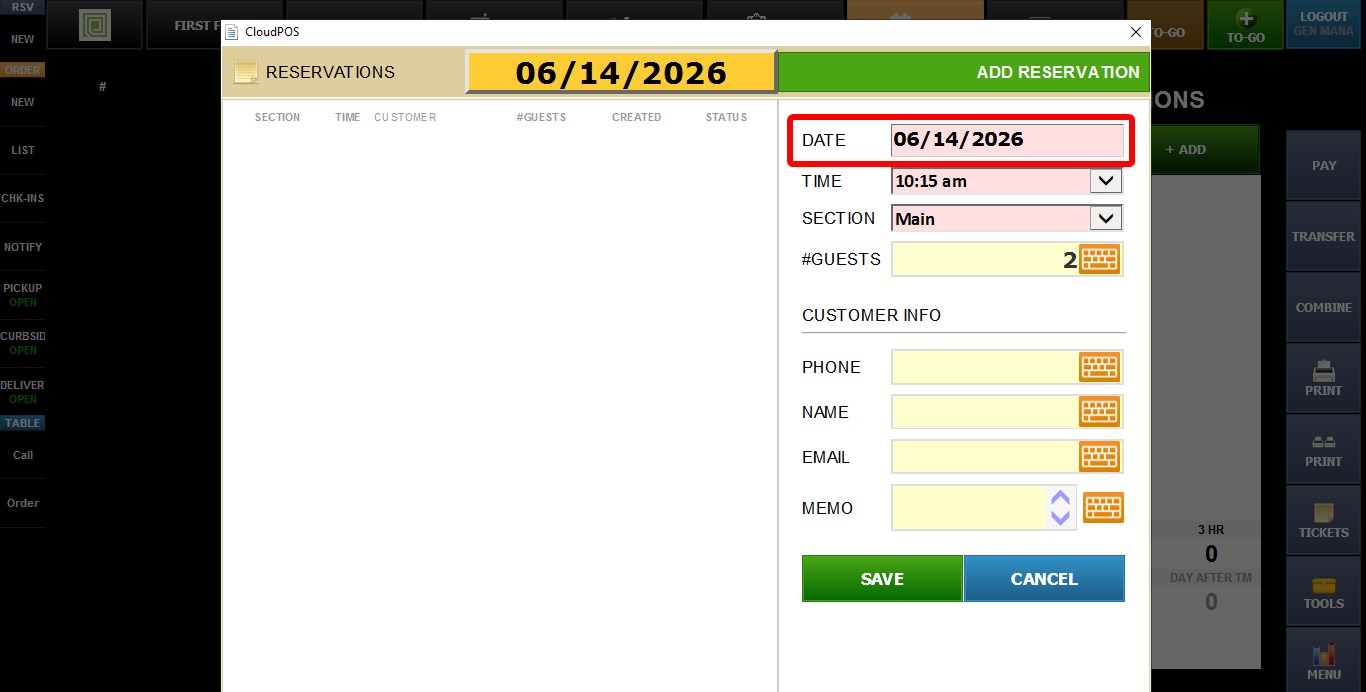
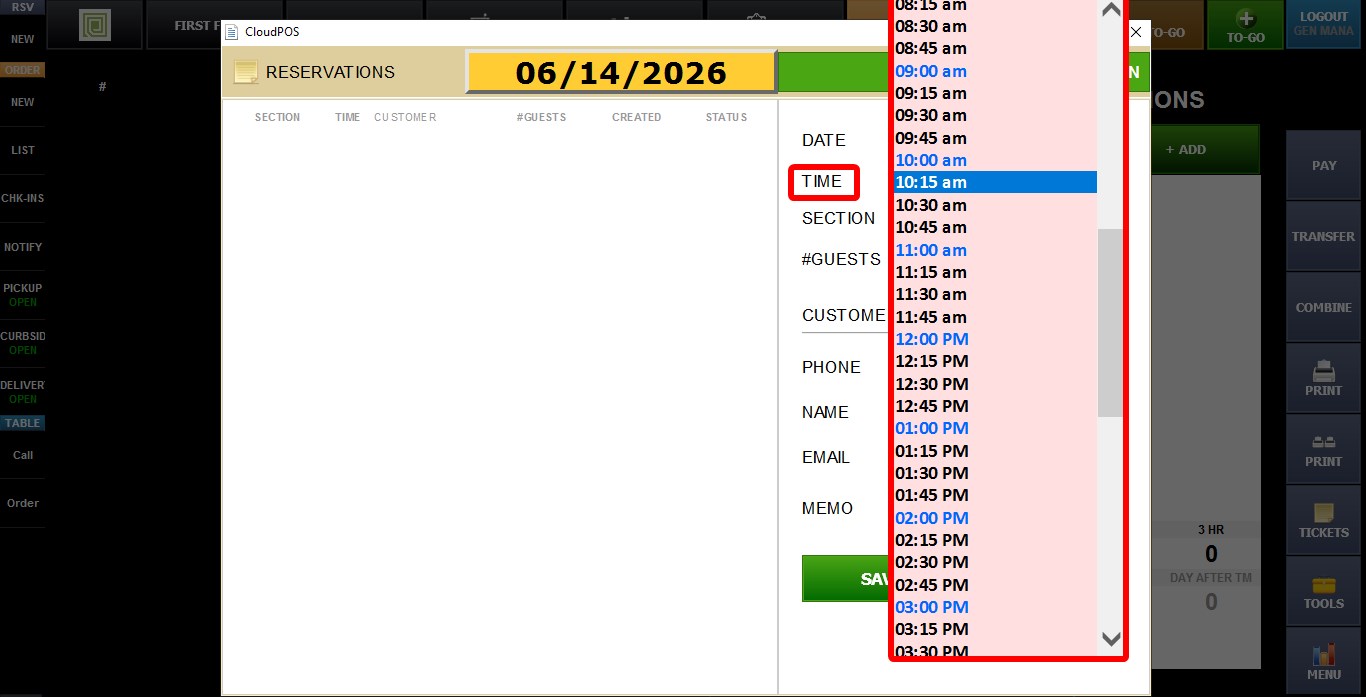
2. TIME: Select the reservation time. Available times are displayed in 15-minute increments.
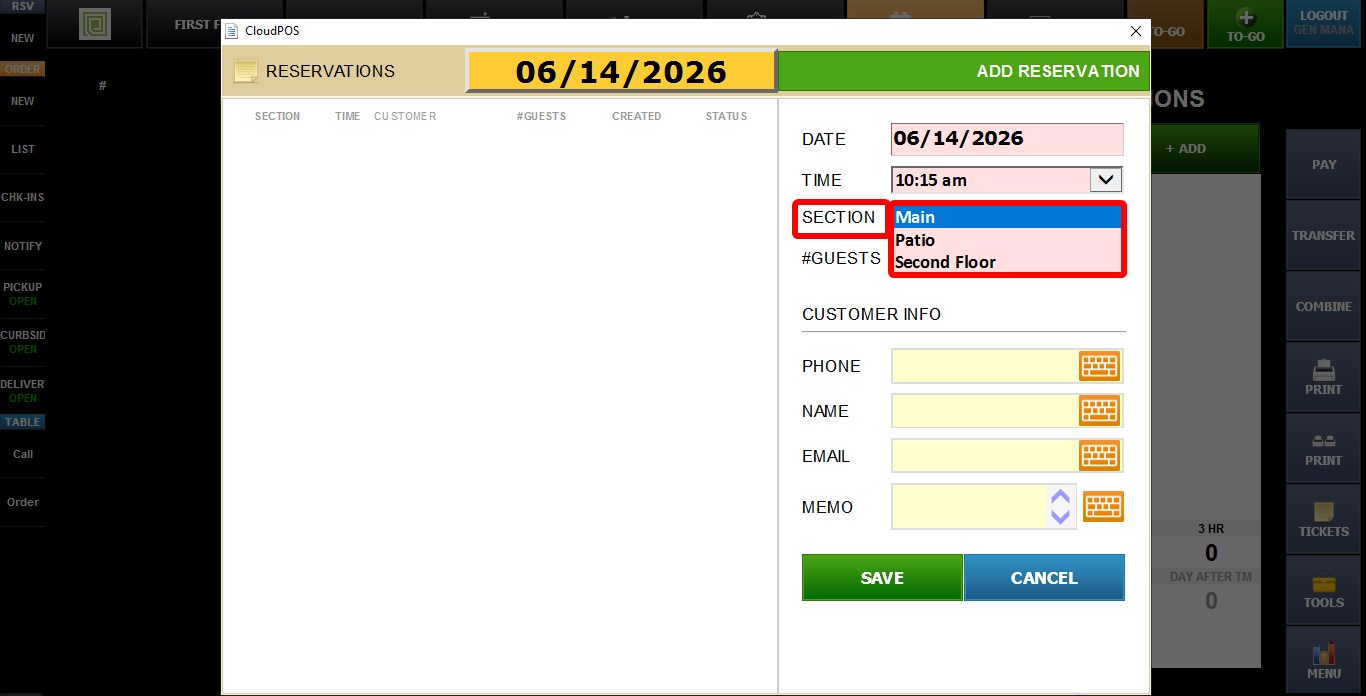
3. SECTION: Select the preferred seating section for the reservation.
4. GUESTS: Enter the number of guests included in the reservation.
CUSTOMER INFO
1. PHONE: Enter the customer's phone number.
2. EMAIL: Enter the customer's email address.
3. MEMO: Enter optional notes related to the reservation.
4. NAME: Enter the customer's name.
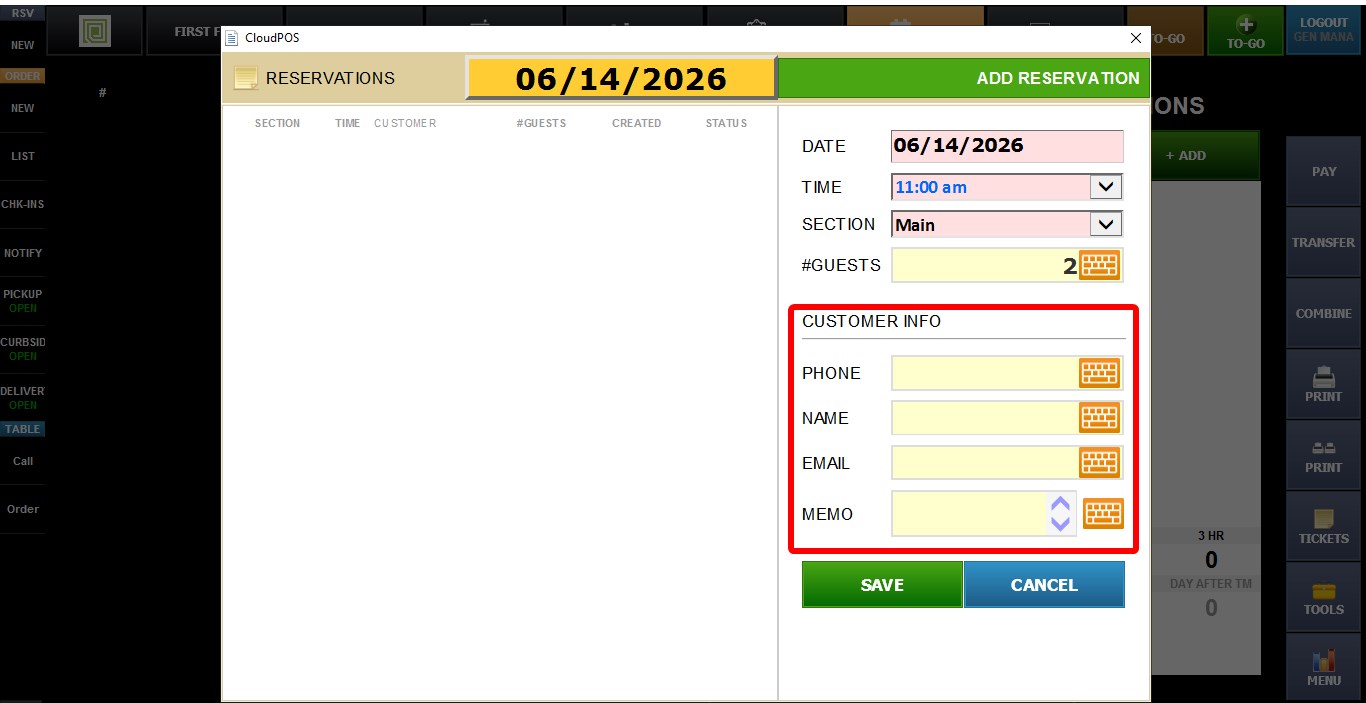
Hint: Only NAME and PHONE are required to create a reservation. EMAIL and MEMO are optional.
After entering the required information, click SAVE.
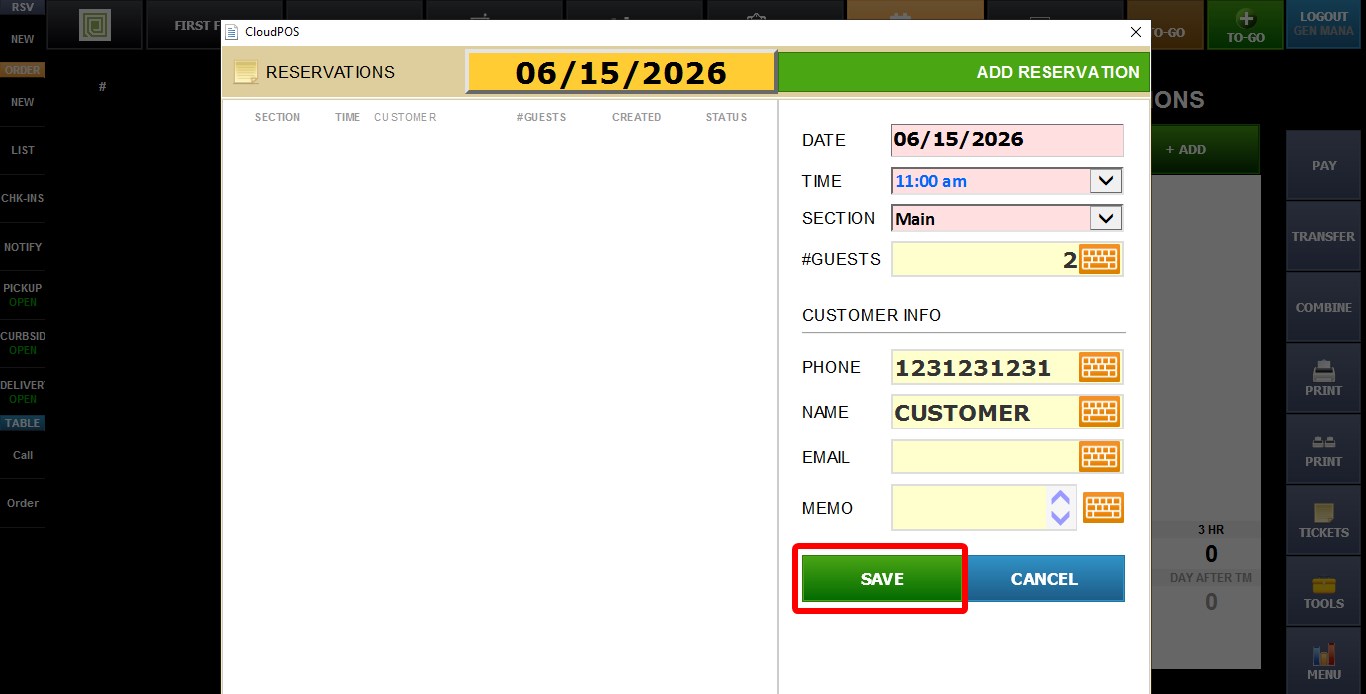
Result:
The reservation will be added to the reservation list and will be available on the selected date and time. For information on editing, updating, or managing reservations, refer to the Managing Reservation KB.