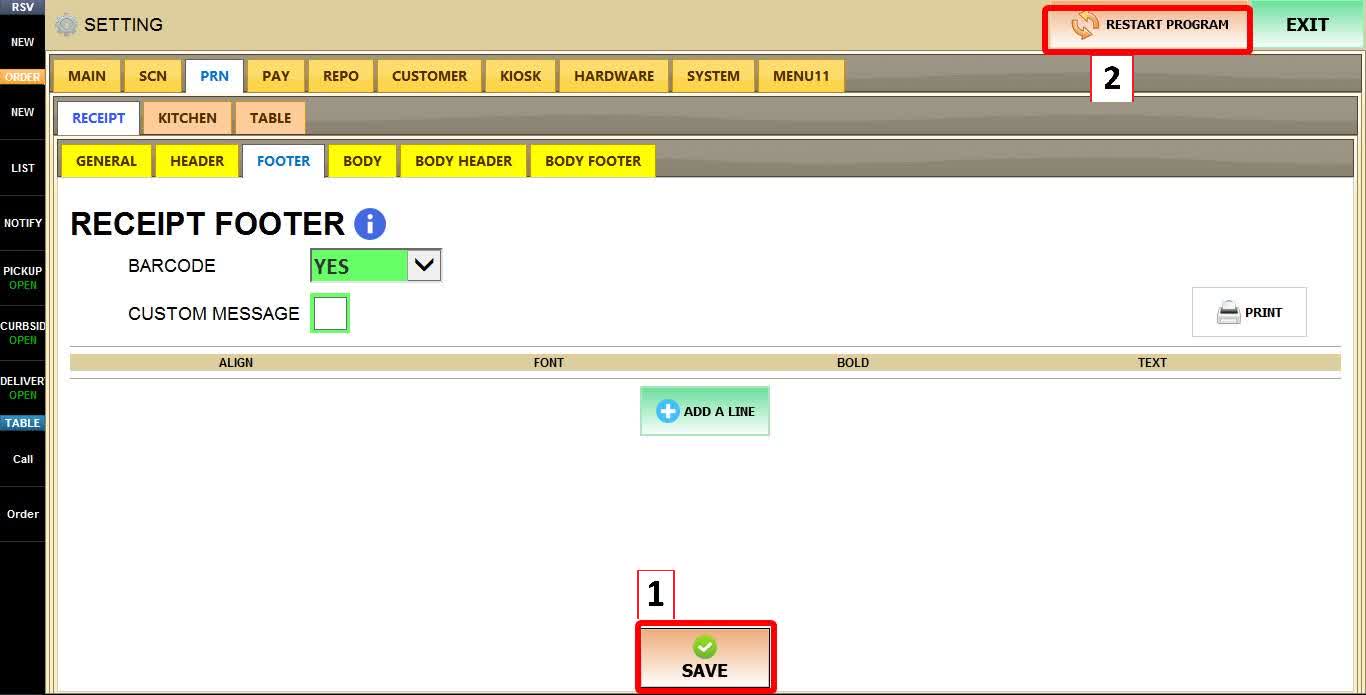
Footer
These settings control the information printed at the bottom of customer receipts. You can choose to print a barcode or QR code, add custom footer messages, and customize the appearance and layout of the footer text.
MENU > SETTINGS > PRINT > RECEIPT > FOOTER
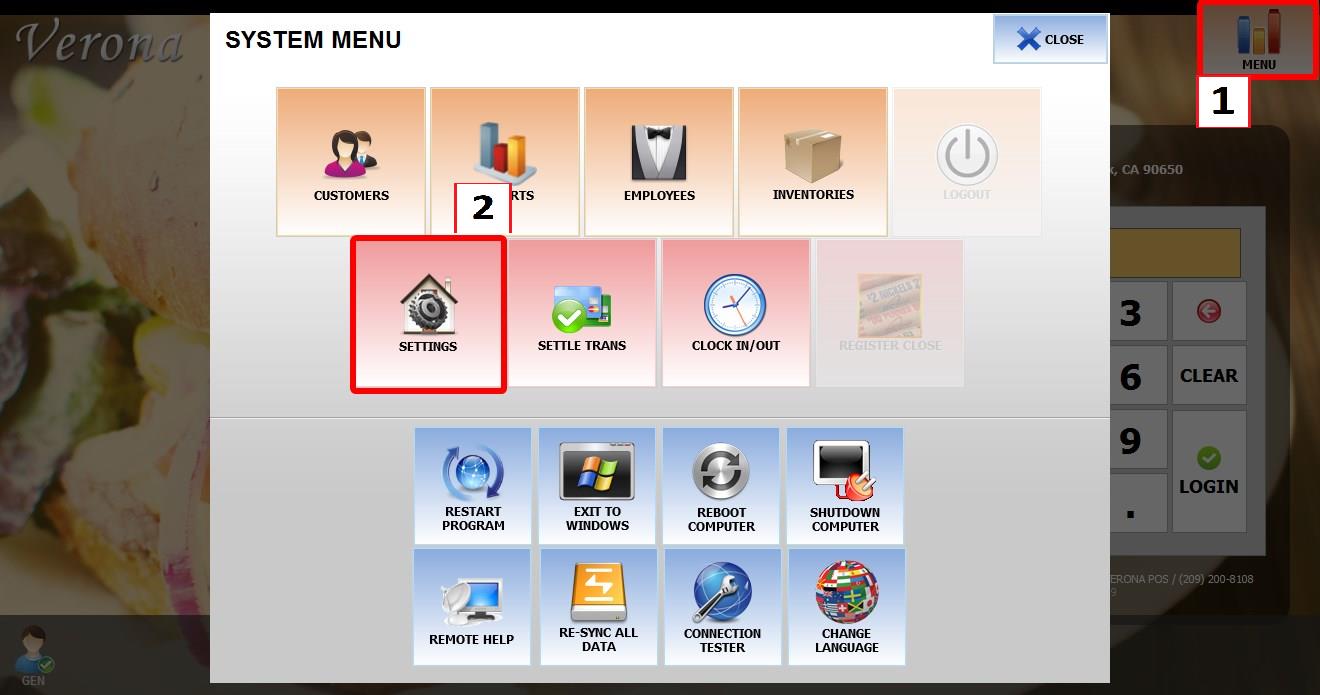
From the MAIN SCREEN, click MENU, then select SETTINGS.
Open the PRINT tab, then RECEIPT, then select FOOTER.
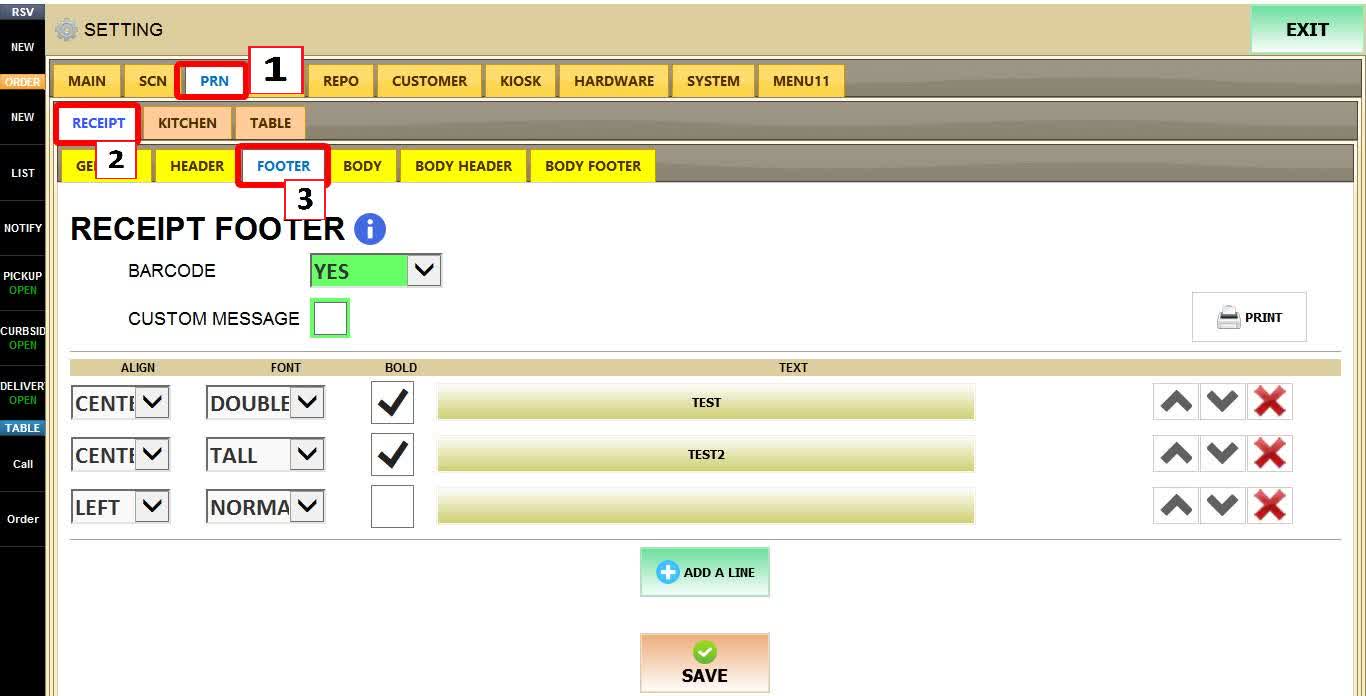
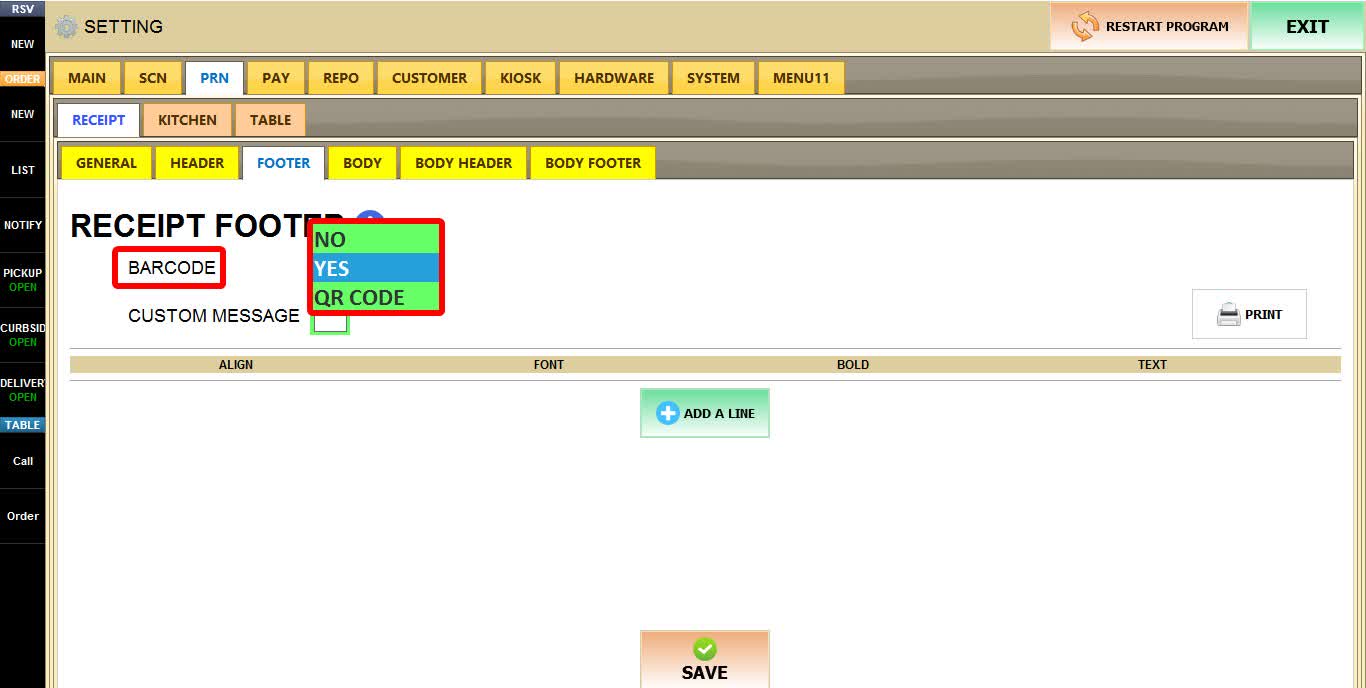
BARCODE
Determines what is printed at the bottom of the receipt.
1. NO: Does not print a barcode or QR code.
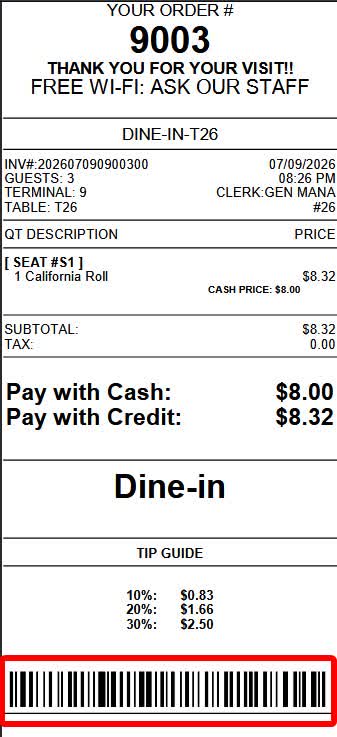
2. YES: Prints a barcode that can be scanned by the POS to retrieve the transaction.
RESULT
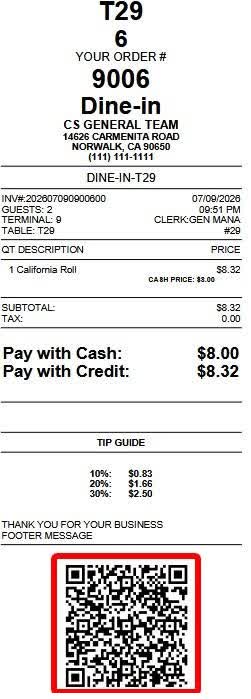
3. QR CODE: Prints a QR code that customers can scan with their smartphone to pay.
RESULT
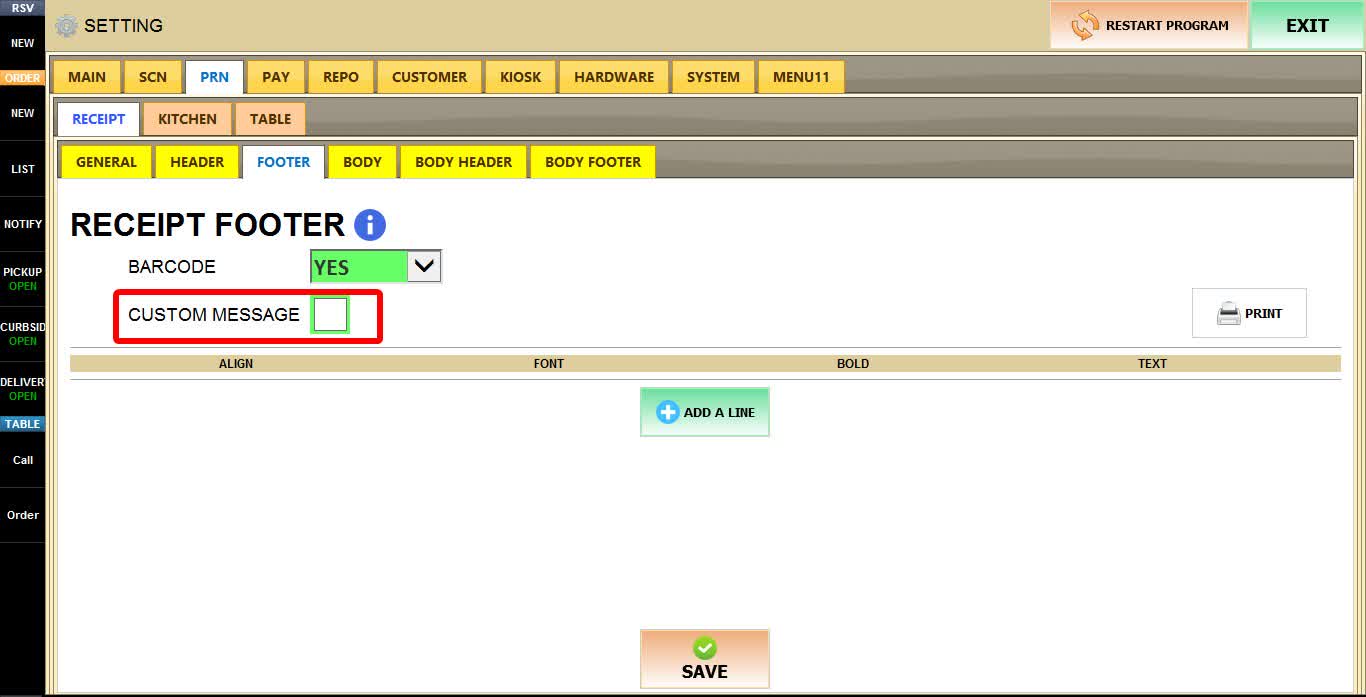
CUSTOM MESSAGE
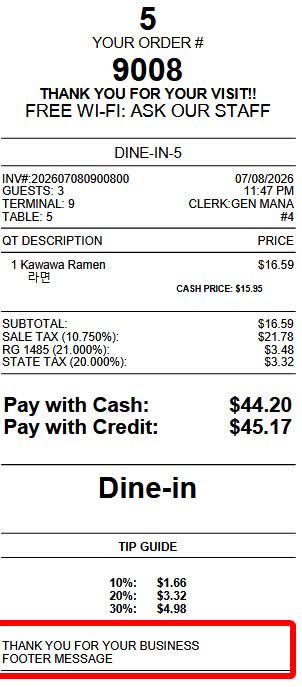
Enables or disables the printing of custom footer text that you can create below with the ADD A LINE button.
RESULT
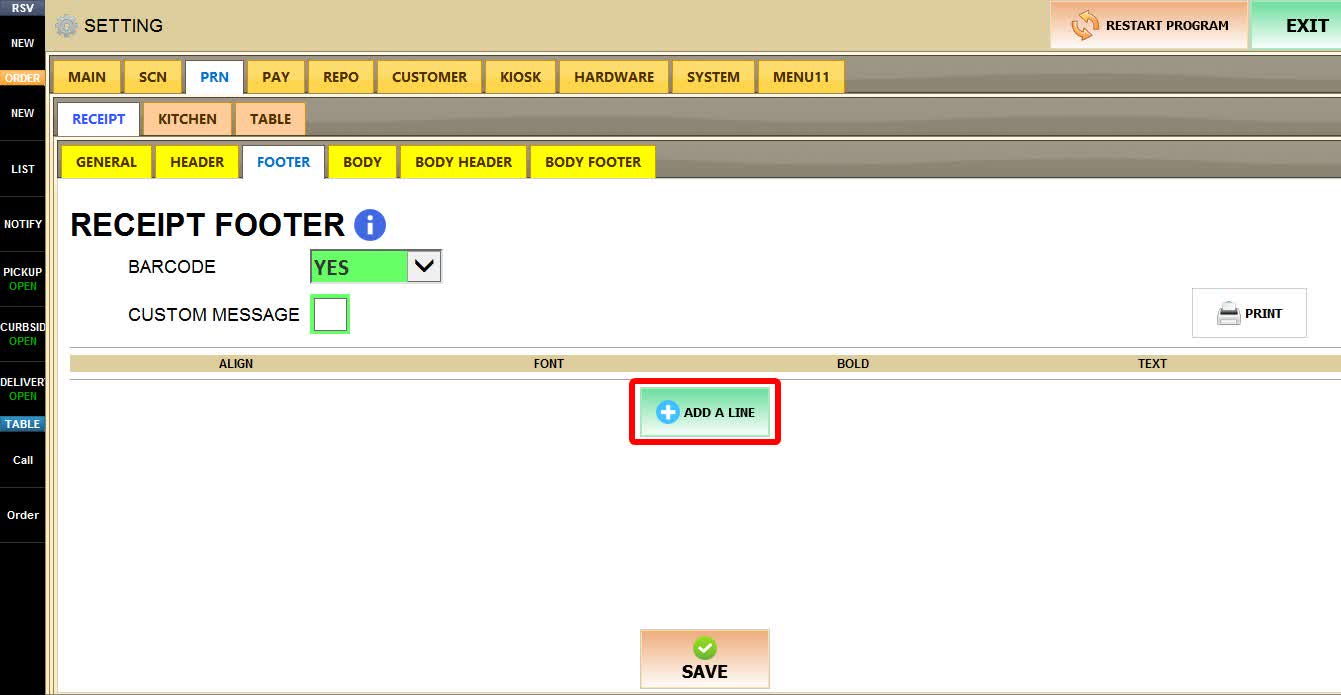
ADD A LINE
You can create one or several lines of texts for the footer with this button.
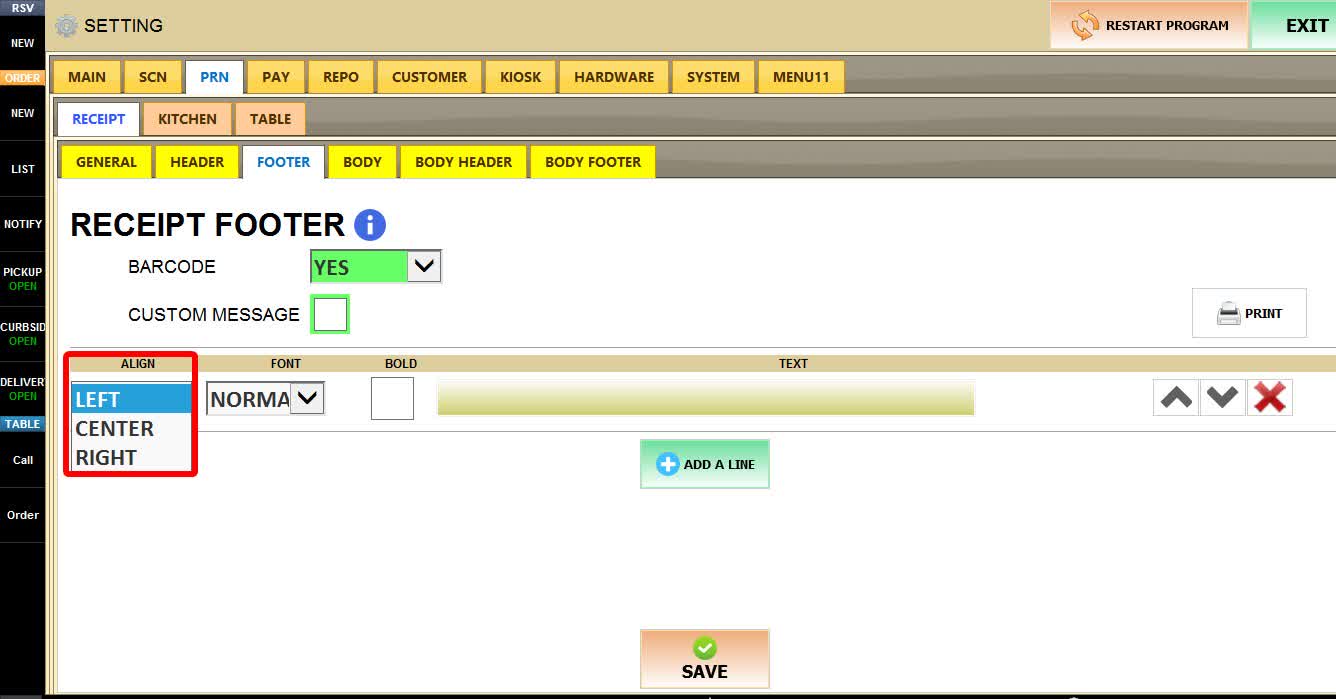
ALIGN
Determines the alignment of the selected footer line.
1. LEFT: Aligns the text to the left.
2. CENTER: Centers the text.
3. RIGHT: Aligns the text to the right.
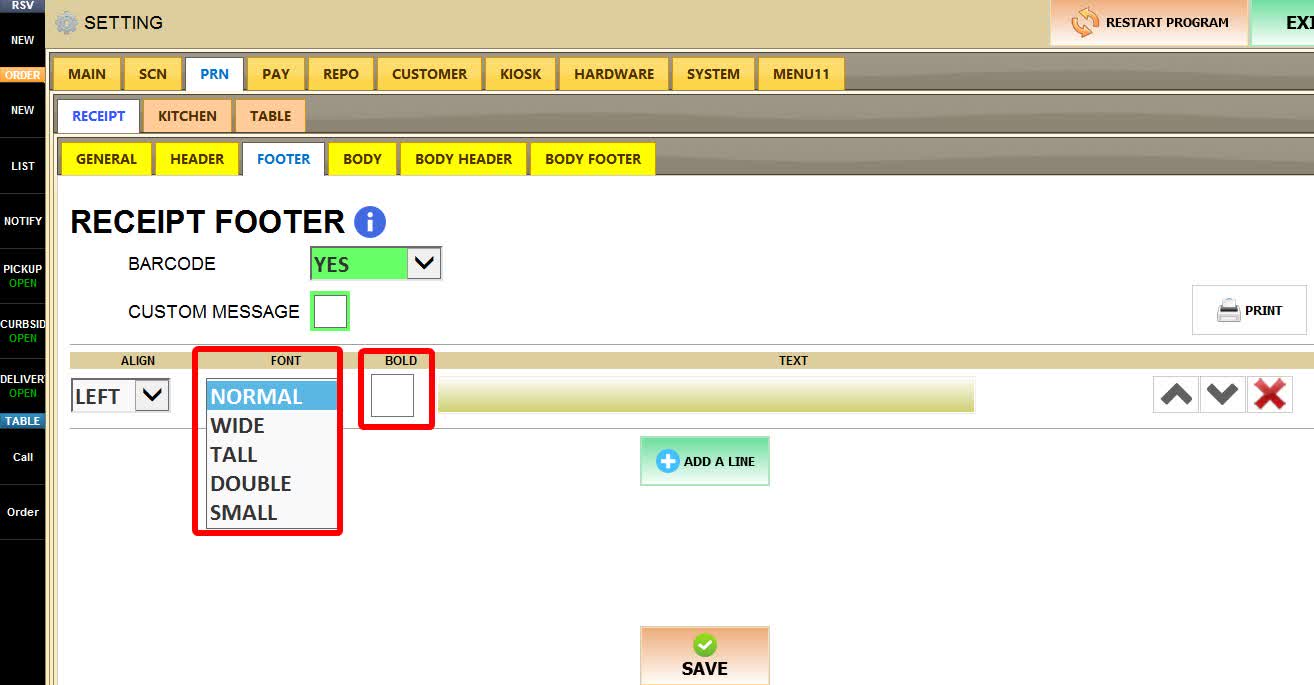
FONT
Determines the font style used for the selected footer line.
BOLD
Prints the selected footer line using bold text.
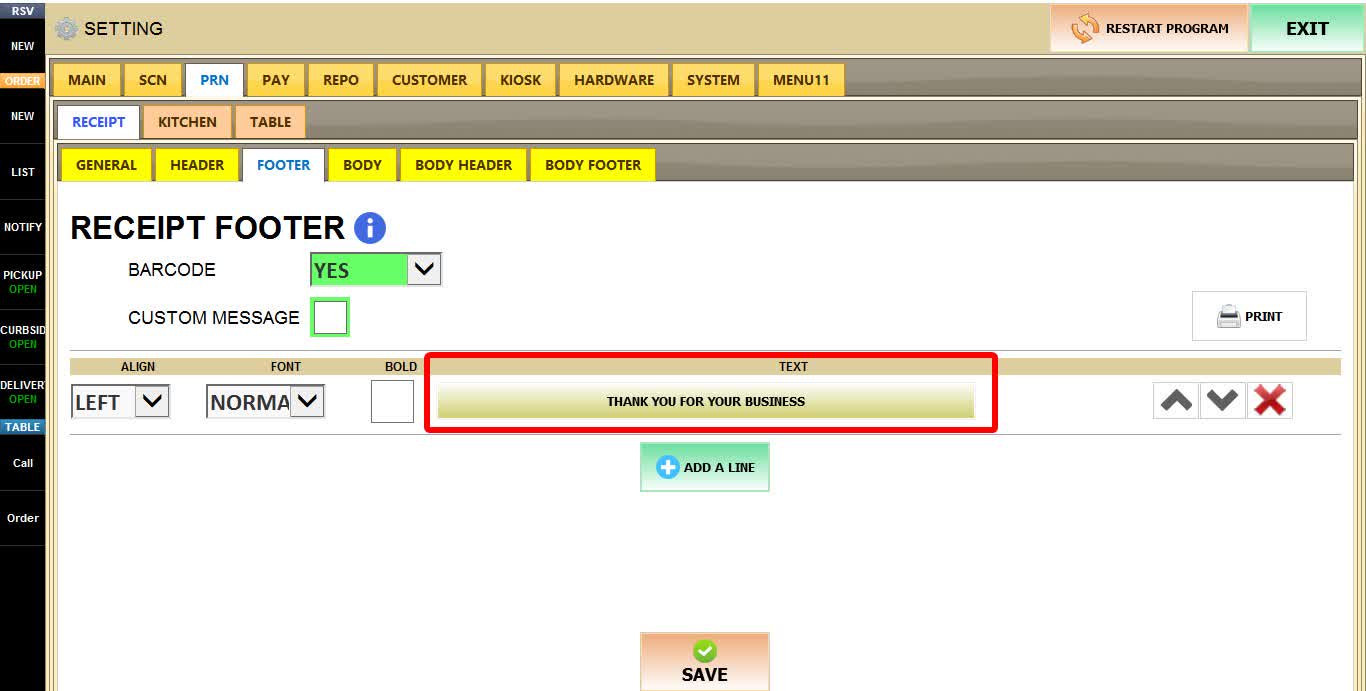
TEXT
Enter the text you want to print in the receipt footer.
UP / DOWN
Moves the selected footer line up or down when multiple custom lines are configured.
DELETE
Deletes the selected footer line.
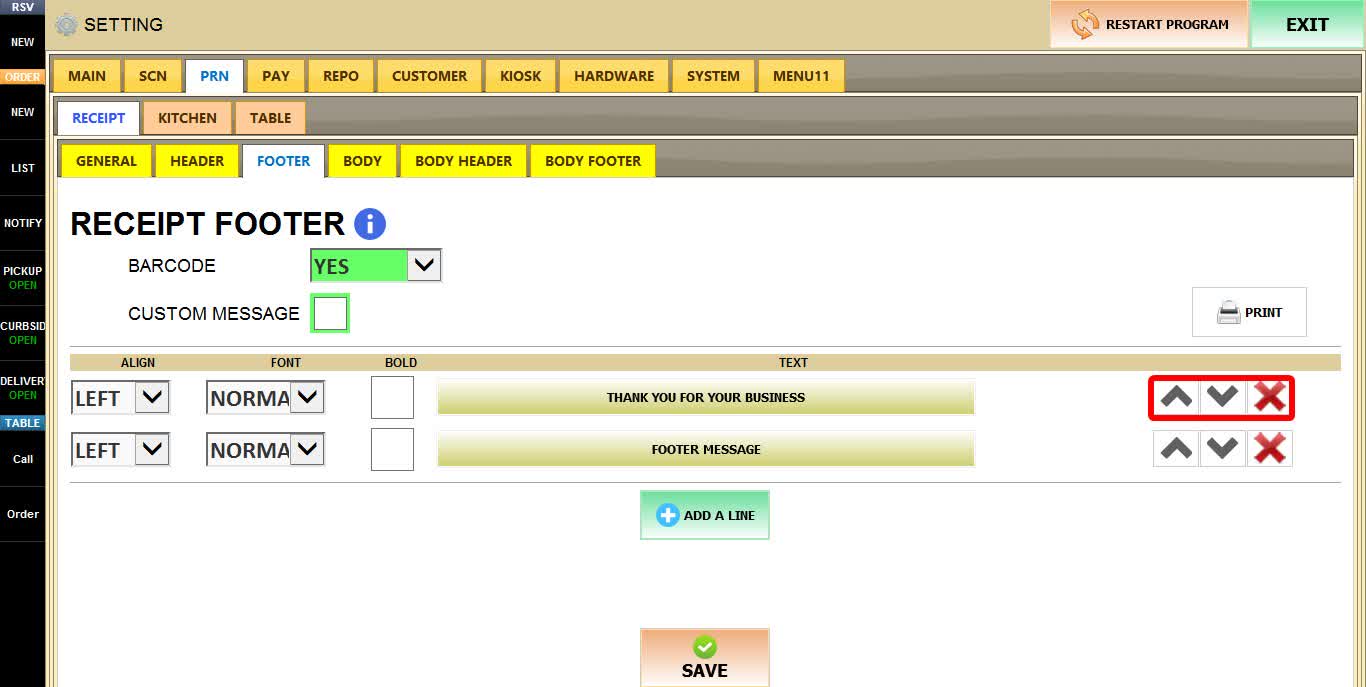
After you are done configuring the settings, click SAVE, then RESTART THE PROGRAM for the changes to take effect.