Header
These settings control the information printed at the top of customer receipts. You can choose between a standard header that displays your store information or create a fully customized receipt header with your own text and formatting.
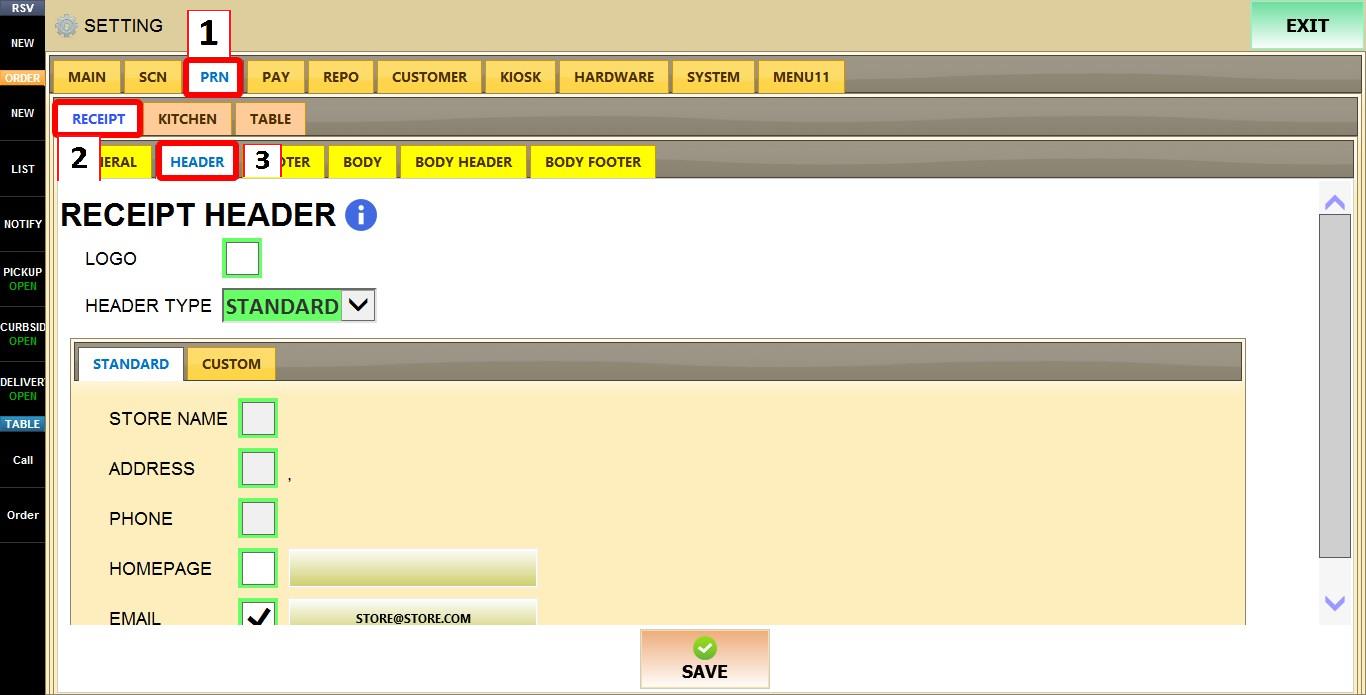
MENU > SETTINGS > PRINT > RECEIPT > HEADER
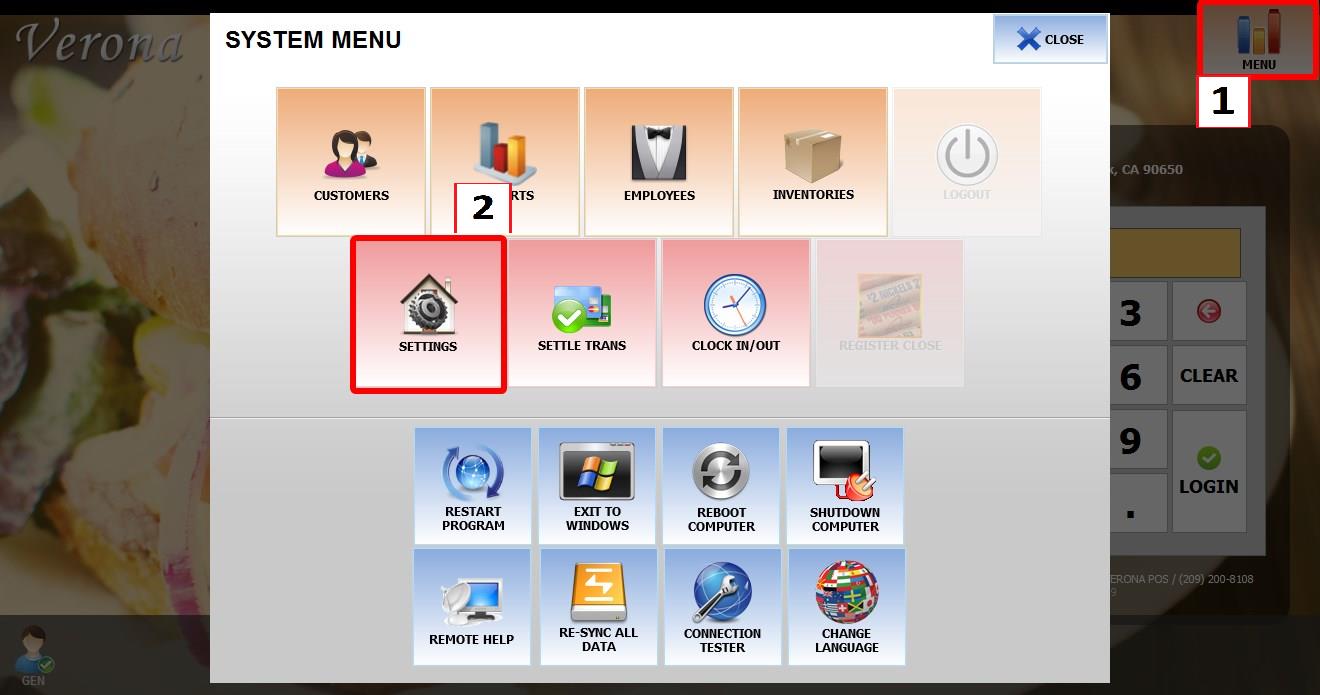
From the MAIN SCREEN, click MENU, then select SETTINGS.
Open the PRINT tab, then RECEIPT, then select HEADER.
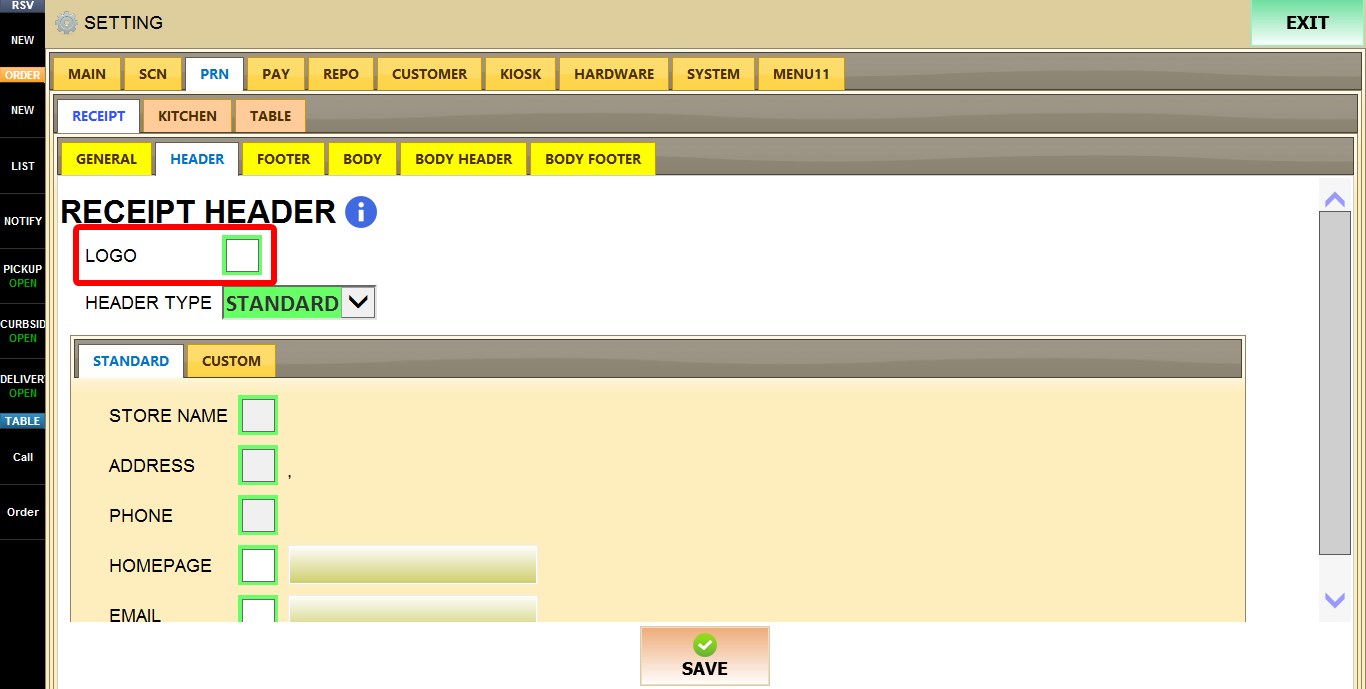
LOGO
Determines whether the receipt printer prints your logo in the receipt.
Hint: Verona does not provide an interface to upload or manage receipt logos. The logo must be uploaded and configured directly in the receipt printer's memory. If you need to upload or configure a logo, contact your receipt printer manufacturer for instructions specific to your printer model.
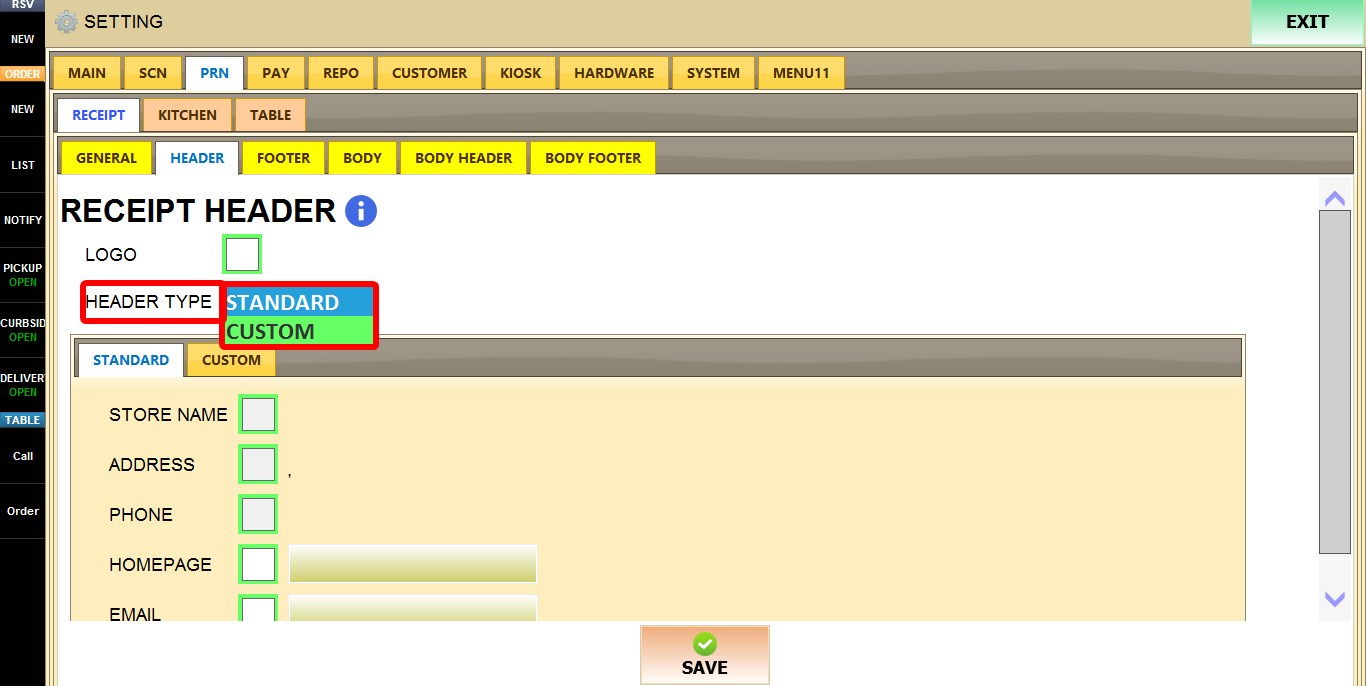
HEADER TYPE
Determines whether receipts use the standard store information or a fully customized header.
1. STANDARD: Uses the predefined store information that can be filled below in the STANDARD tab.
2. CUSTOM: Uses custom text that you configure below manually in the CUSTOM tab.
STANDARD TAB
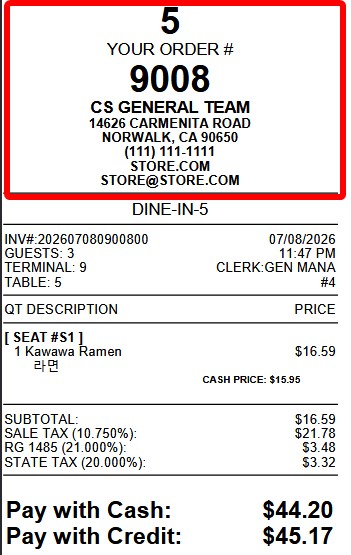
Controls the information printed in the standard receipt header.
STORE NAME
Always prints the store name.
ADDRESS
Always prints the store address.
PHONE
Always prints the store phone number.
HOMEPAGE
Prints the website address entered in the field when enabled.
Prints the email address entered in the field when enabled.
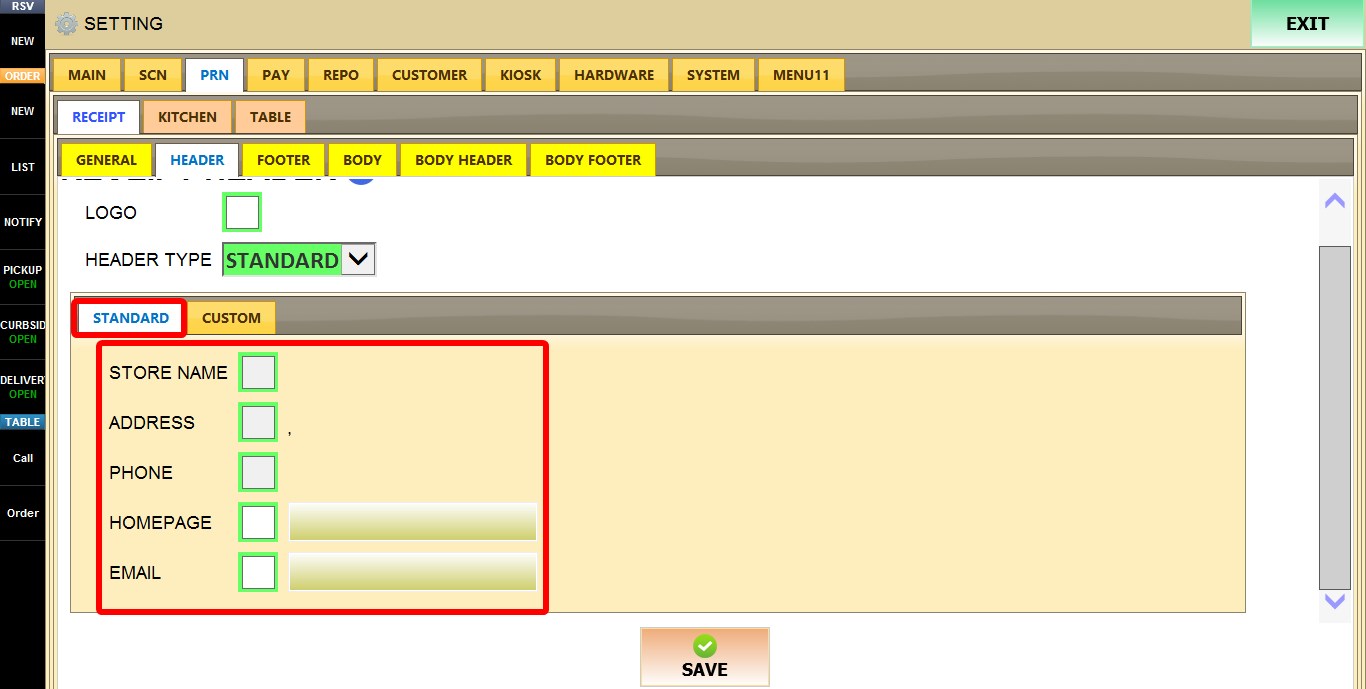
RESULT
CUSTOM TAB
The CUSTOM tab allows you to create a fully customized receipt header by adding and formatting multiple lines of text.
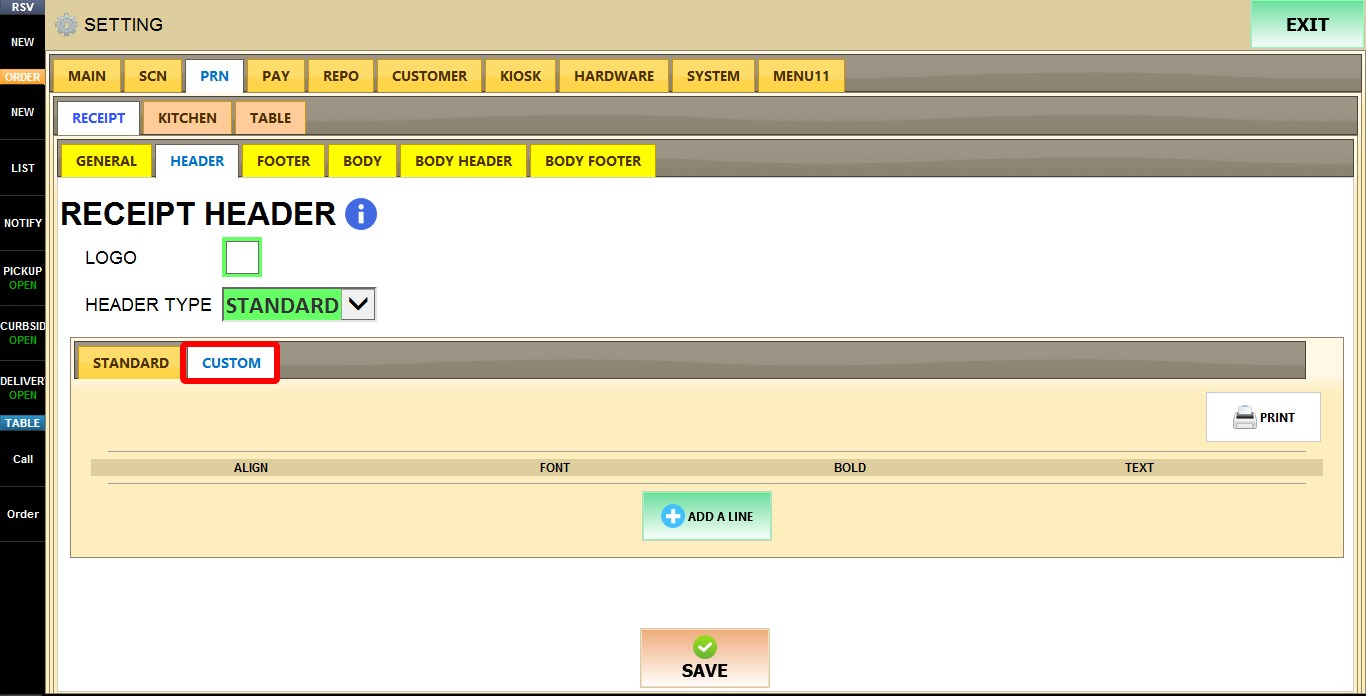
ADD A LINE
First add a new blank line that can be customized and included in the receipt header.
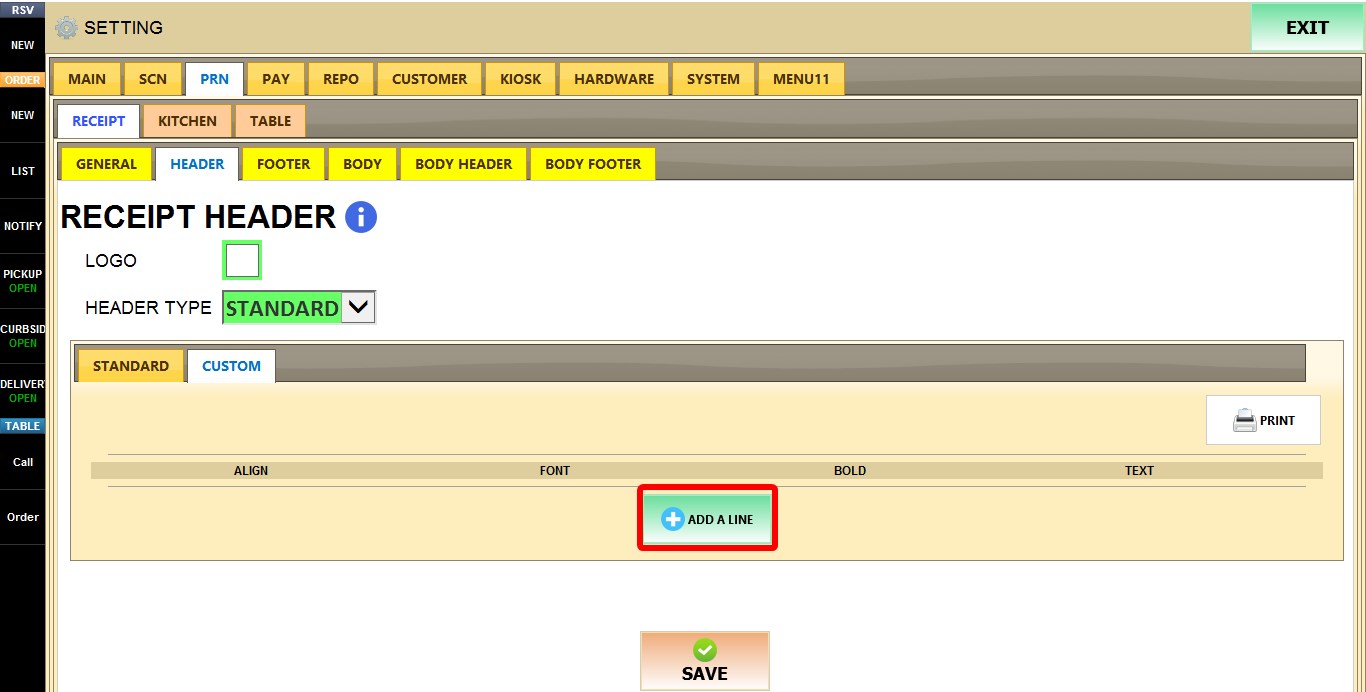
ALIGN
Determines the alignment of the selected line.
1. LEFT: Aligns the text to the left.
2. CENTER: Centers the text.
3. RIGHT: Aligns the text to the right.
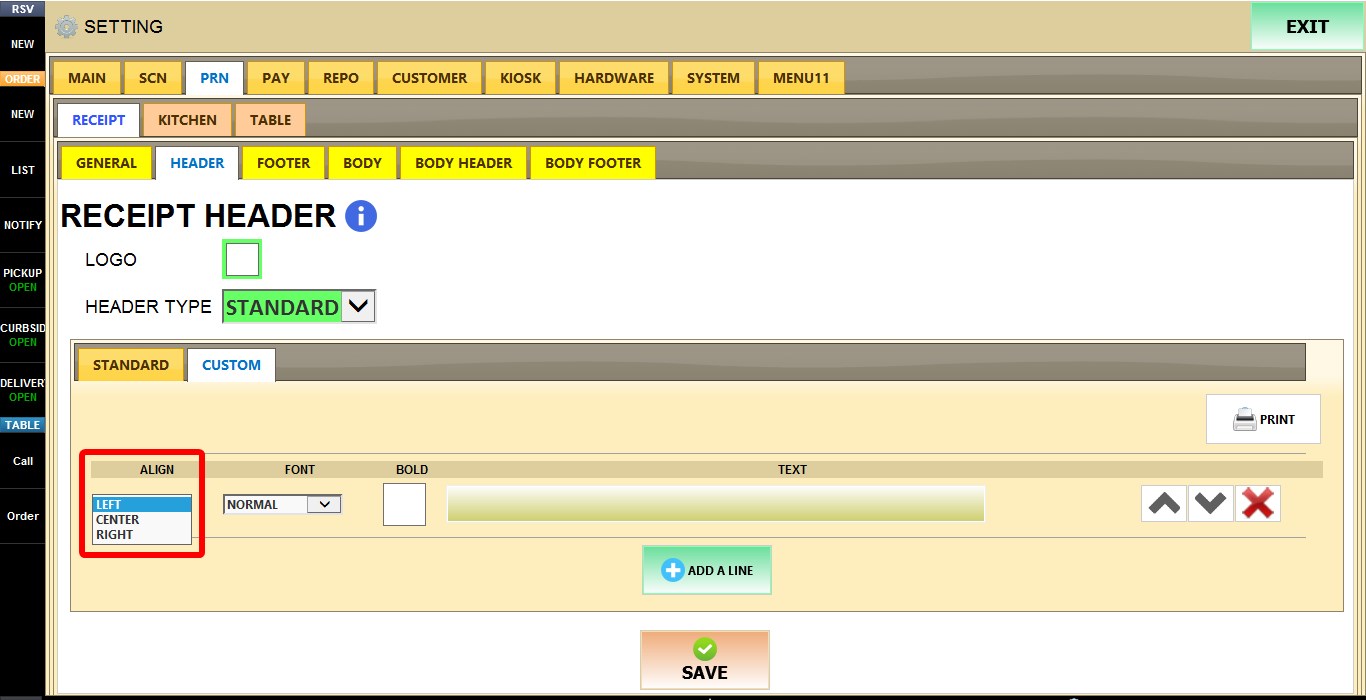
FONT
Determines the font style used for the selected line.
1. NORMAL: Prints using the standard font.
2. WIDE: Prints wider text.
3. TALL: Prints taller text.
4. DOUBLE: Prints both wider and taller text.
5. SMALL: Prints using a smaller font.
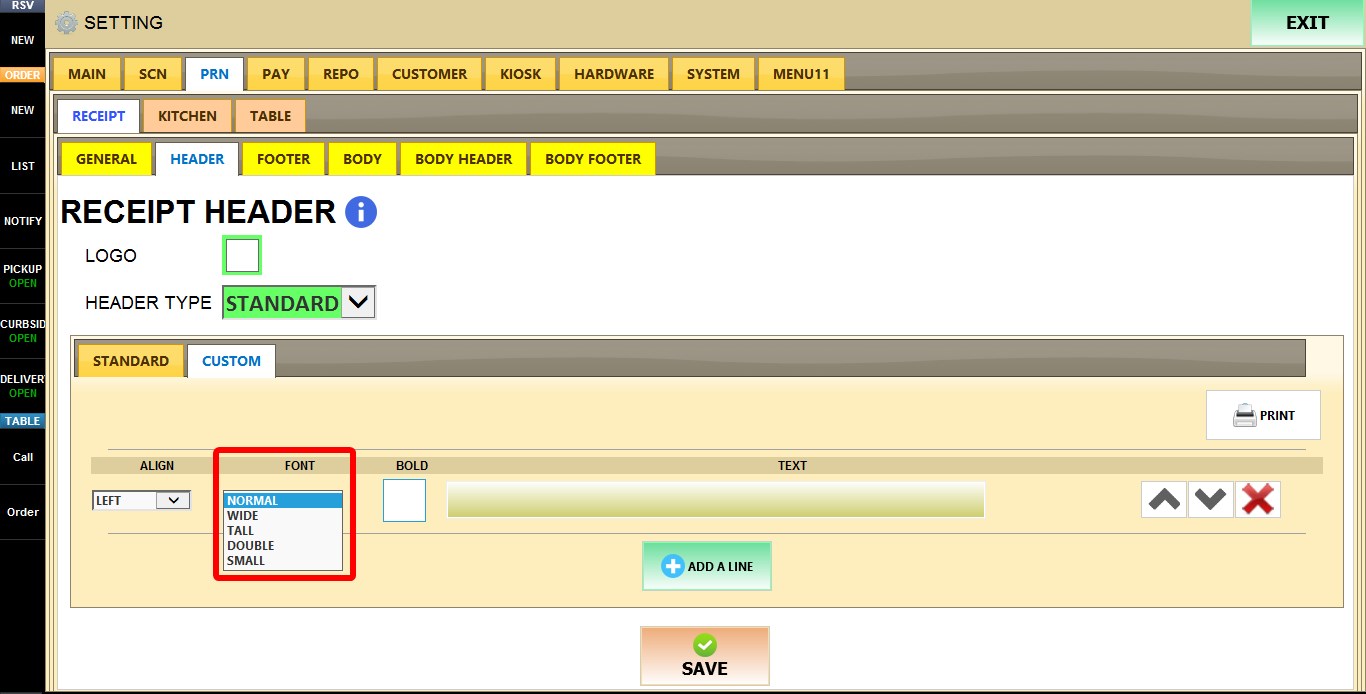
BOLD
Prints the selected line using bold text.
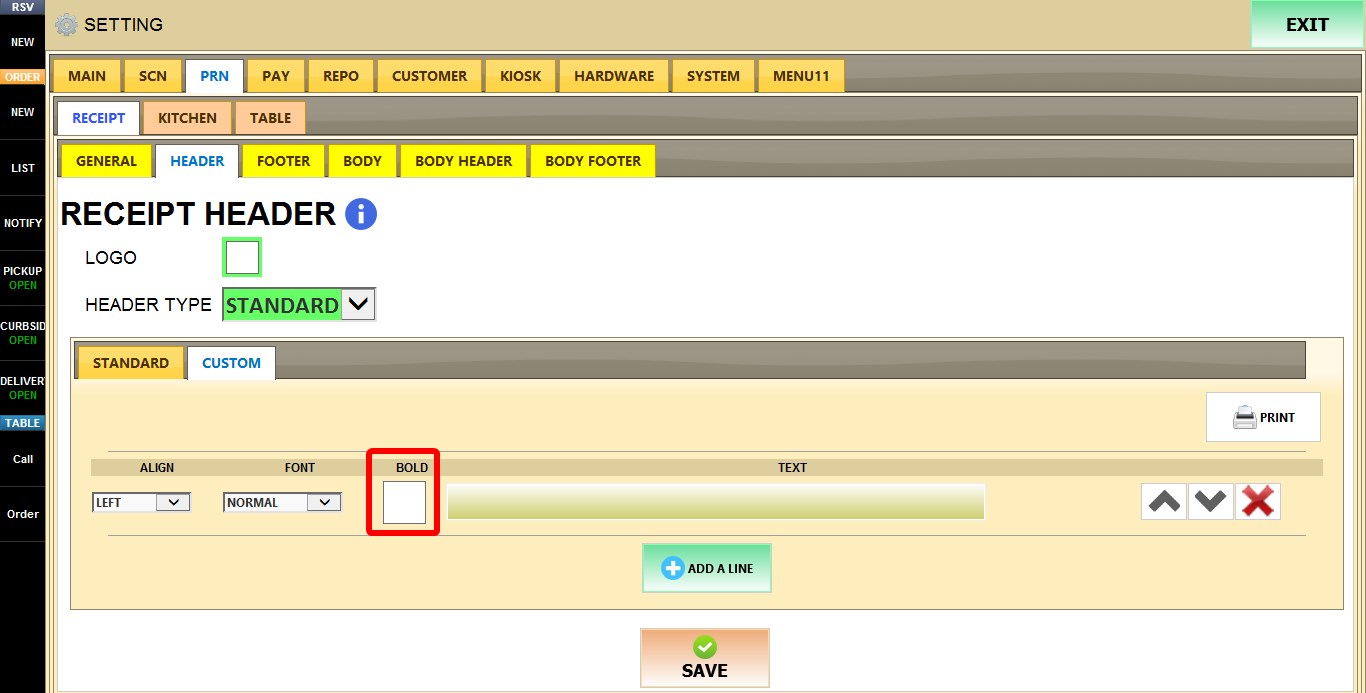
TEXT
Enter the text you want to print on the selected line.
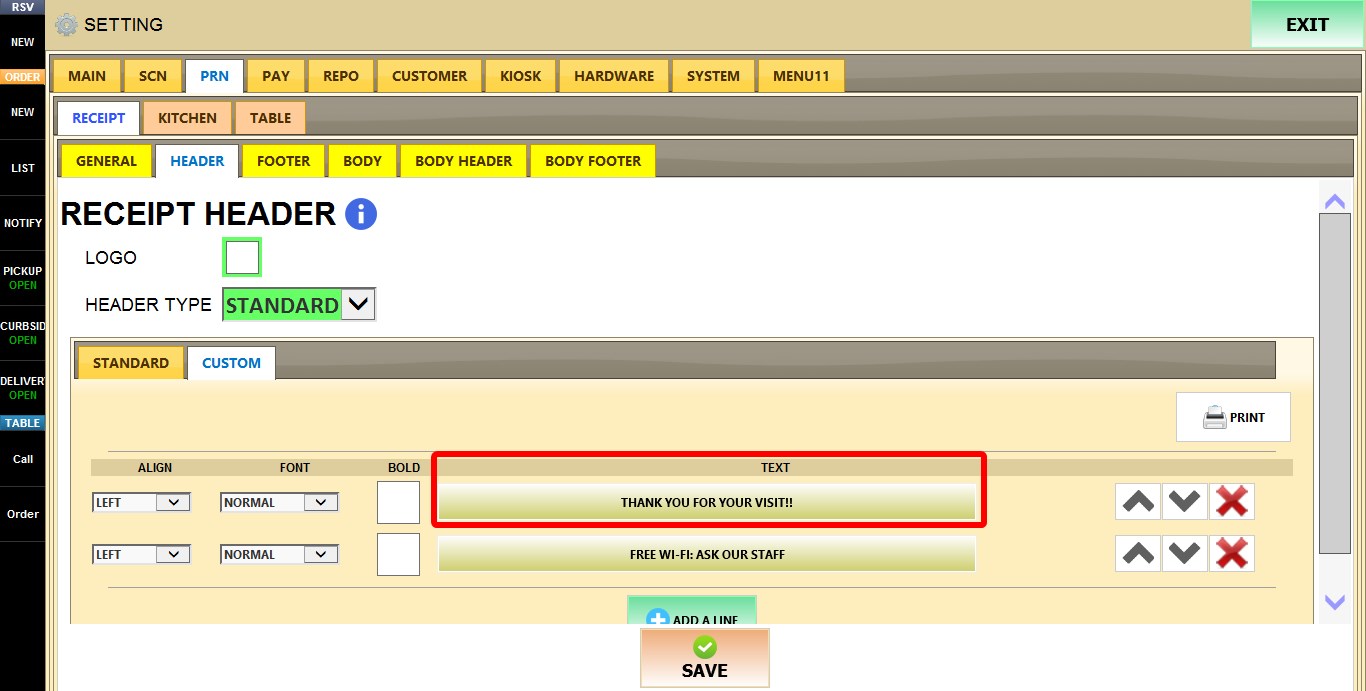
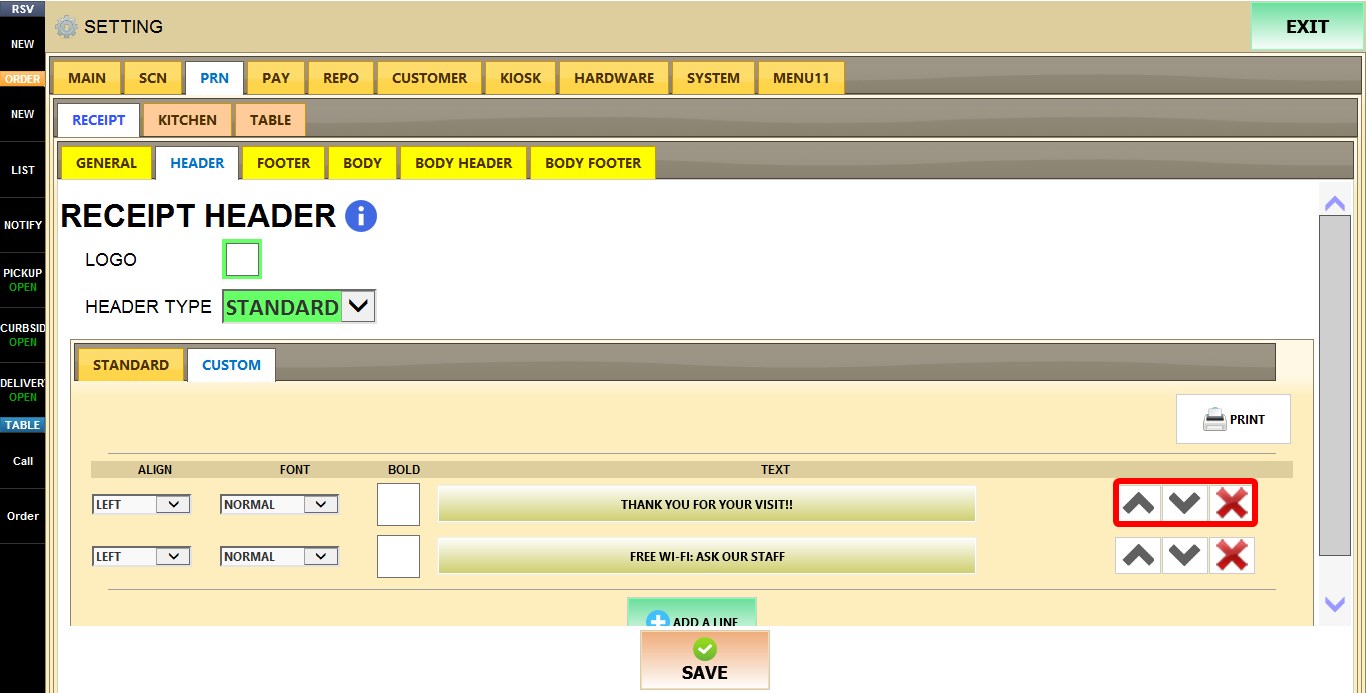
UP / DOWN Arrows
Moves the selected line one position higher or one position lower.
DELETE (X Icon)
Deletes the selected custom header line.
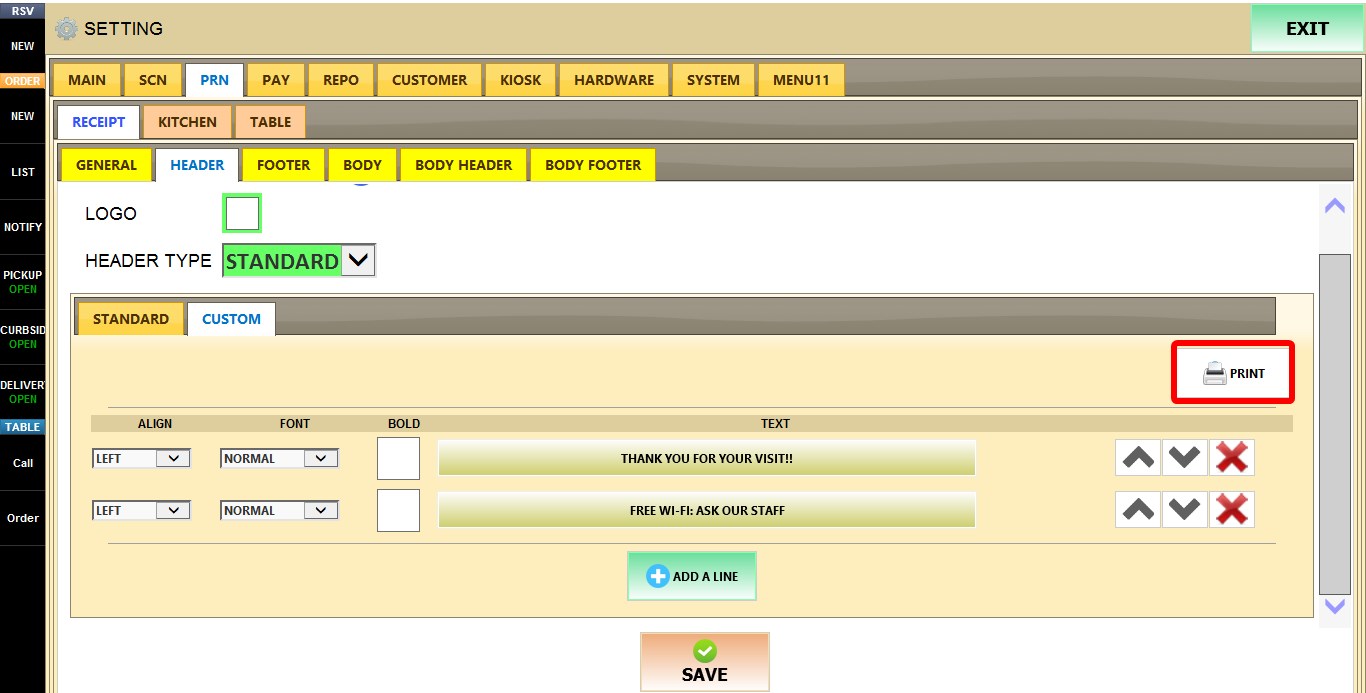
Prints a sample of the current receipt header configuration so you can verify its appearance before using it.
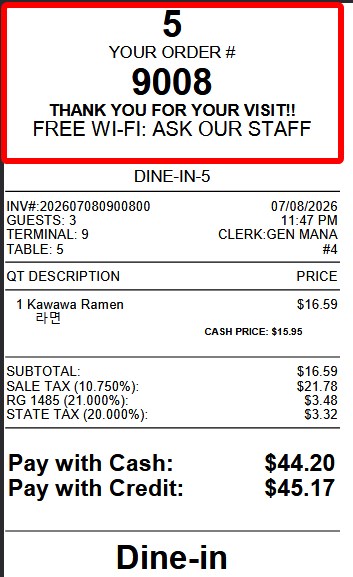
RESULT
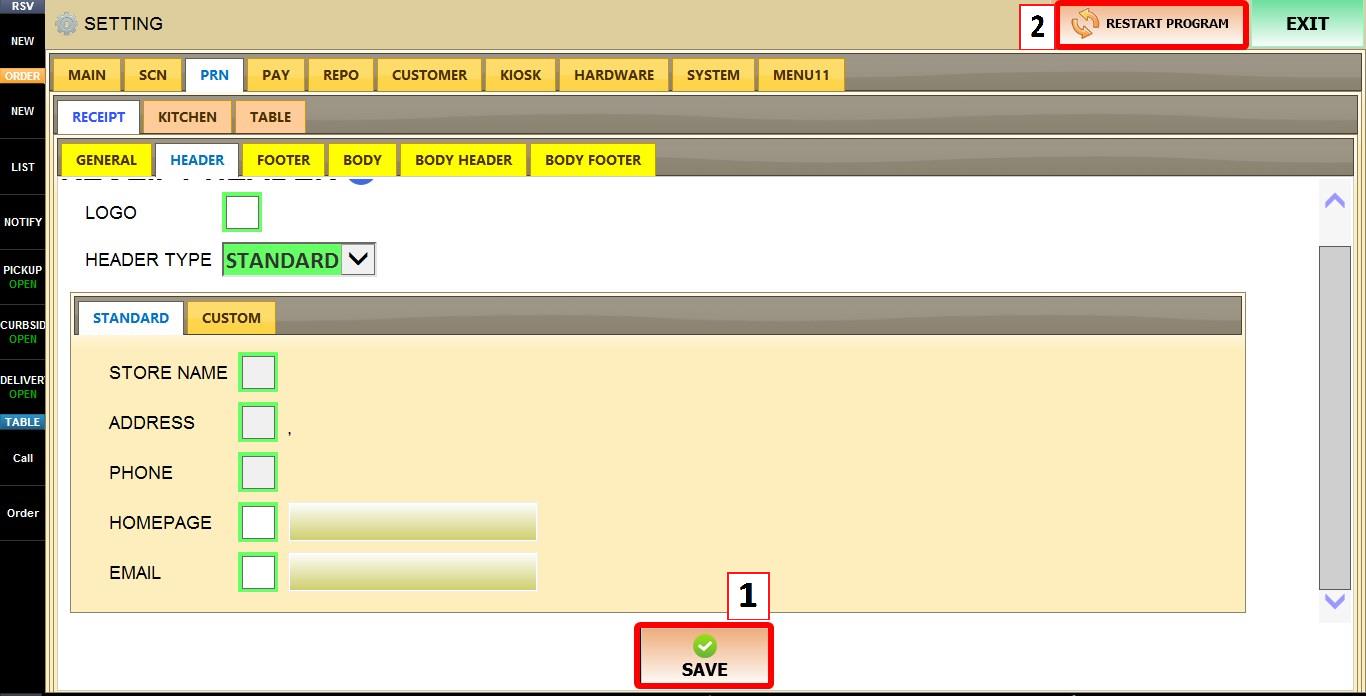
After you are done configuring the settings, click SAVE and RESTART THE PROGRAM.