Scheduling
The Scheduling feature allows the user to create and manage the weekly work schedule for employees. Shifts can be added for each day, saved, and published so that employees receive their schedule by email, along with a link to their portal where they can view their shifts.
MAIN SCREEN> MENU > EMPLOYEES > SCHEDULING
From the Main Screen, click MENU, then select EMPLOYEES.
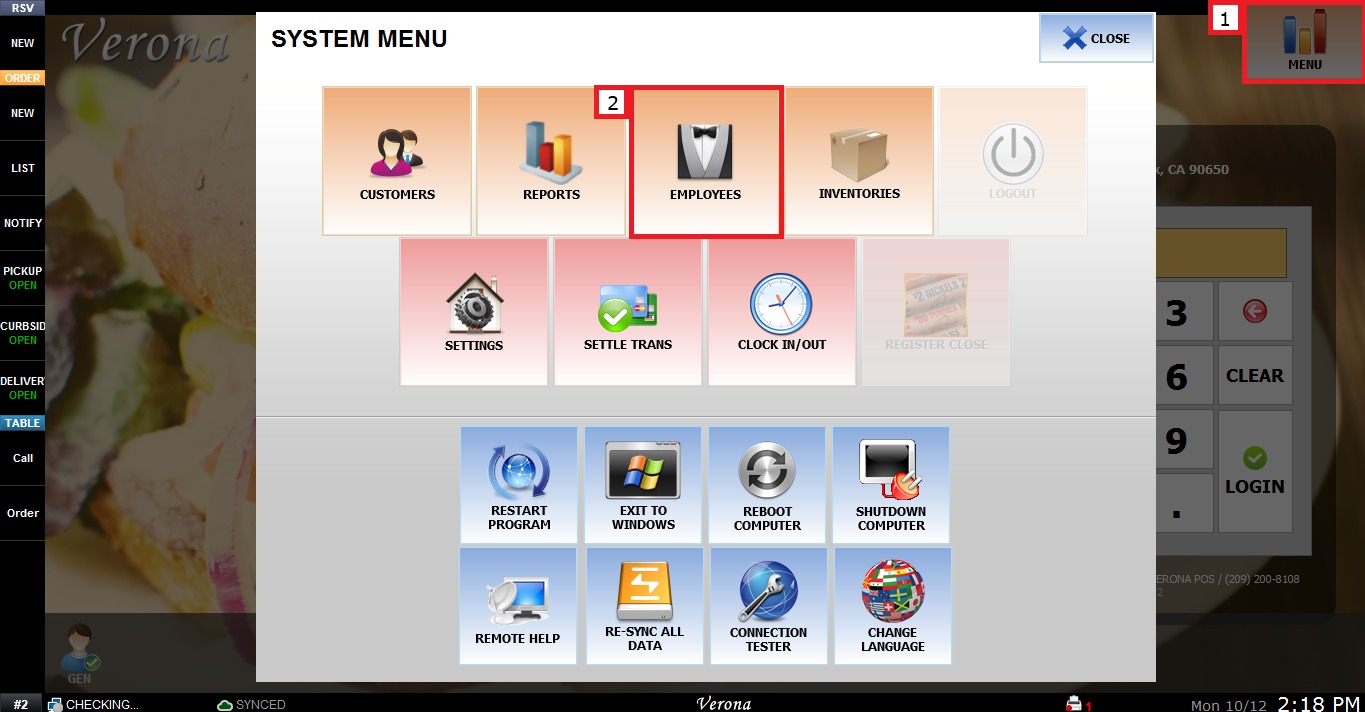
In the EMPLOYEE MANAGEMENT screen, select the SCHEDULING tab.
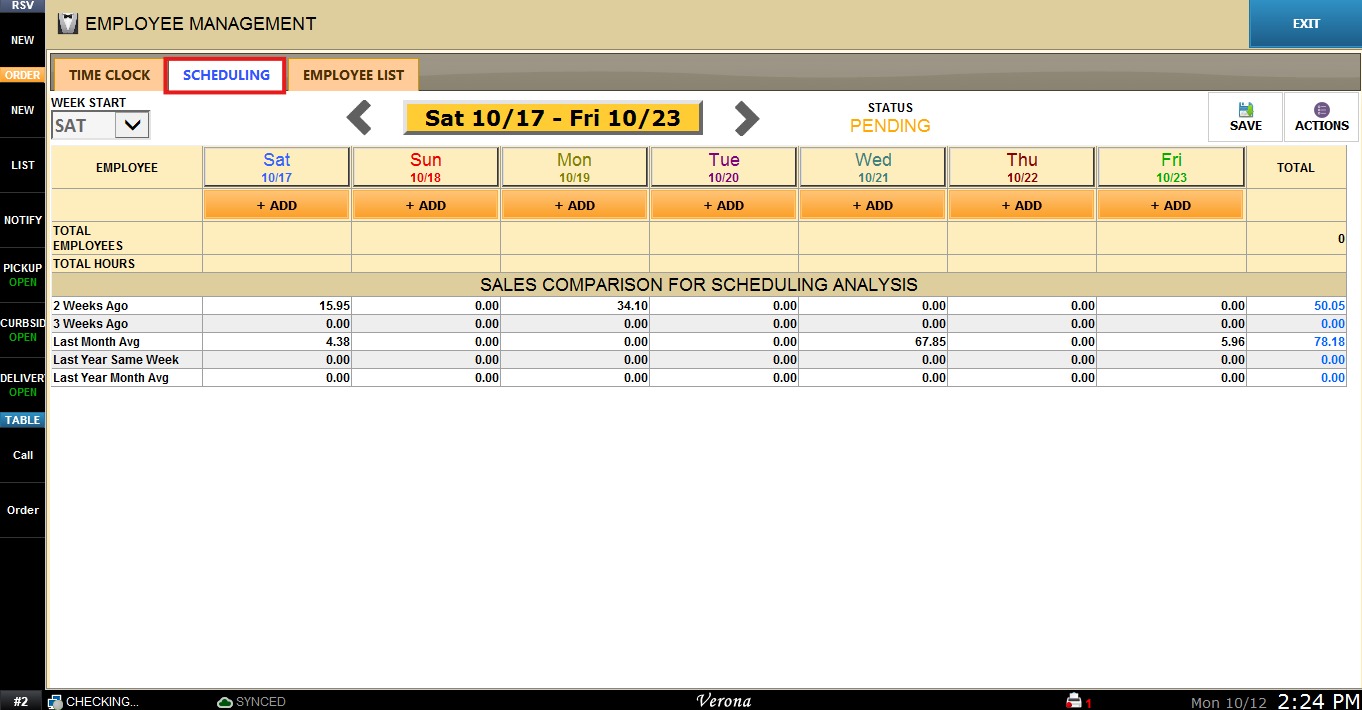
The WEEK START dropdown shows the day the pay week begins.
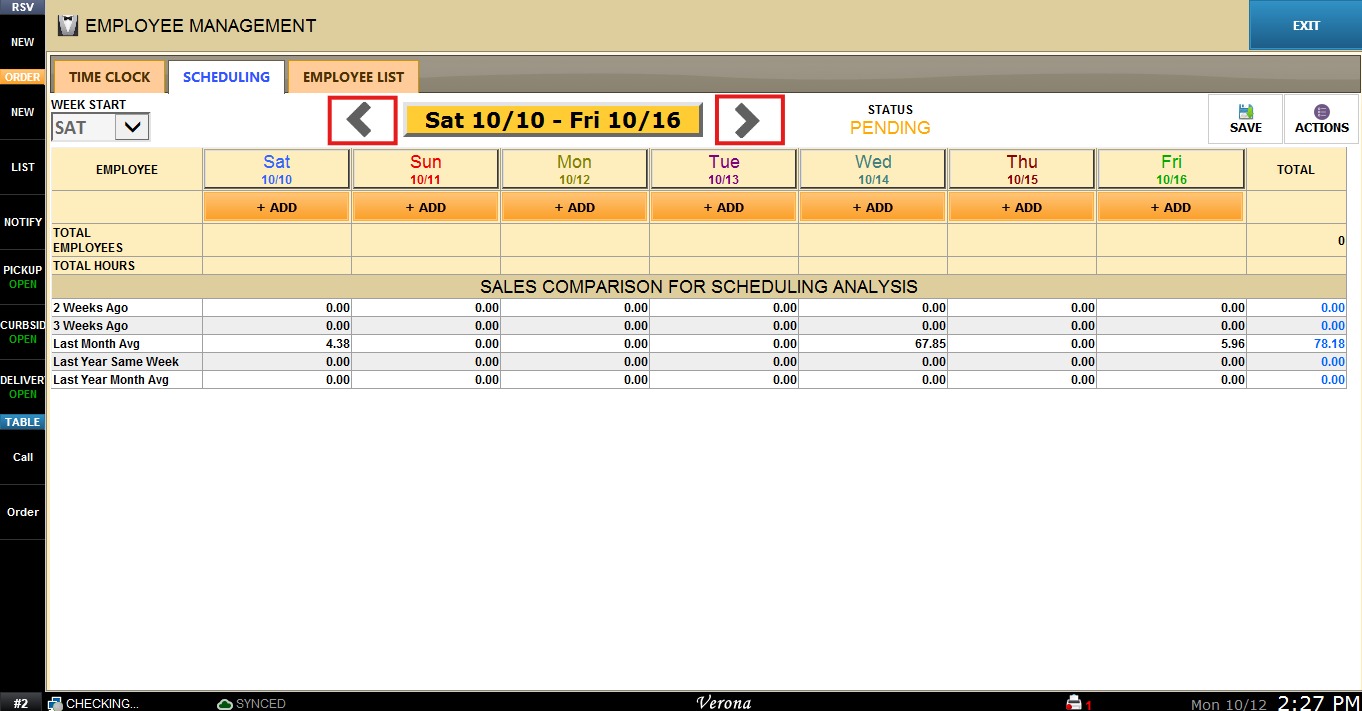
To change the week being displayed, click the ARROWS on each side of the date range to move backward or forward one week at a time.
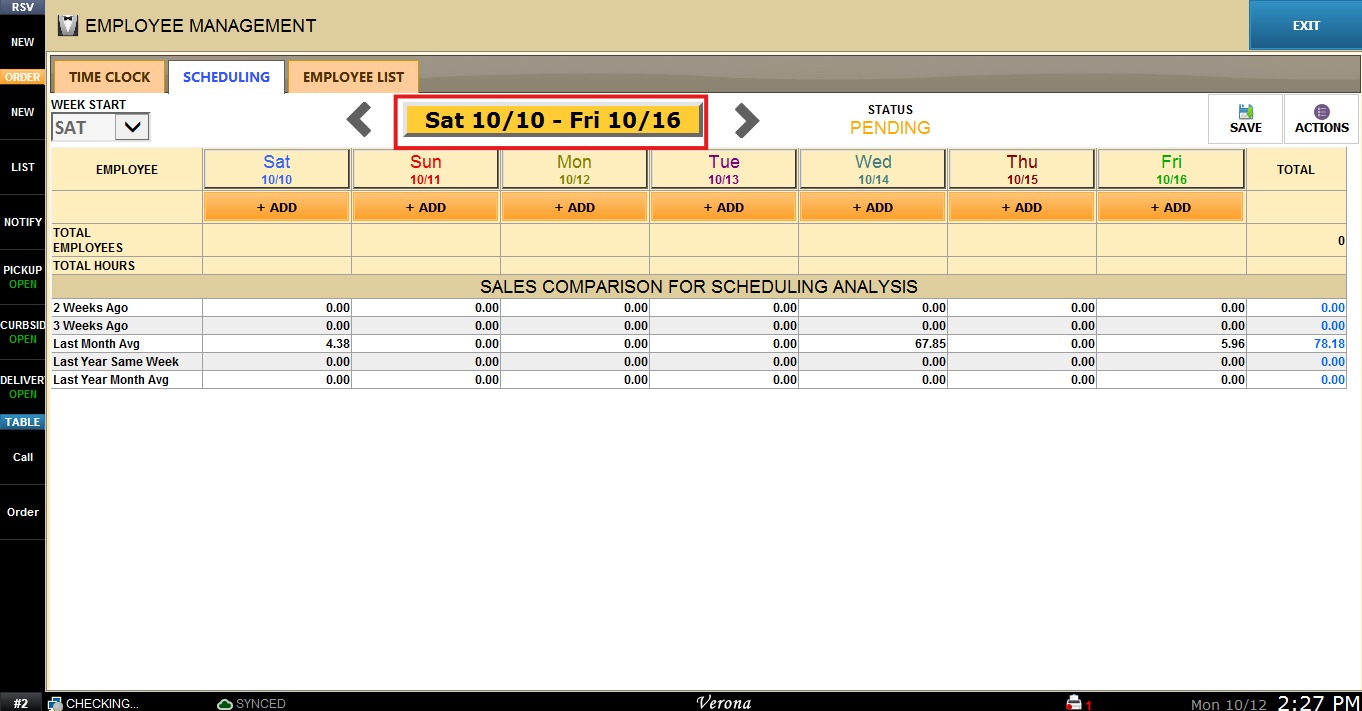
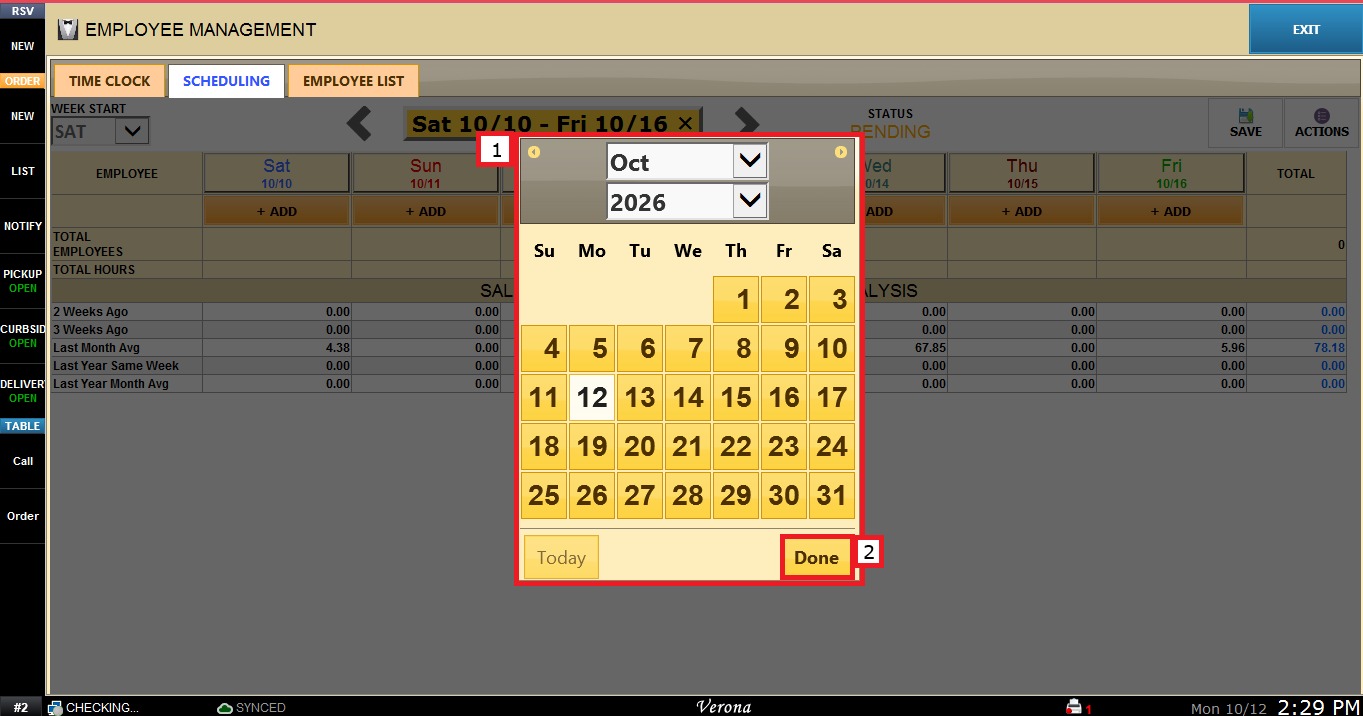
You can also click the DATE RANGE button to open a calendar.
Select the desired date, then click DONE.
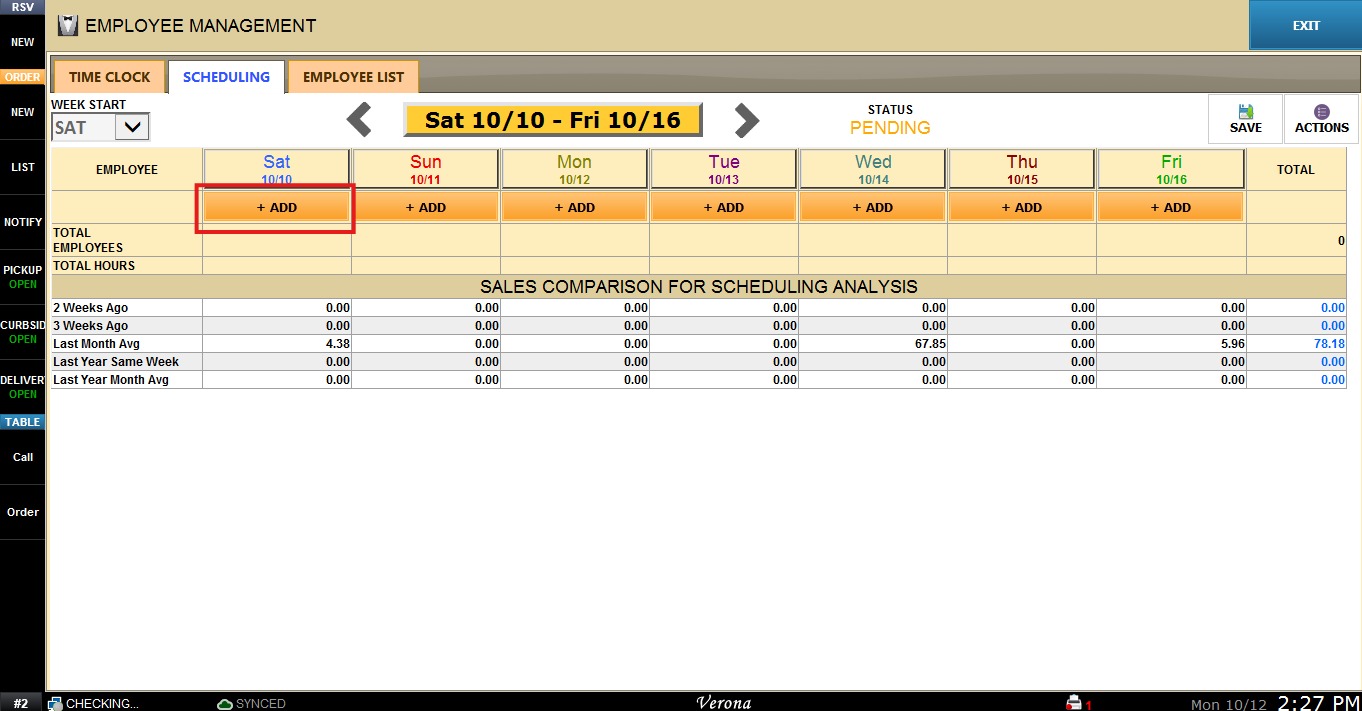
To schedule a shift, click + ADD under the day the shift will be scheduled.
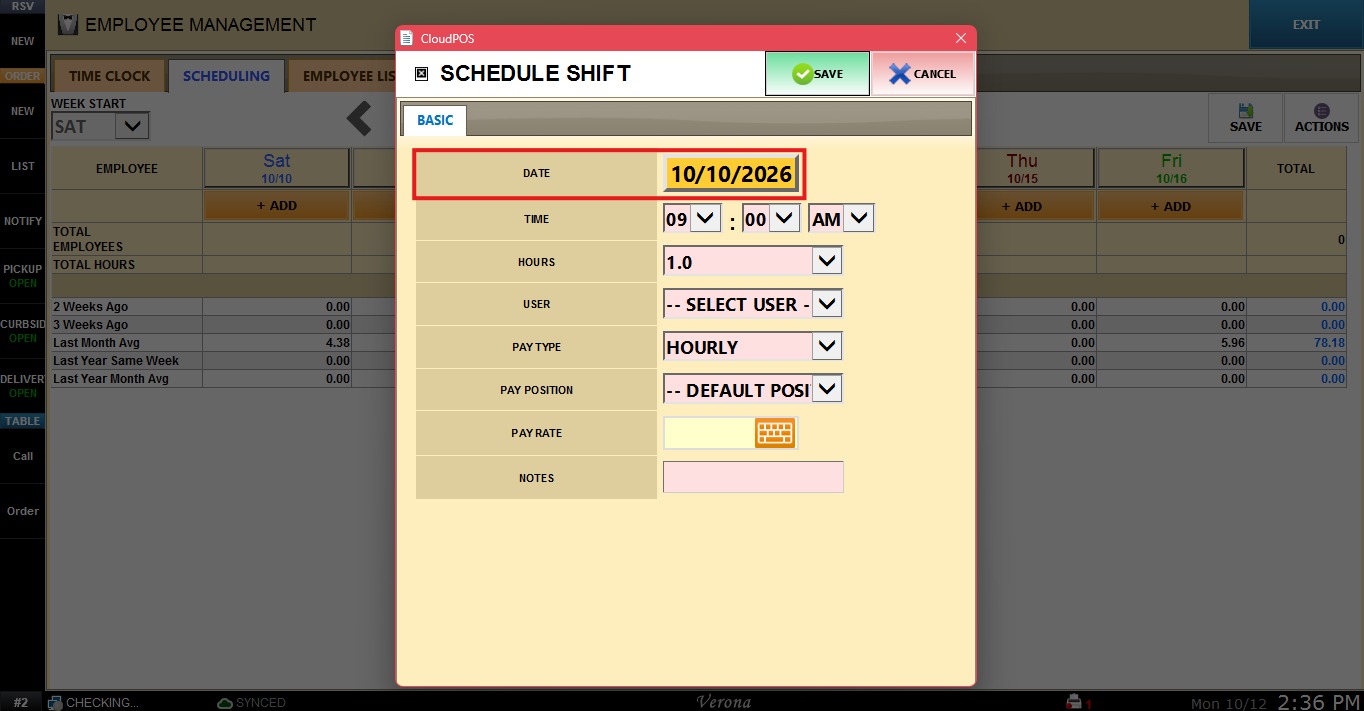
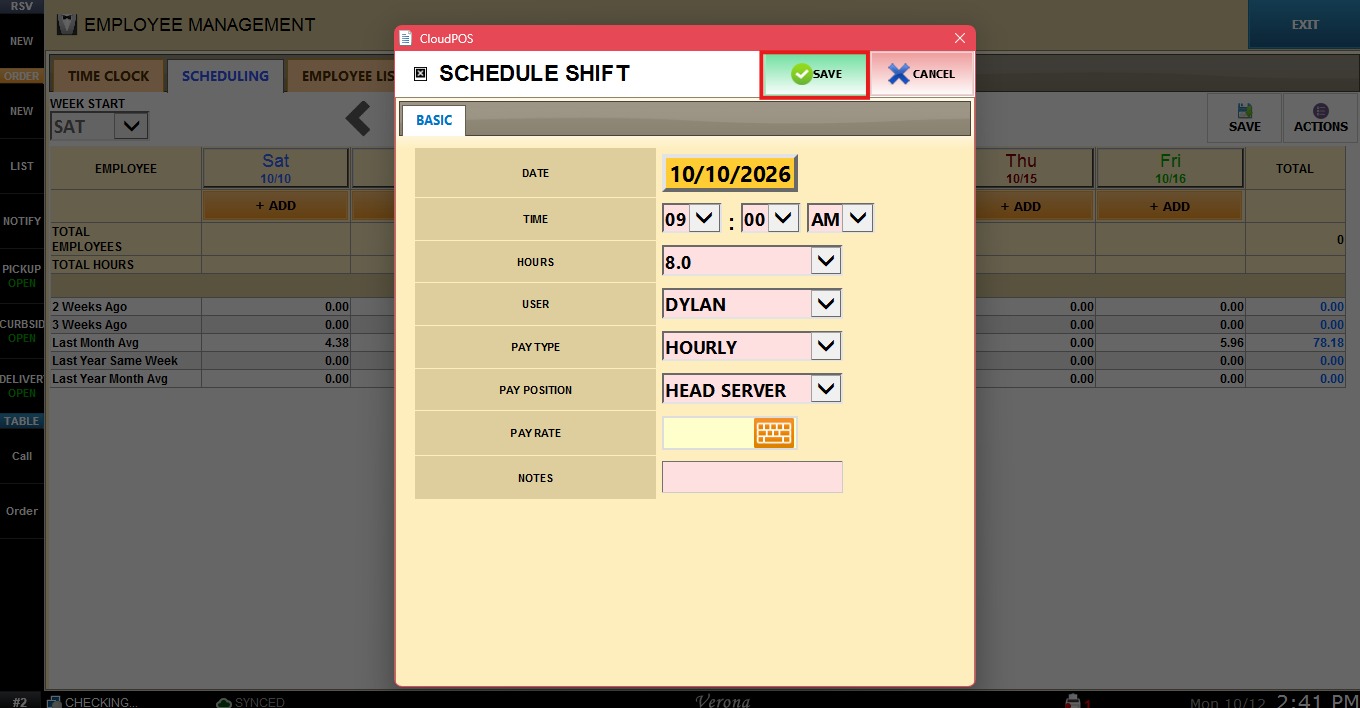
The SCHEDULE SHIFT window will open. Complete the following fields:
1. DATE: Shows you the date of the shift.
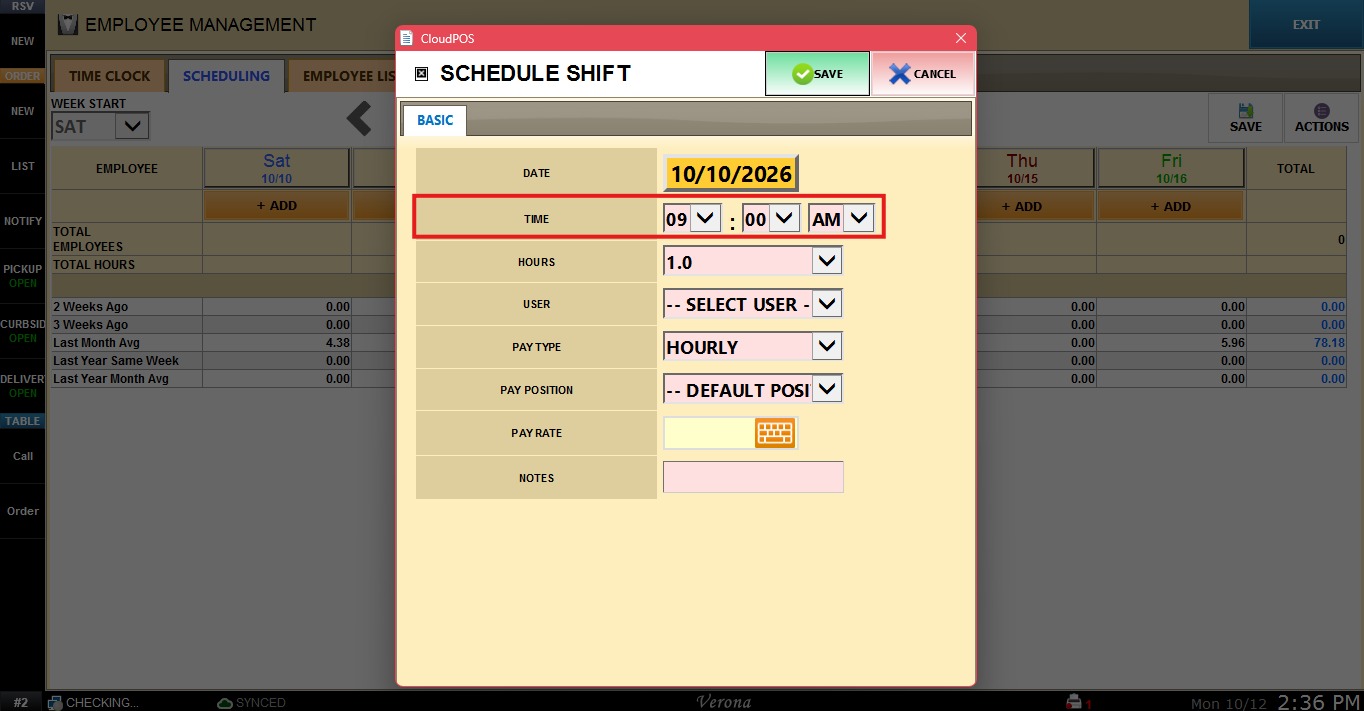
2. TIME: The time the shift starts. Select the hour, minutes, and AM/PM.
3. HOURS: The length of the shift in hours.
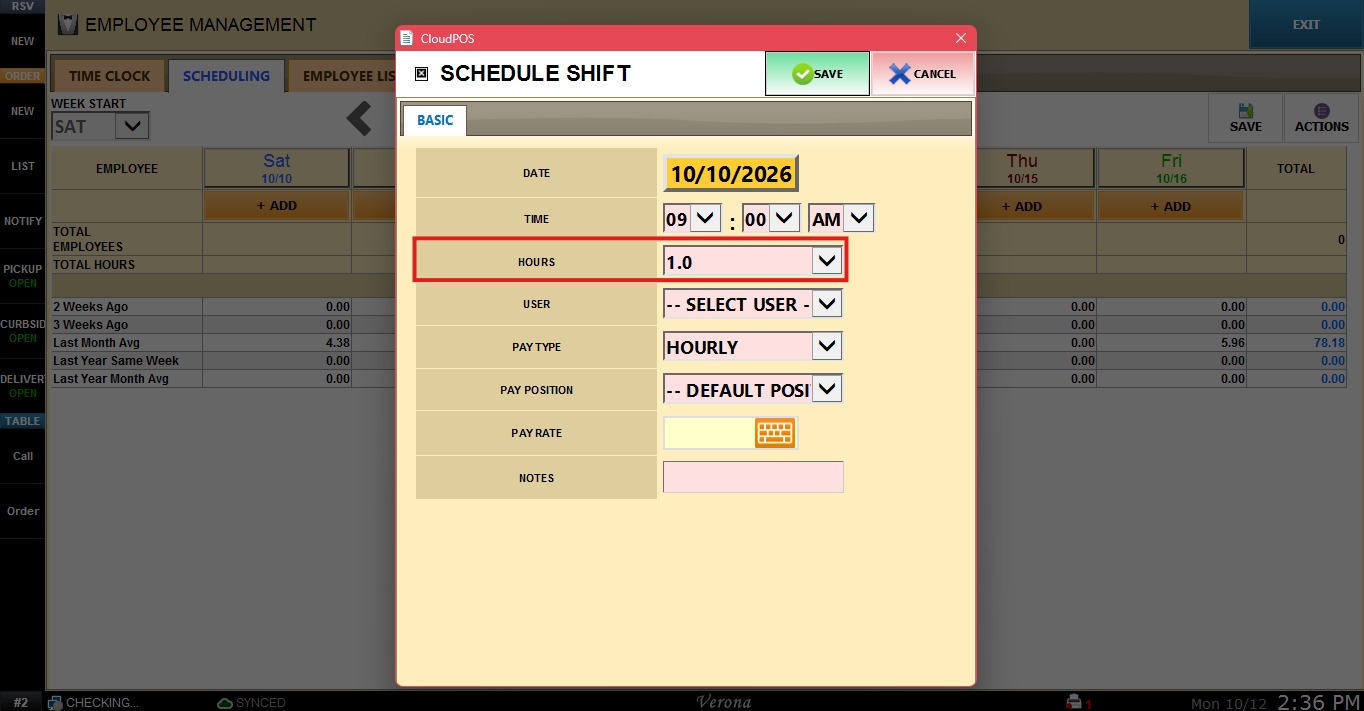
4. USER: The employee assigned to the shift. Select the employee from the dropdown menu.
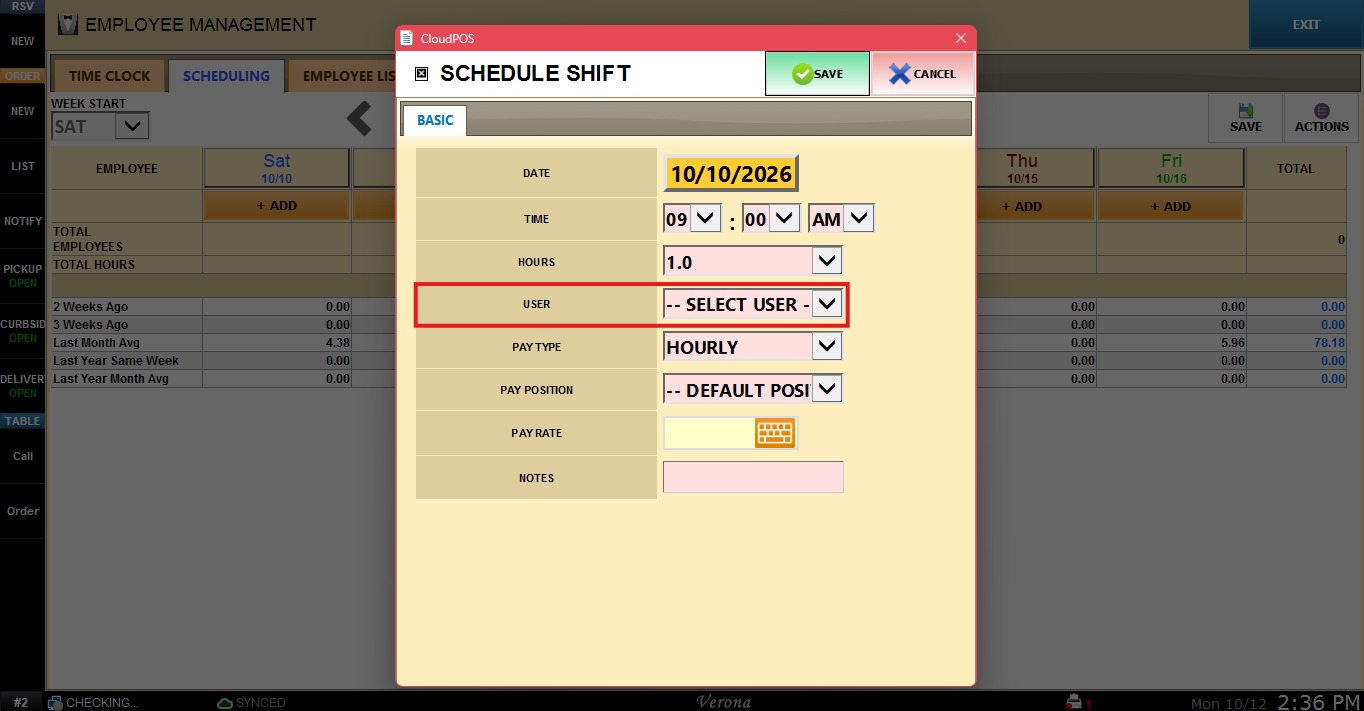
5. PAY TYPE: The pay type for the shift (for example, HOURLY).
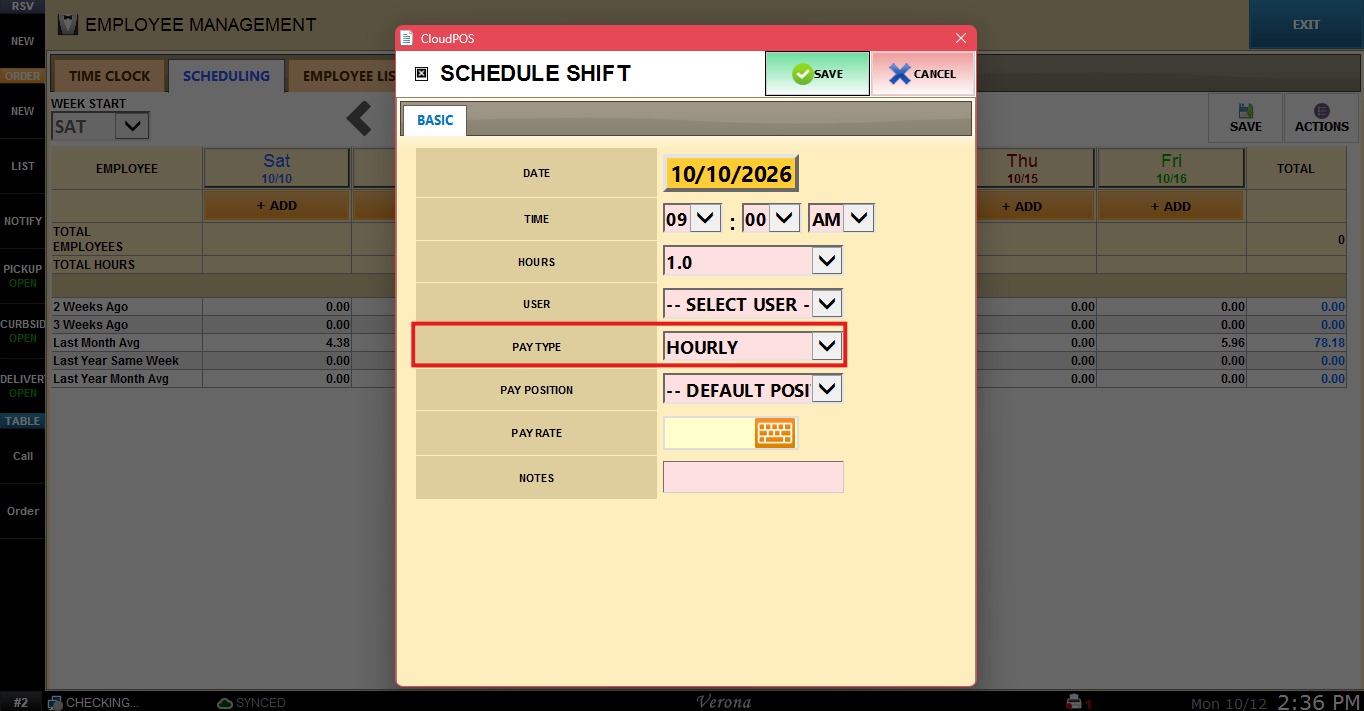
6. PAY POSITION: The position the employee will work during the shift (for example, HEAD SERVER). If no position is selected, the employee’s default position is used.
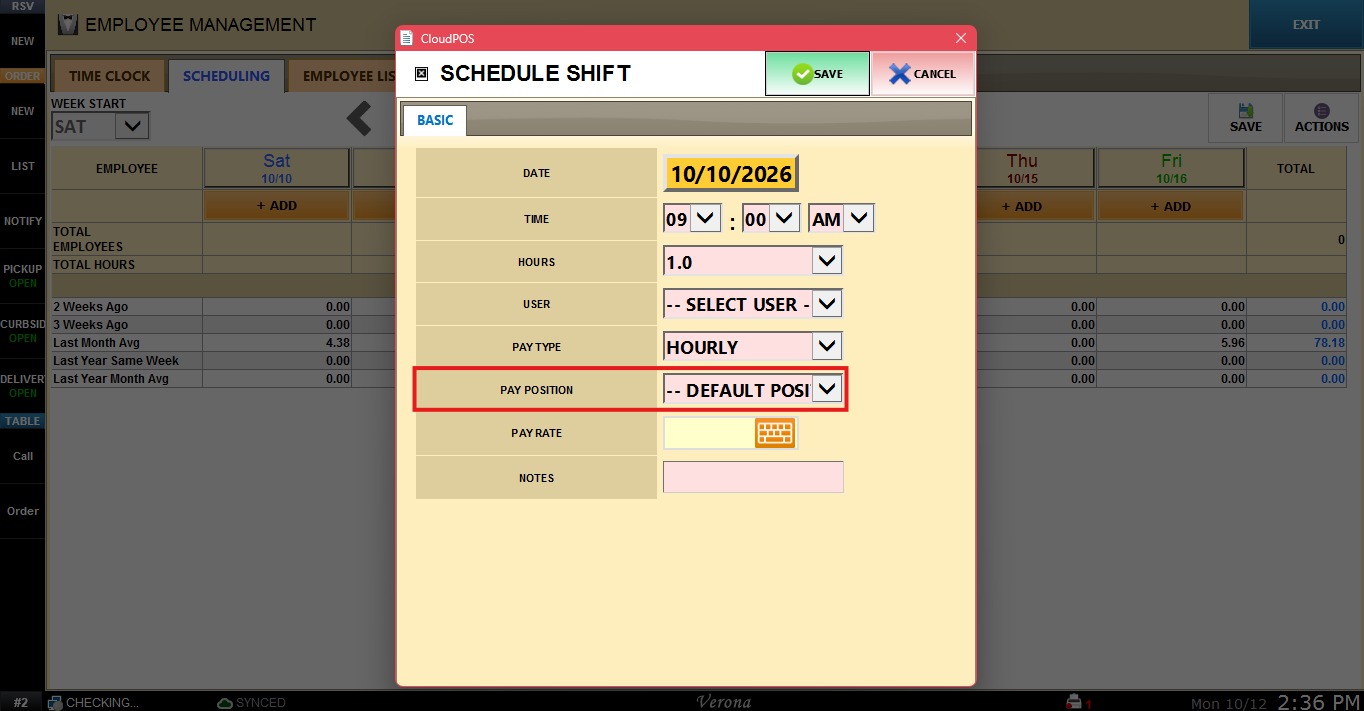
7. PAY RATE: The pay rate for the shift. Click the field and enter the rate using the on-screen keyboard.
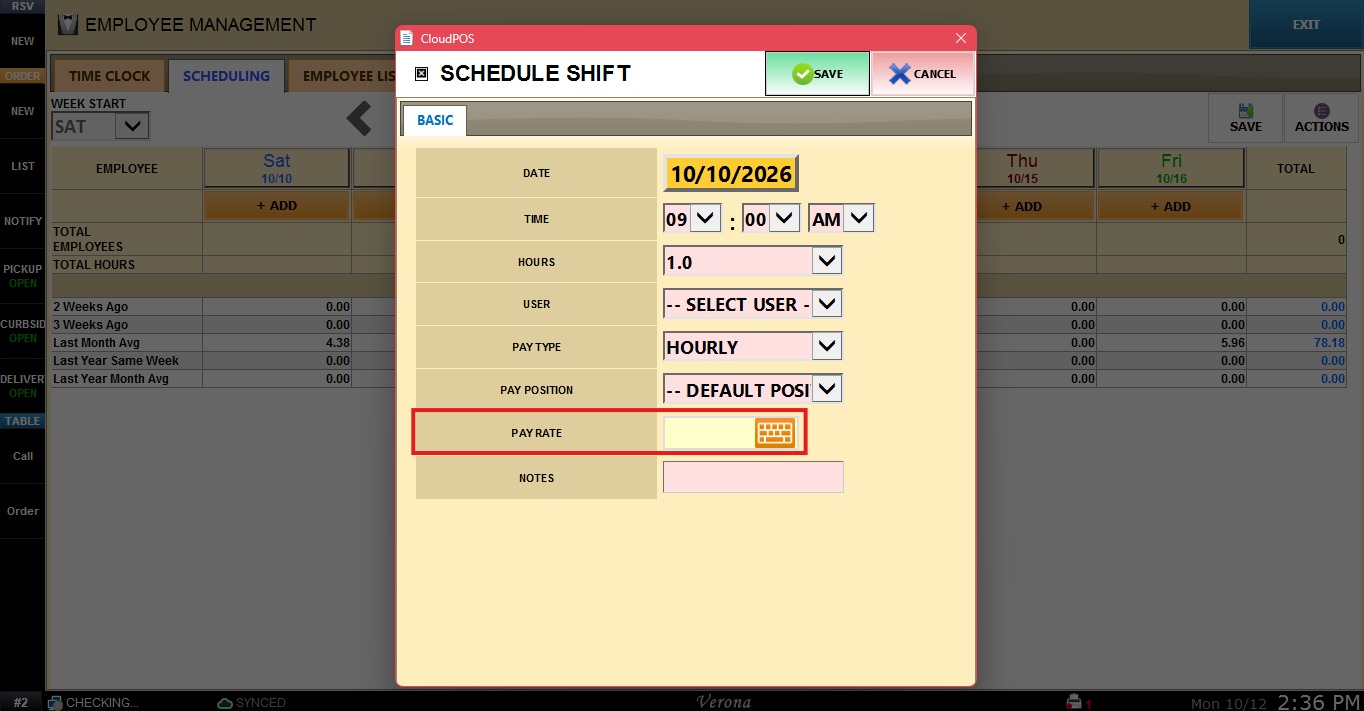
8. NOTES: Any additional notes for the shift.
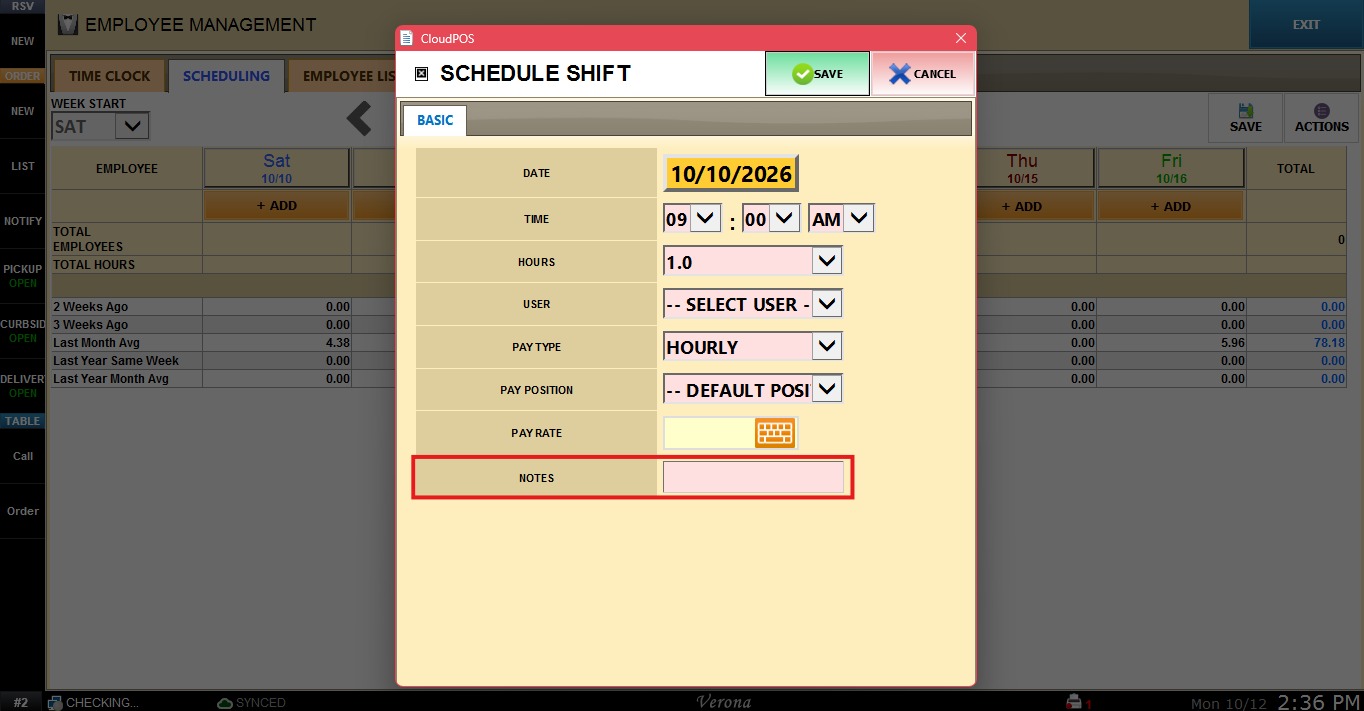
Click SAVE to add the shift to the schedule.
The shift will appear under the employee’s name on the selected day. To add another shift for that employee, click the + ADD button below the existing shift.
Once all shifts have been added, click SAVE in the top right corner to save the schedule.
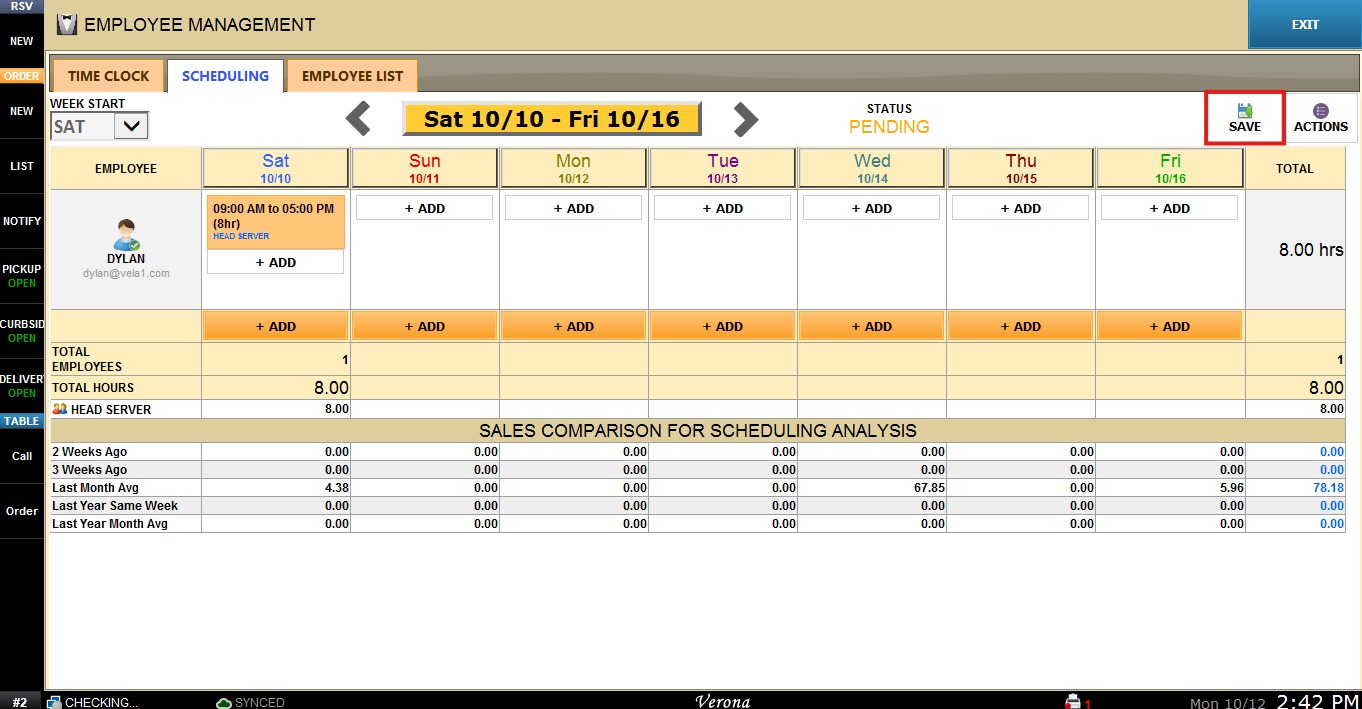
Note: At the bottom of the screen, the SALES COMPARISON FOR SCHEDULING ANALYSIS section shows sales for each day from previous periods: 2 WEEKS AGO, 3 WEEKS AGO, LAST MONTH AVG, LAST YEAR SAME WEEK, and LAST YEAR MONTH AVG. Use this information to decide how many employees to schedule on each day.
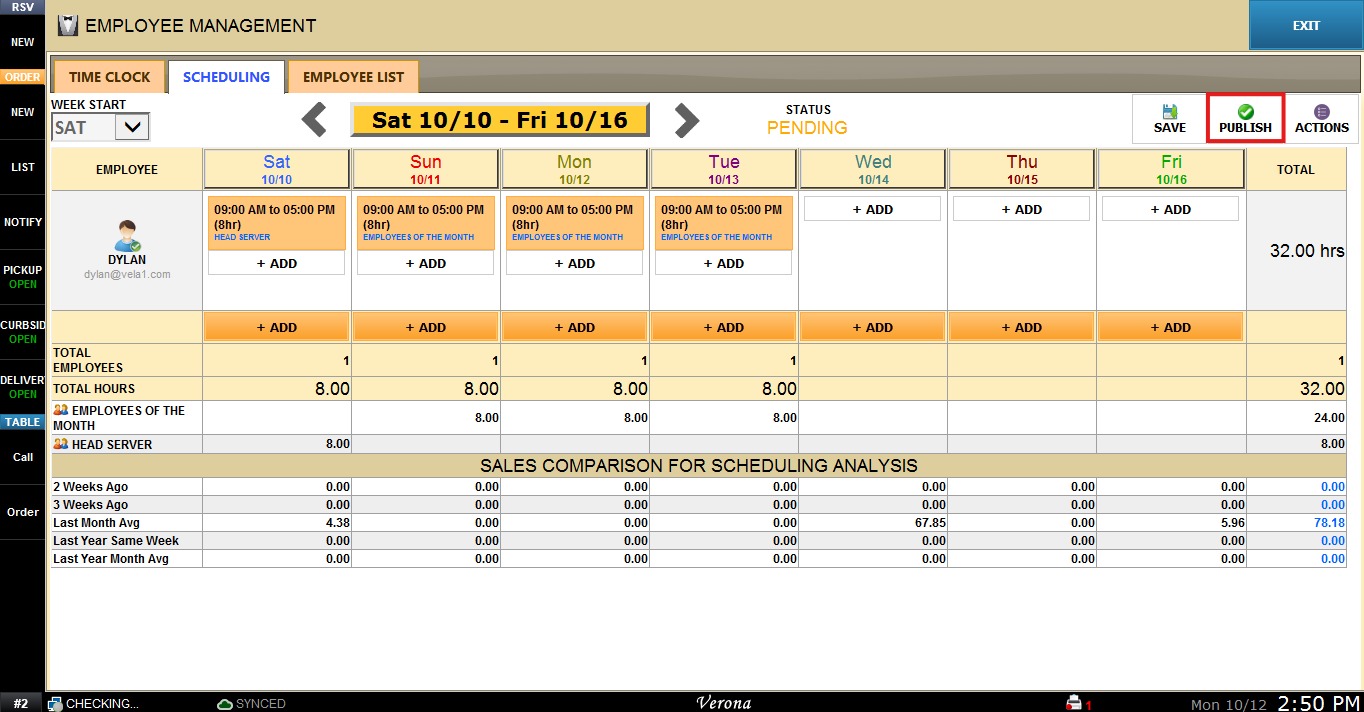
Click PUBLISH to send the schedule to the employees. Each employee will receive an email with their schedule and a link to their portal, where they can view their shifts.
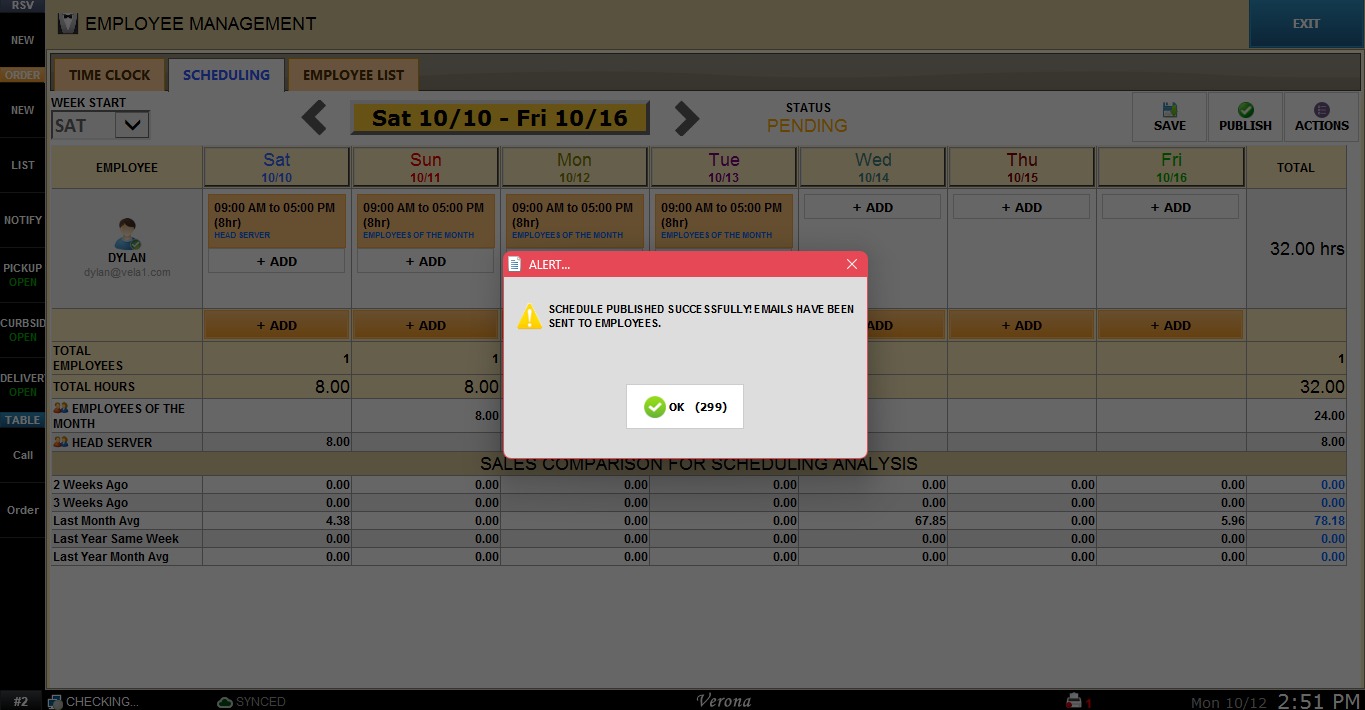
A confirmation message will appear, indicating the schedule was published and emails were sent to the employees. Click OK.
Once published, the STATUS changes to PUBLISHED, and the PUBLISH button is replaced by CANCEL PUBLISH. Click CANCEL PUBLISH if changes are needed.
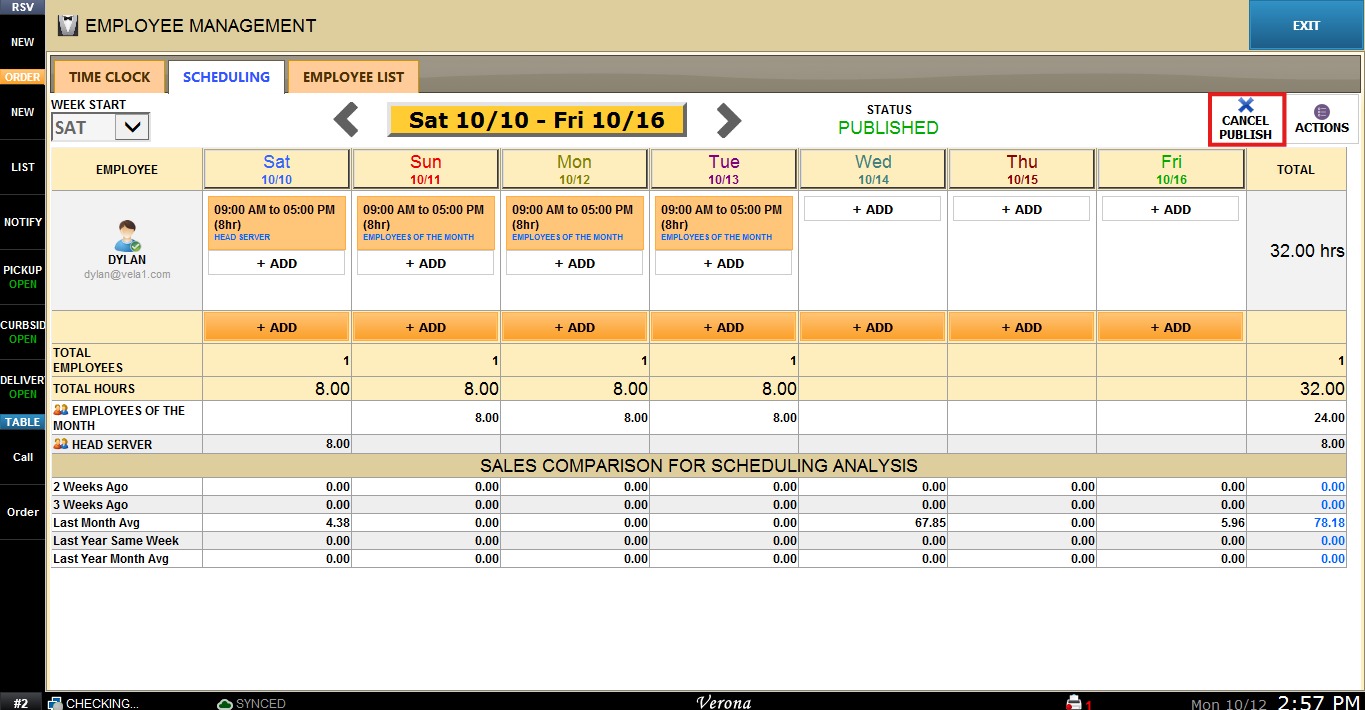
Note: Employees are notified by email whenever a published schedule is cancelled or modified.
Schedule Actions
Click ACTIONS in the top right corner to open the SCHEDULE ACTIONS window
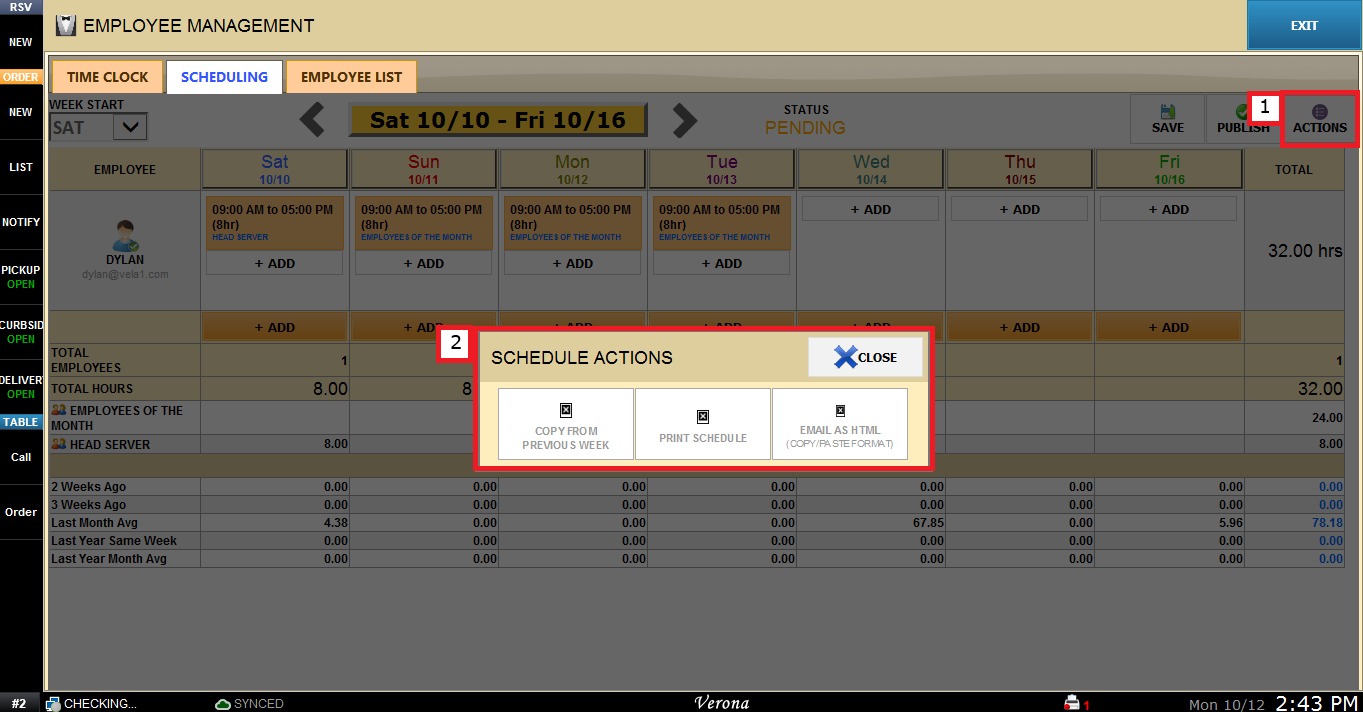
1. COPY FROM PREVIOUS WEEK: Copies the exact schedule from the previous week into the week currently displayed. This is useful for merchants who have a very regular schedule.
2. PRINT SCHEDULE: Prints the schedule for the week currently displayed.
3. EMAIL AS HTML (COPY/PASTE FORMAT): Sends an email containing the schedule in HTML format to the email address entered.