How to Operate QR Table for Store
QR Table allows customers to scan a QR code assigned to a specific table, place orders directly from their mobile device, and receive notifications from the restaurant. This guide explains how to generate table QR codes, receive orders, and notify customers when their order is ready.
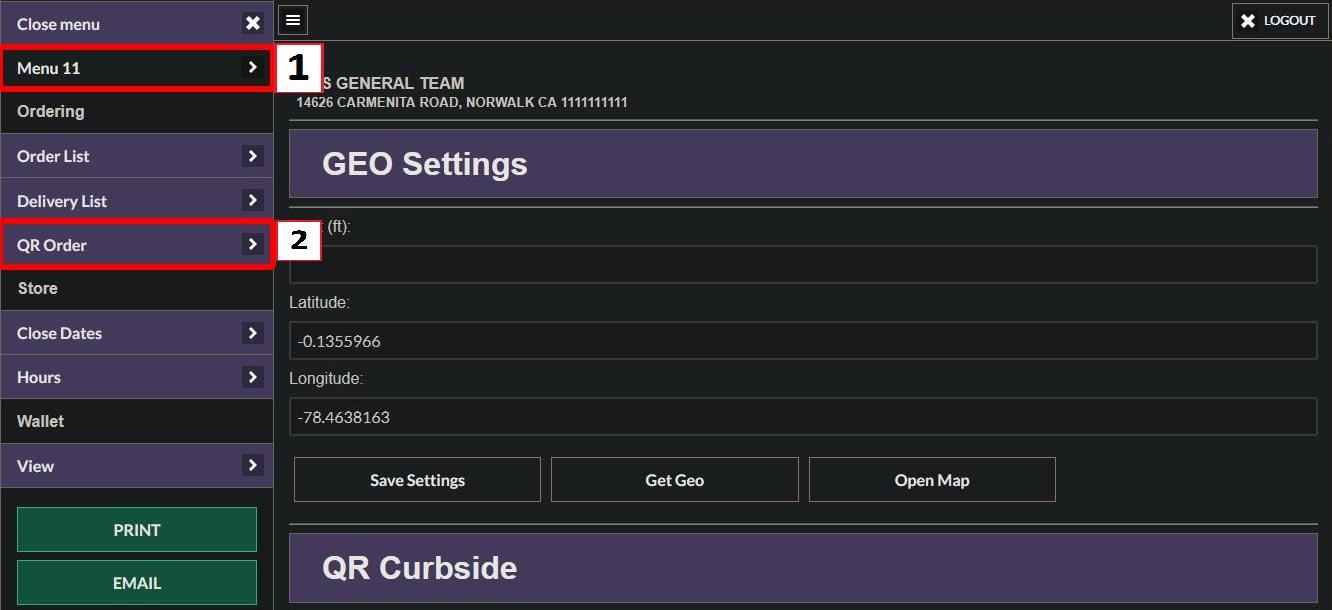
ONLINE REPORT > MENU11 > STORE > QR ORDER
From the ONLINE REPORT, navigate to MENU11 then QR ORDER

Optionally enter the delivery LIMIT (in feet), LATITUDE, and LONGITUDE for your store, then save the settings.
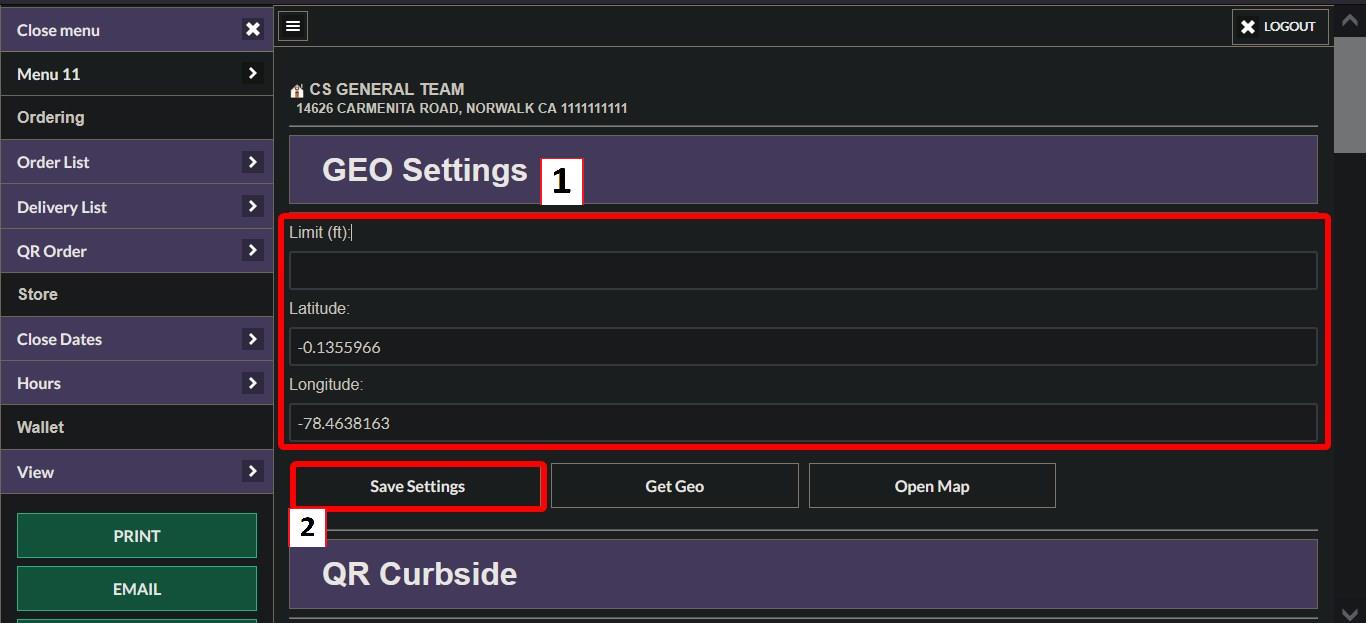
Hint: The LIMIT defines how far customers can be from the store while placing a QR Curbside order. LATITUDE and LONGITUDE can be obtained from Google Maps
Scroll down until QR TABLE section
Locate the desired table and click GET QR.
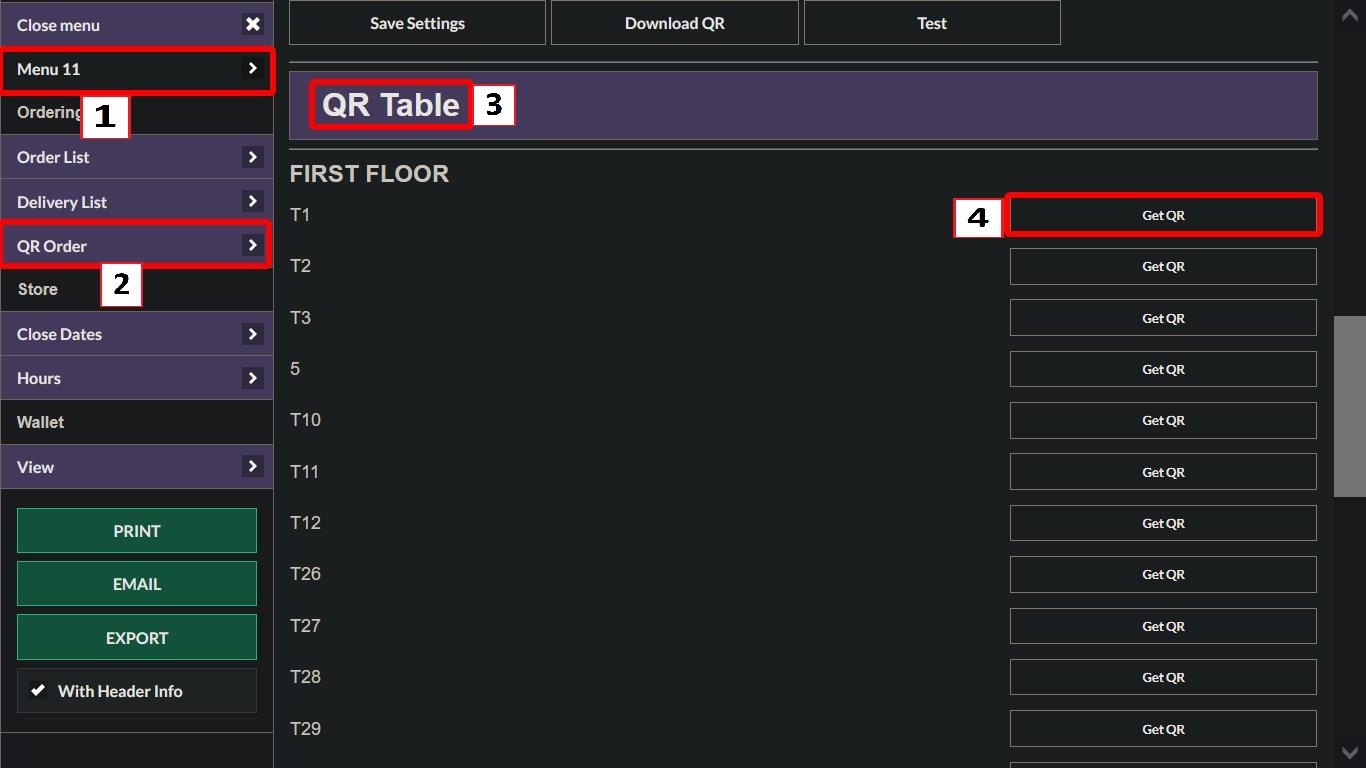
After the QR code has been generated, download it. Print the QR code and place it on the corresponding table so customers can begin ordering.
Receive customer orders
By default, QR Table orders are automatically confirmed. If automatic confirmation has been disabled, follow the steps below to confirm orders manually.
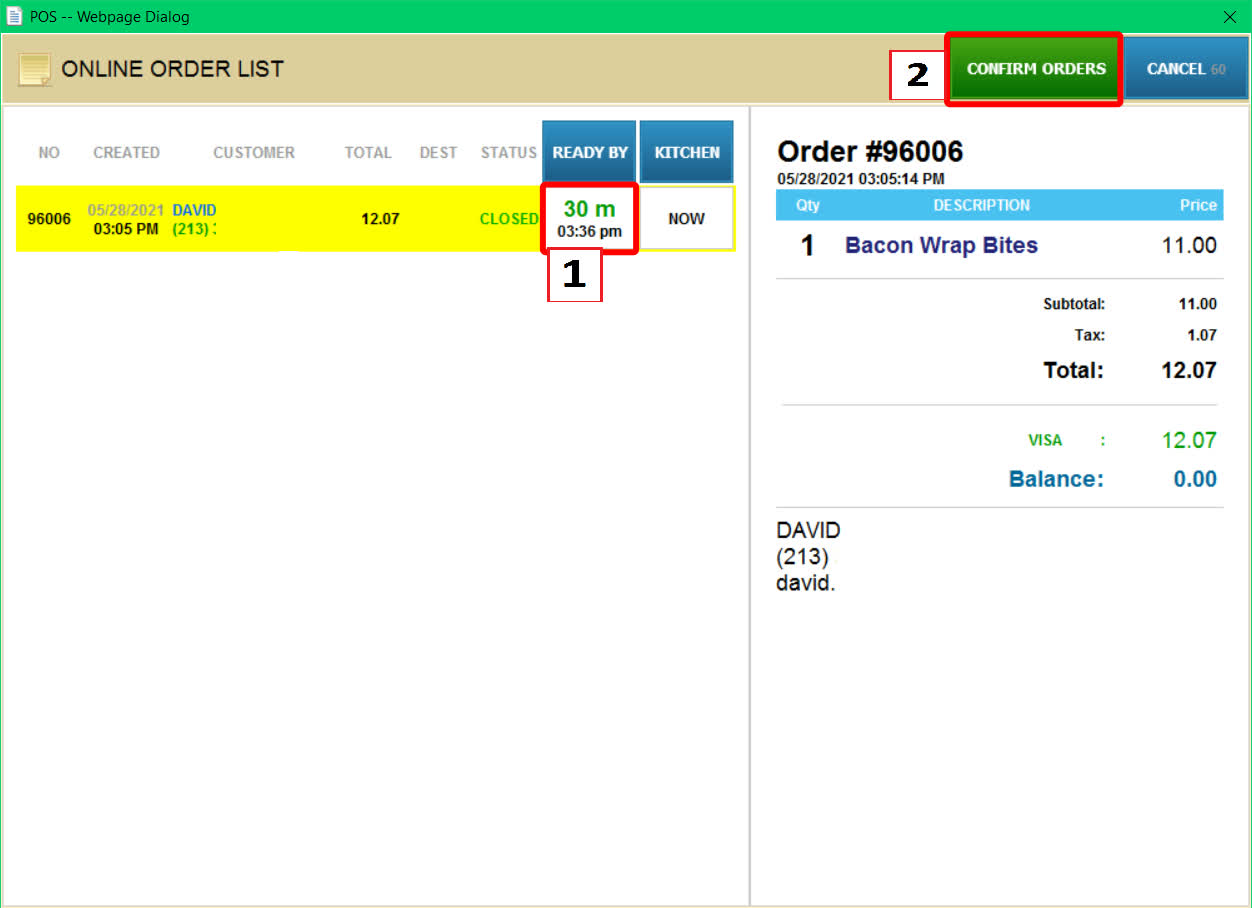
From the Main Screen and the Sales Screen. When a customer places an order, the ONLINE NEW button will turn yellow. Click it to open the ONLINE ORDER LIST.

Choose the estimated ready time for the order, then click CONFIRM ORDERS. The order will be confirmed and kitchen tickets will be printed.
Notify the customer
When the order is ready, click NOTIFY.
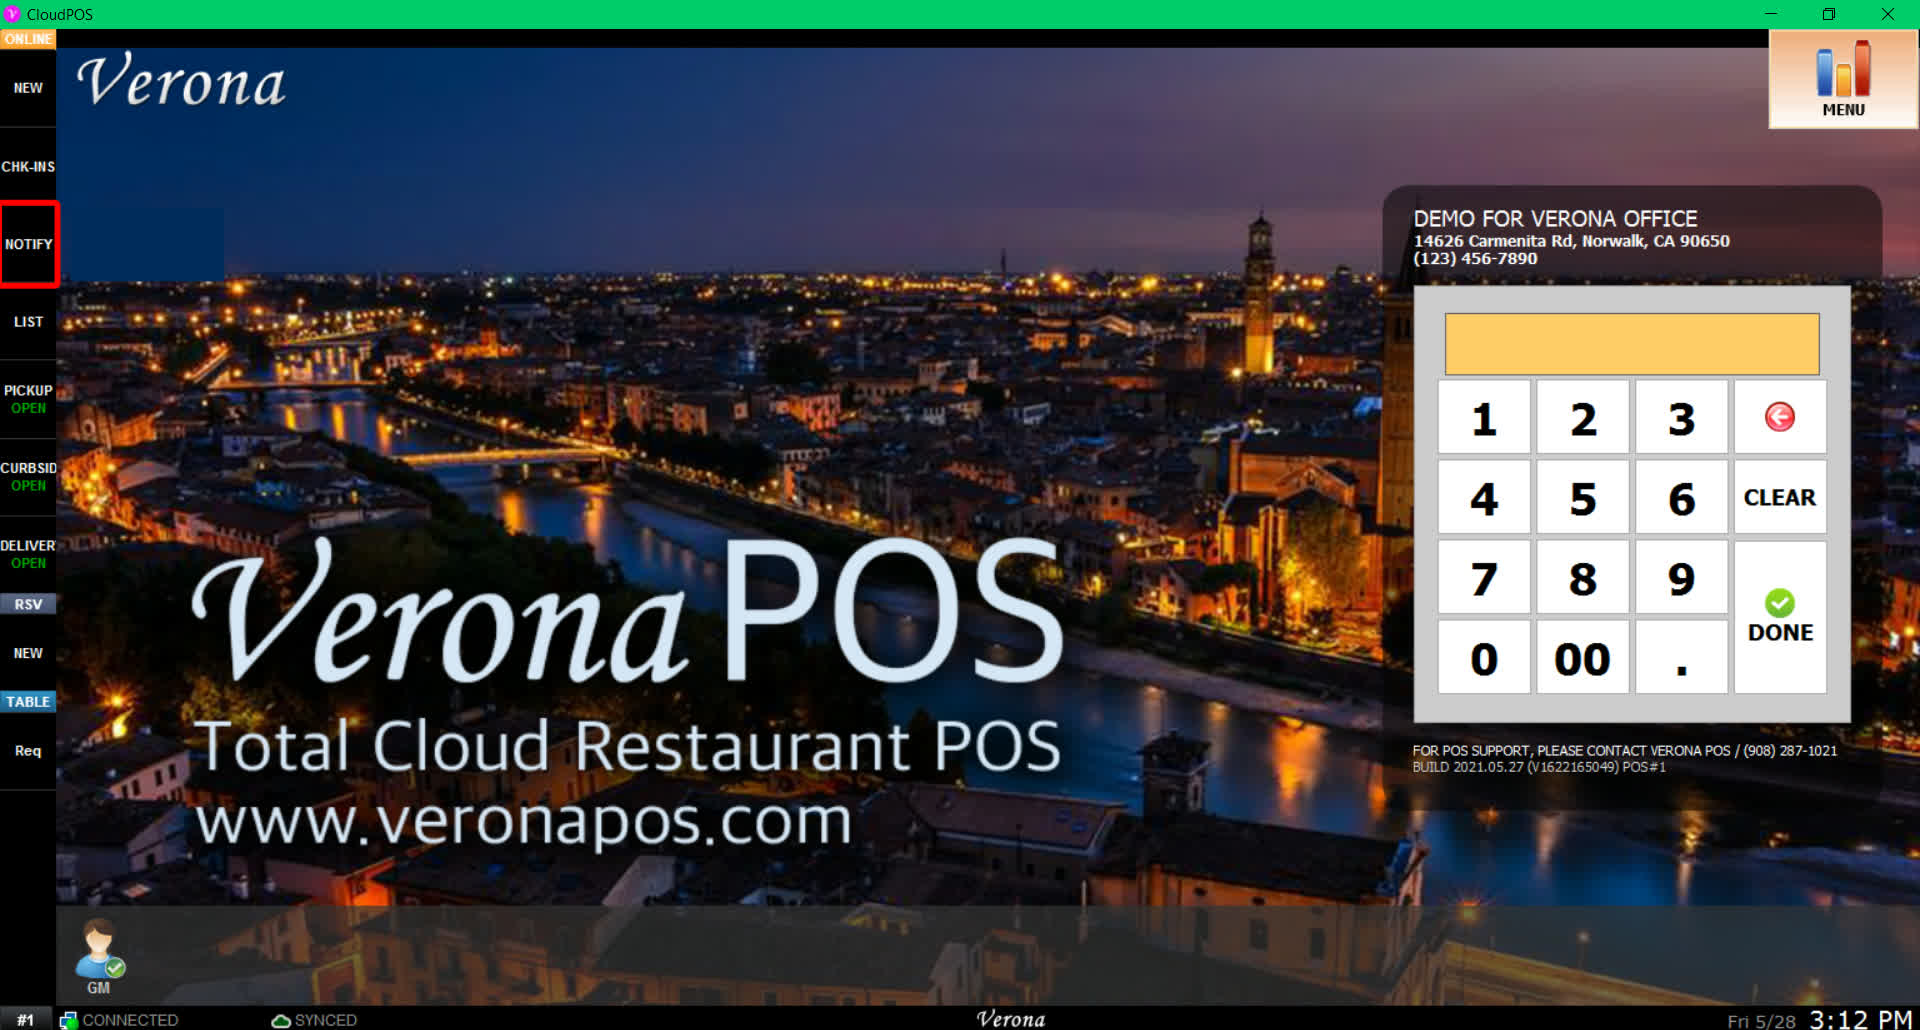
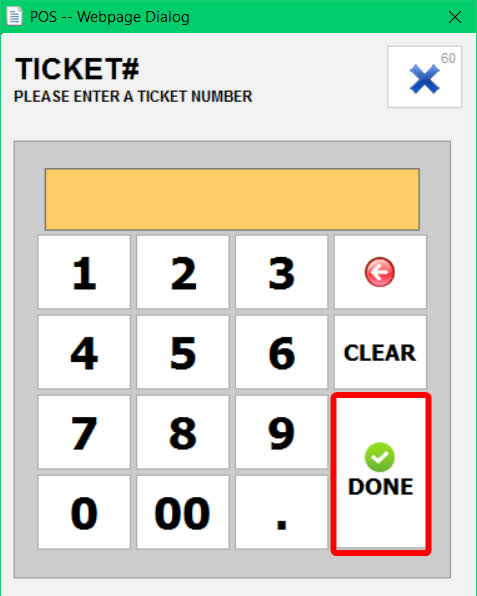
Enter the ticket number of the completed order.
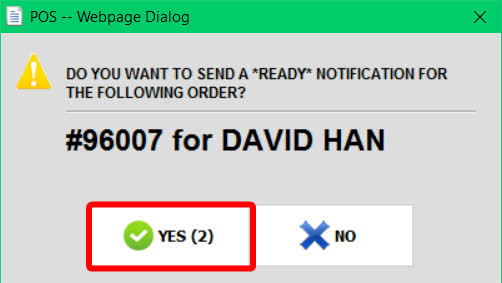
Click YES to confirm. An email or text message notification will be sent to the customer.
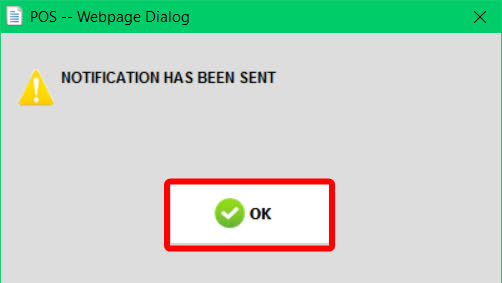
RESULT
Customers can scan the QR code assigned to their table, place orders directly from their mobile device, and receive a notification when their order is ready.