Creating Map Screen
The Table Map feature allows you to create a visual floor plan of your establishment. You can add tables, sections, doors, signs, text labels, and other layout elements to match the physical layout of your restaurant.
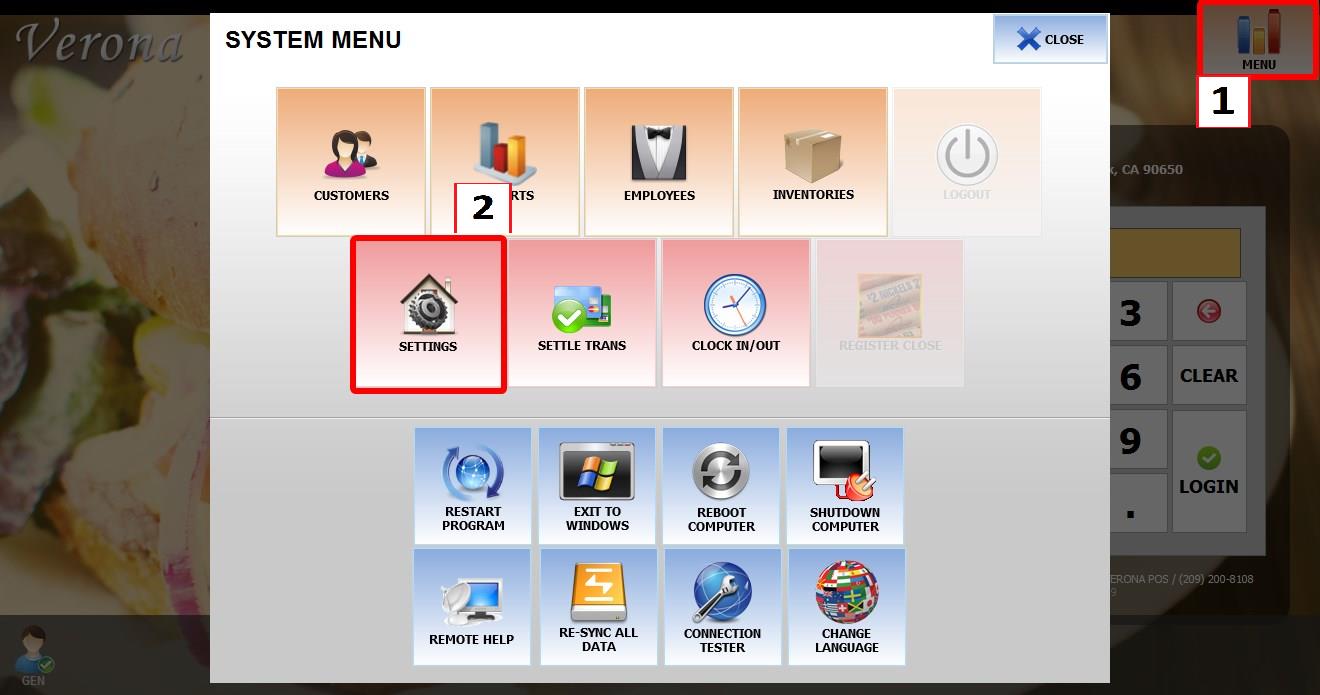
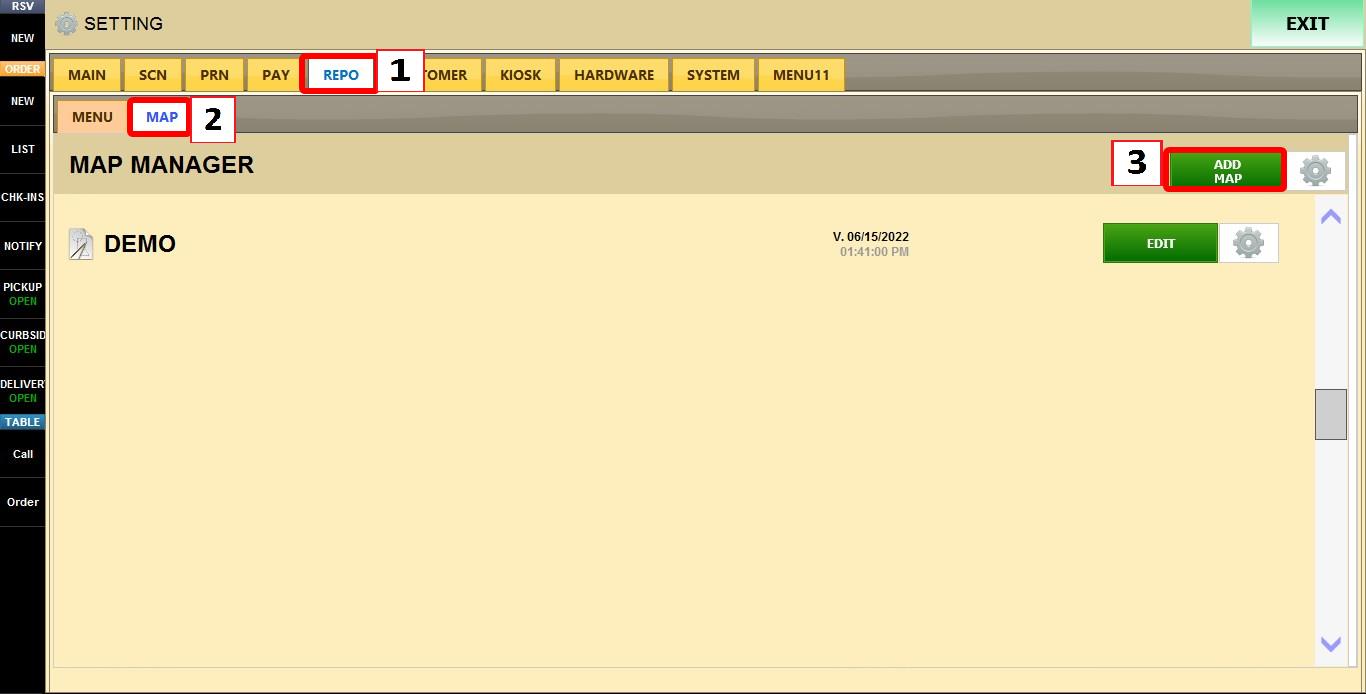
Main Screen > MENU > SETTINGS > REPO > MAP > ADD MAP.
Go to MENU, then SETTINGS.
Go to REPO, press MAP, then click ADD MAP.
Click MAP on the upper-left corner of the editor.
In the editor panel on the right, enter a name in the NAME field.
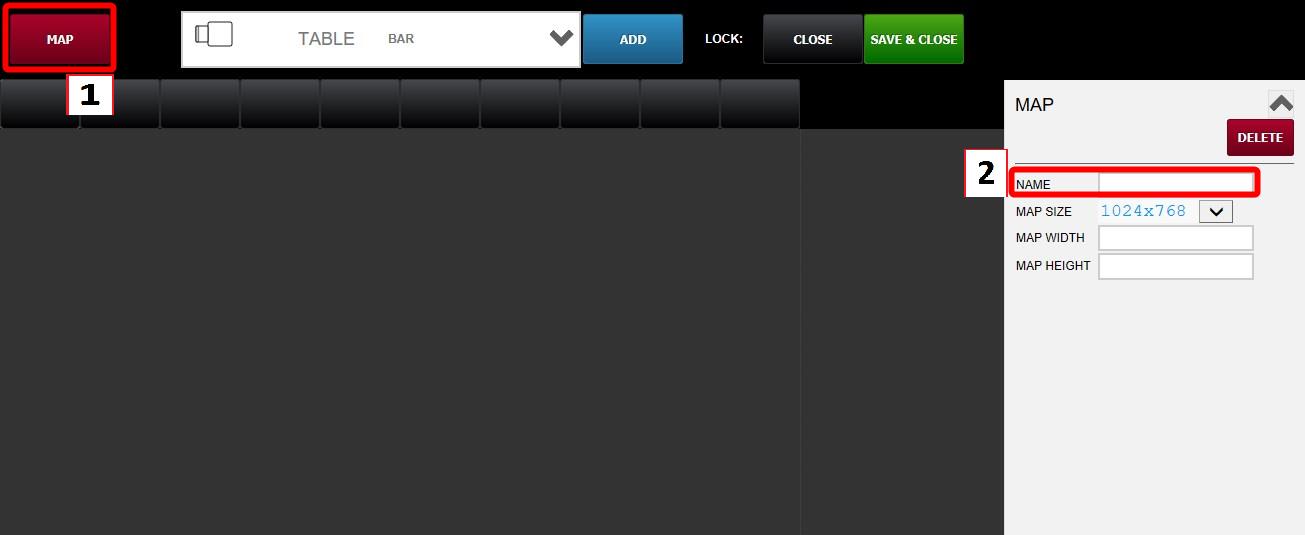
MAP SETTINGS
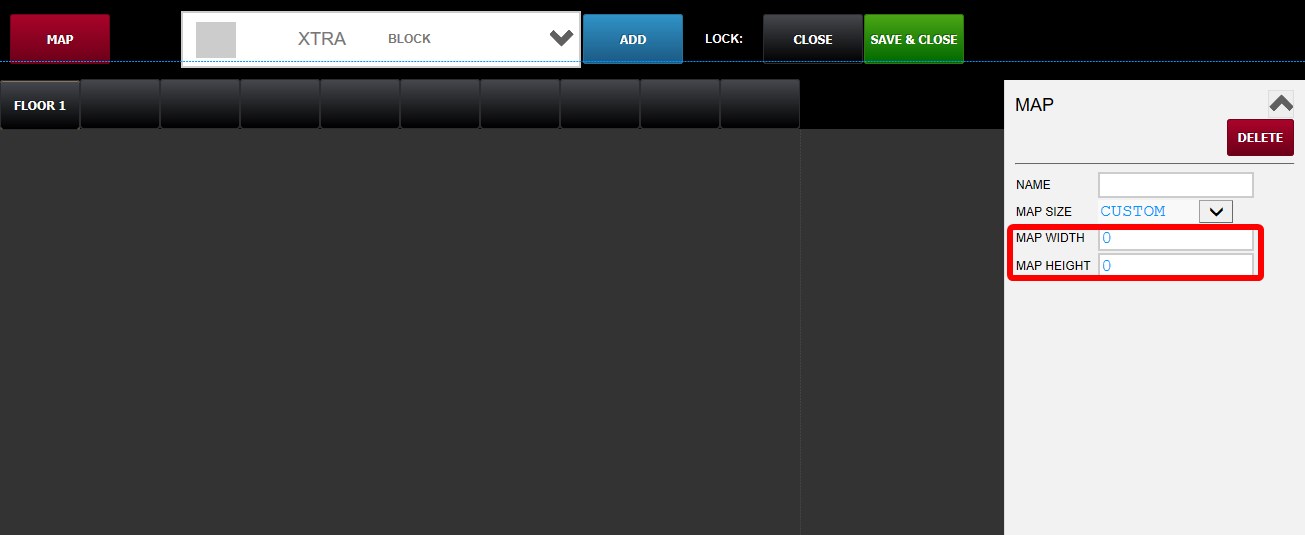
MAP SIZE: Defines the size of the map workspace. Select one of the available preset resolutions from the drop-down menu.
Selecting CUSTOM allows you to manually define the map dimensions using the MAP WIDTH and MAP HEIGHT fields.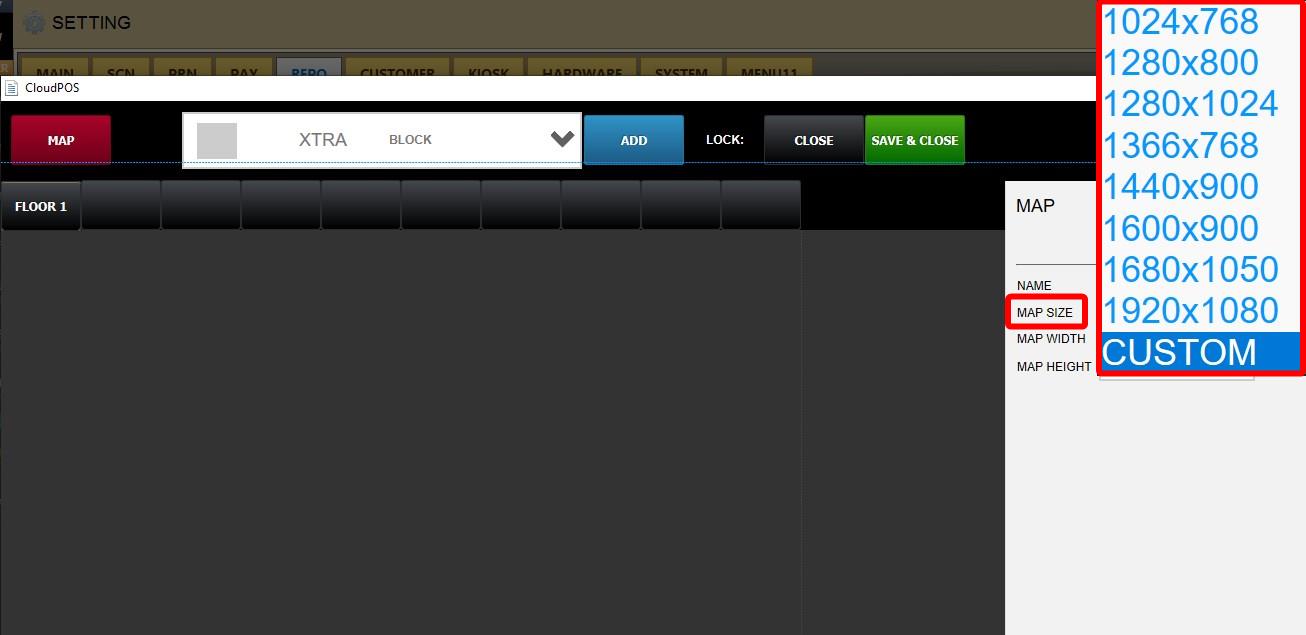
MAP WIDTH: Sets the width of the map workspace.
MAP HEIGHT: Sets the height of the map workspace.
EDITING MAP SECTIONS
Click one of the empty section boxes within the map layout area. These sections can represent different areas of the establishment (e.g., Floor 1, Patio, Bar Area)
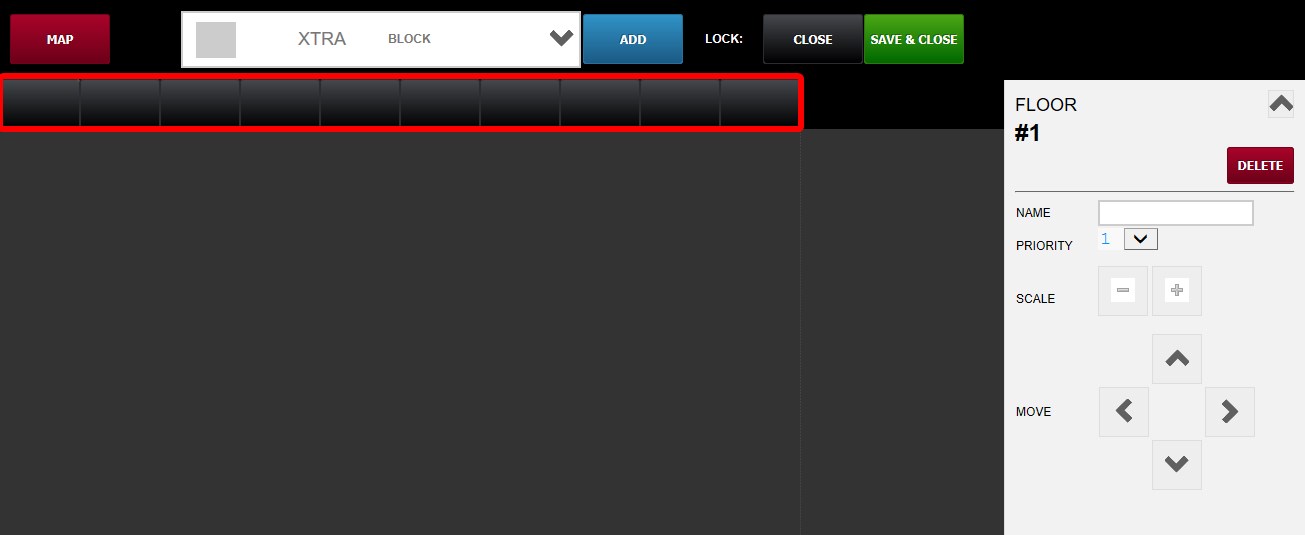
The editor panel on the right will now display the section settings.
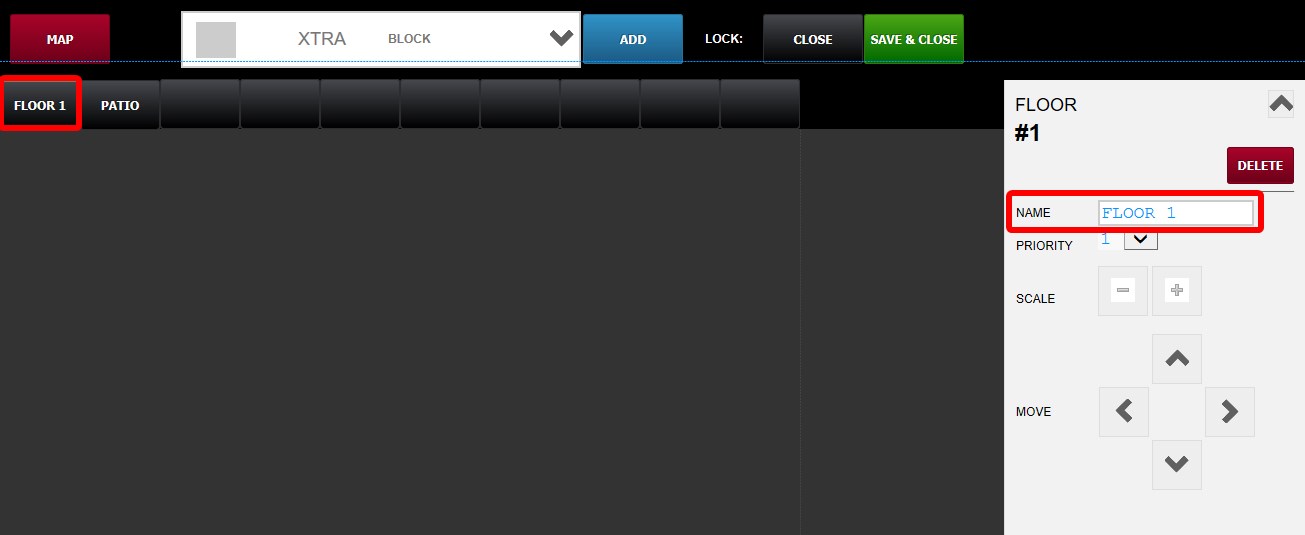
NAME: Click one of the empty section boxes within the map layout area. These sections can represent different areas of the establishment.
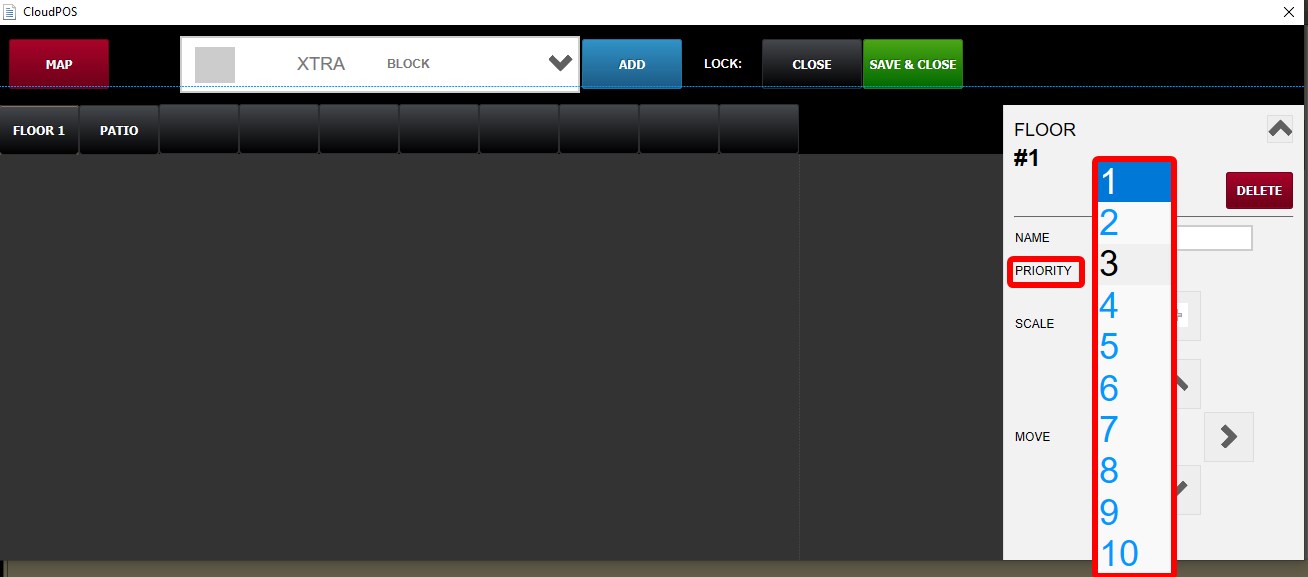
PRIORITY: Determines the order in which sections are displayed on the map screen.
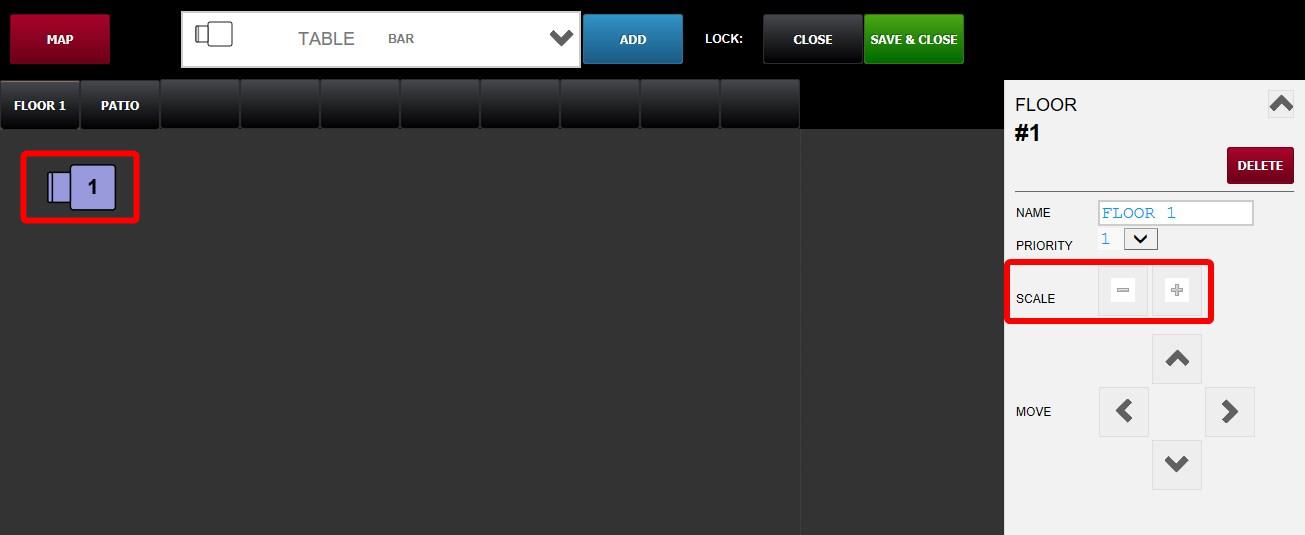
SCALE: Adjusts the size of the selected section.
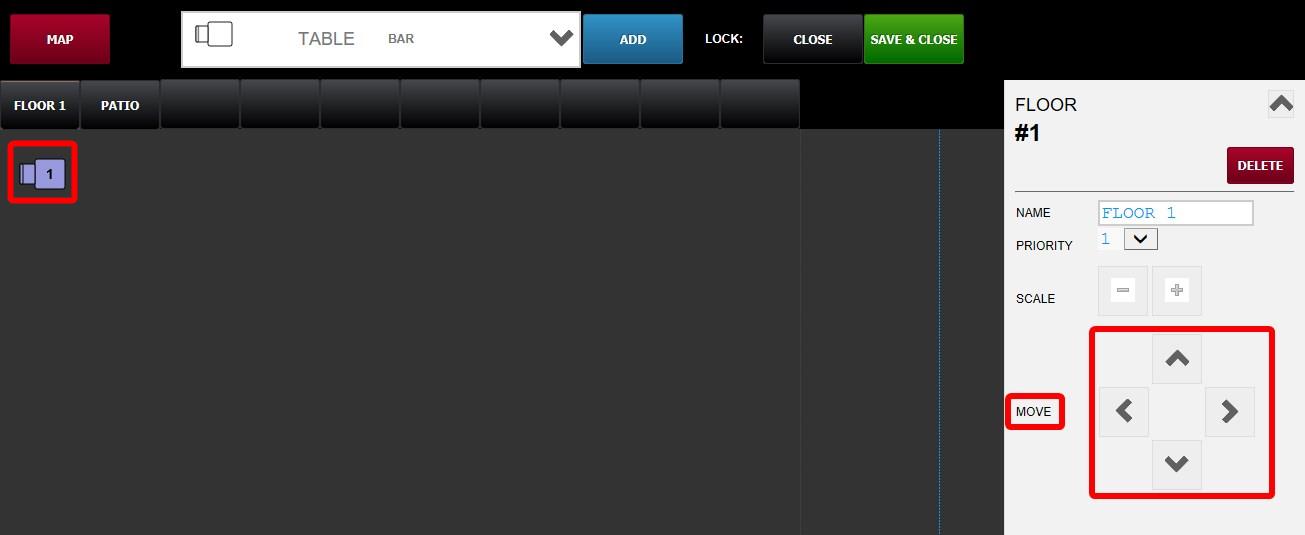
MOVE: Uses directional arrows to move the selected section up, down, left, or right.
ADDING ELEMENTS TO THE MAP
At the top of the editor, there is a drop-down menu containing available map elements.
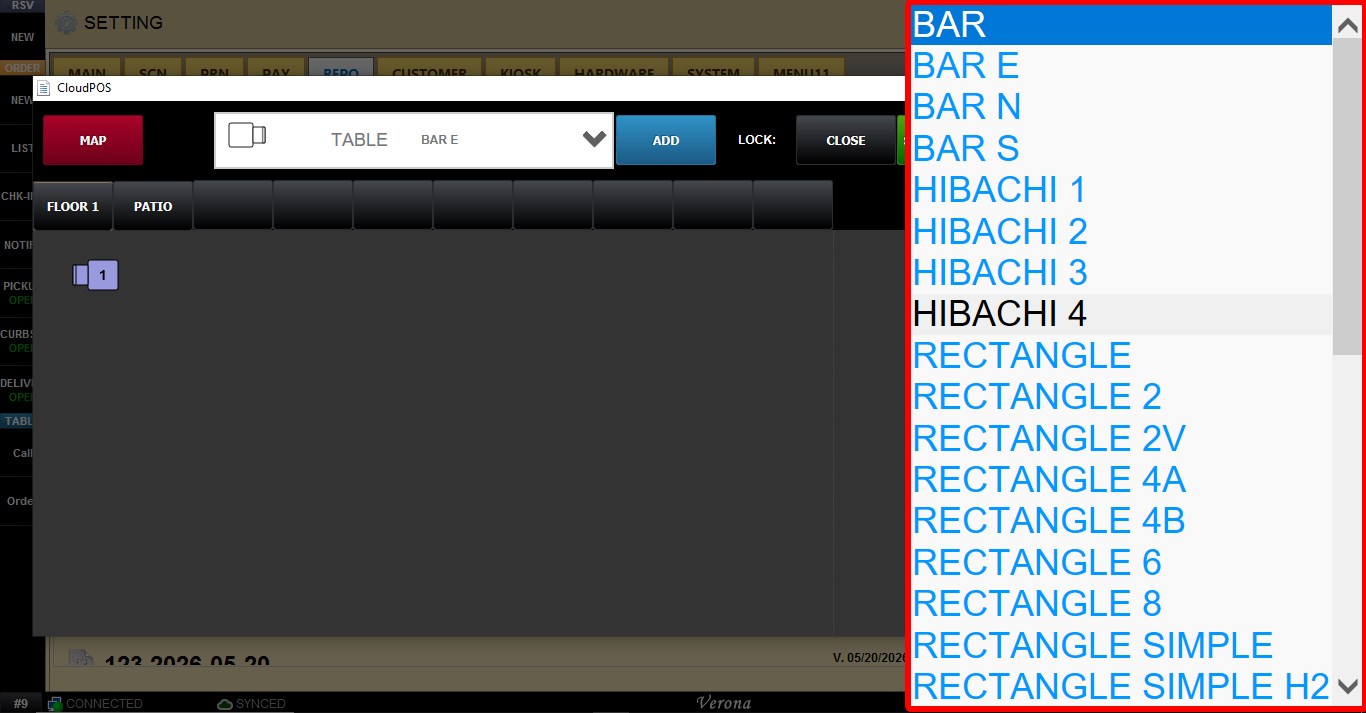
Available elements include different table layouts, rectangles, hibachi-style tables, round tables, doors, restroom signs, and text elements (e.g you can write labels like “Kitchen,” “Bathroom,” "Stairs")
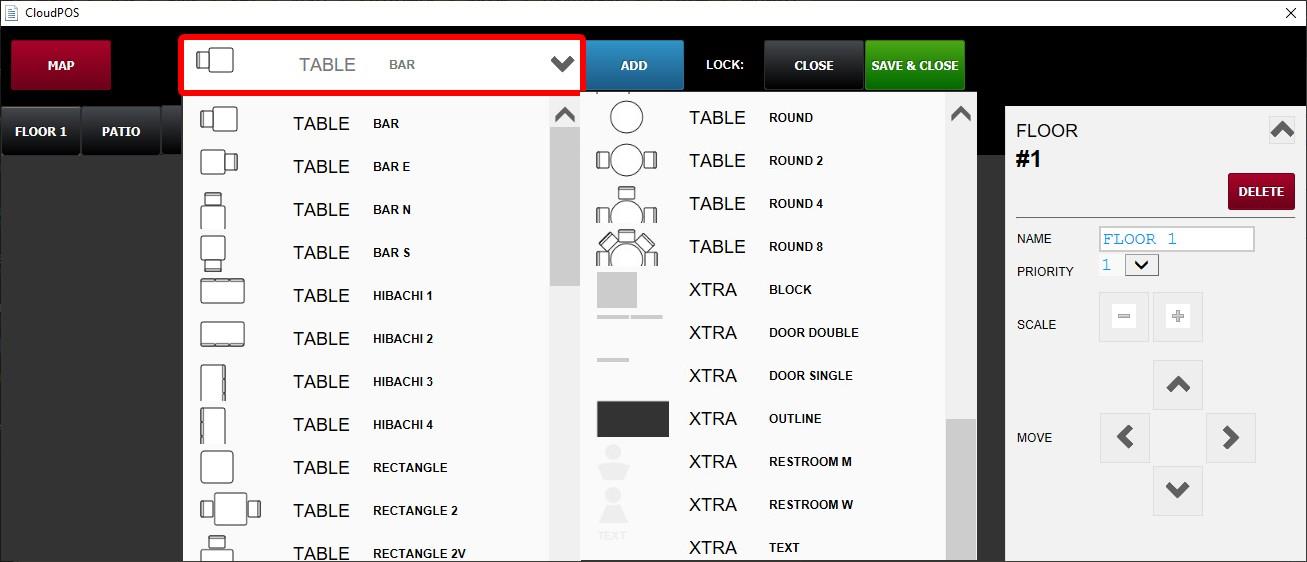
To add an element, select the desired element from the drop-down menu, then click ADD.
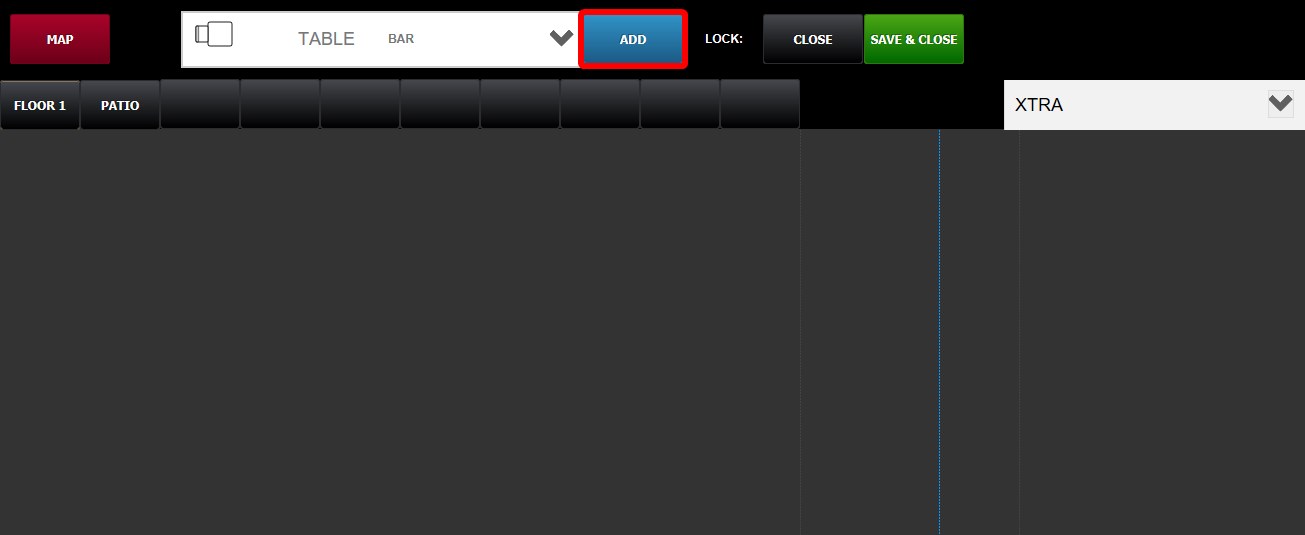
The selected element will appear in the map workspace.
Click the element to open its settings.
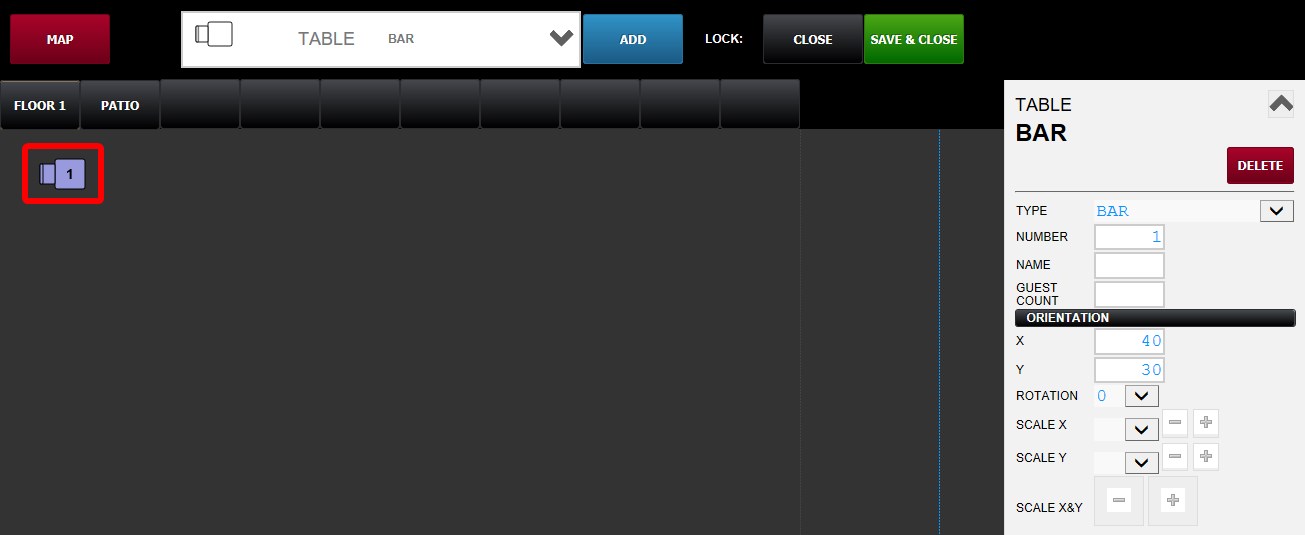
ELEMENT SETTINGS
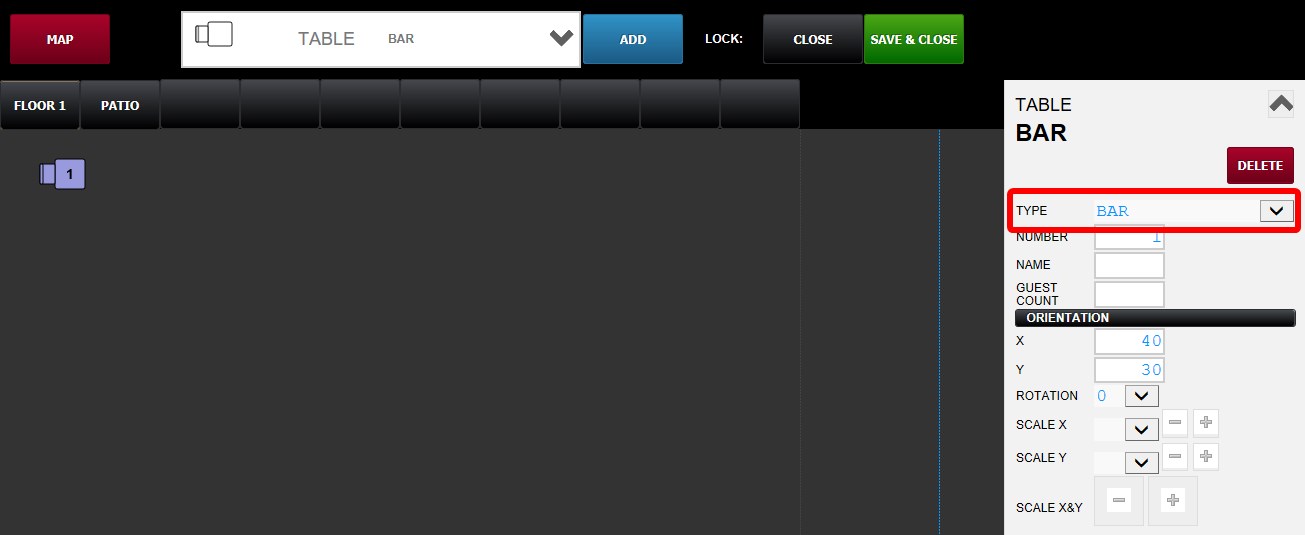
TYPE: Changes the selected element into a different element type.
For example, a 1-seat table can be converted into a larger round table without deleting and re-adding the element.
NUMBER: Displays the automatically assigned number for certain elements, such as tables. This field cannot be edited.
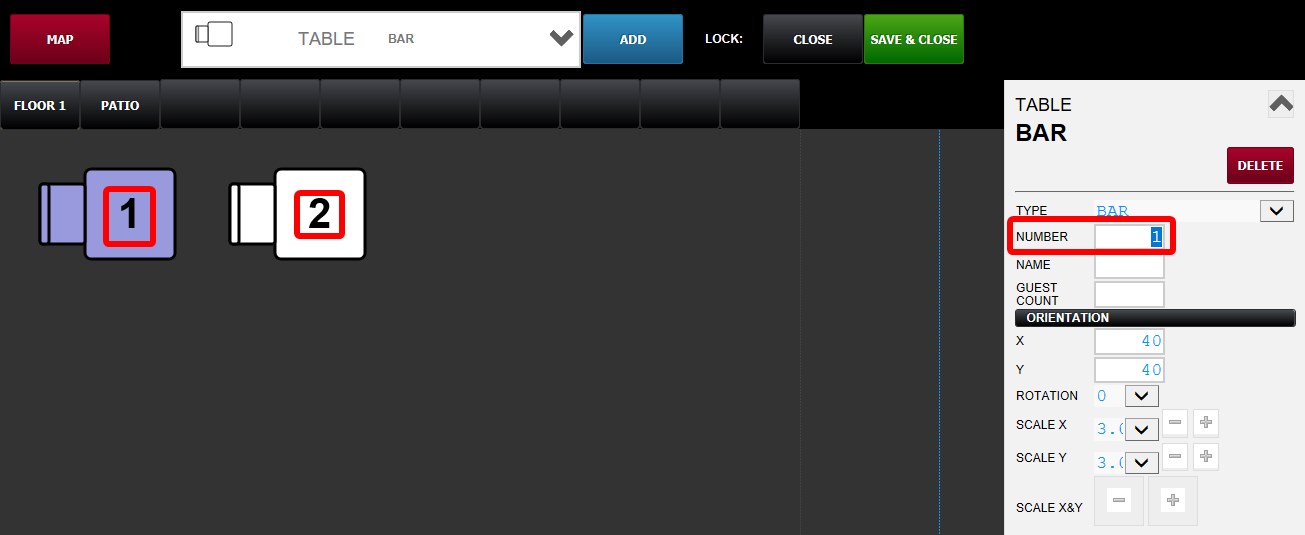
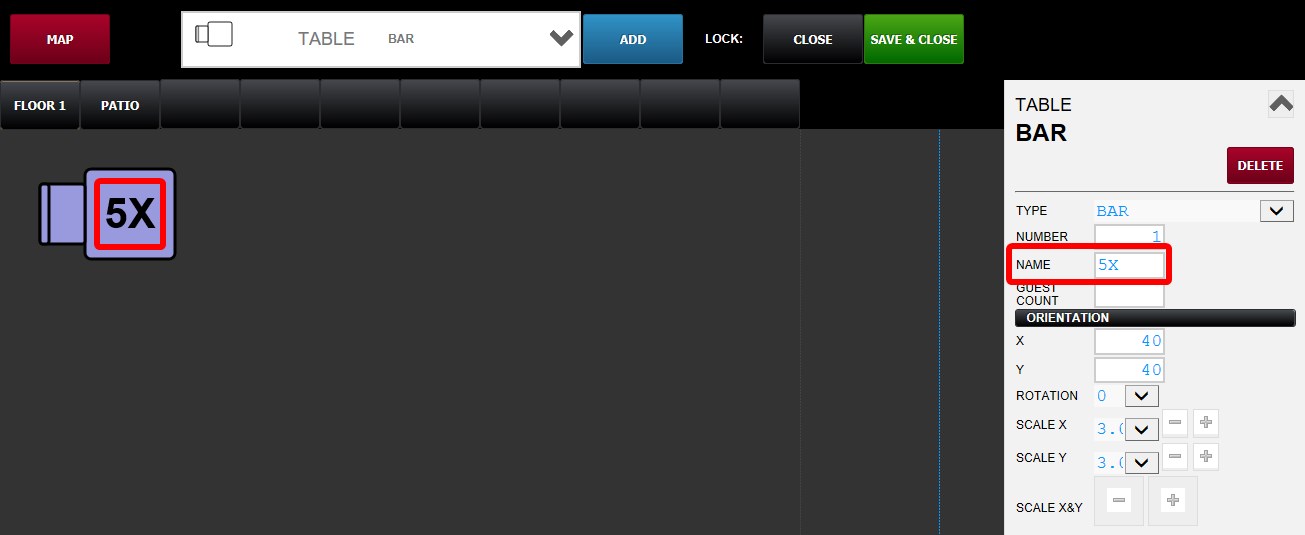
NAME: Assigns a custom name to the selected element. This field can contain letters, numbers, or a combination of both.
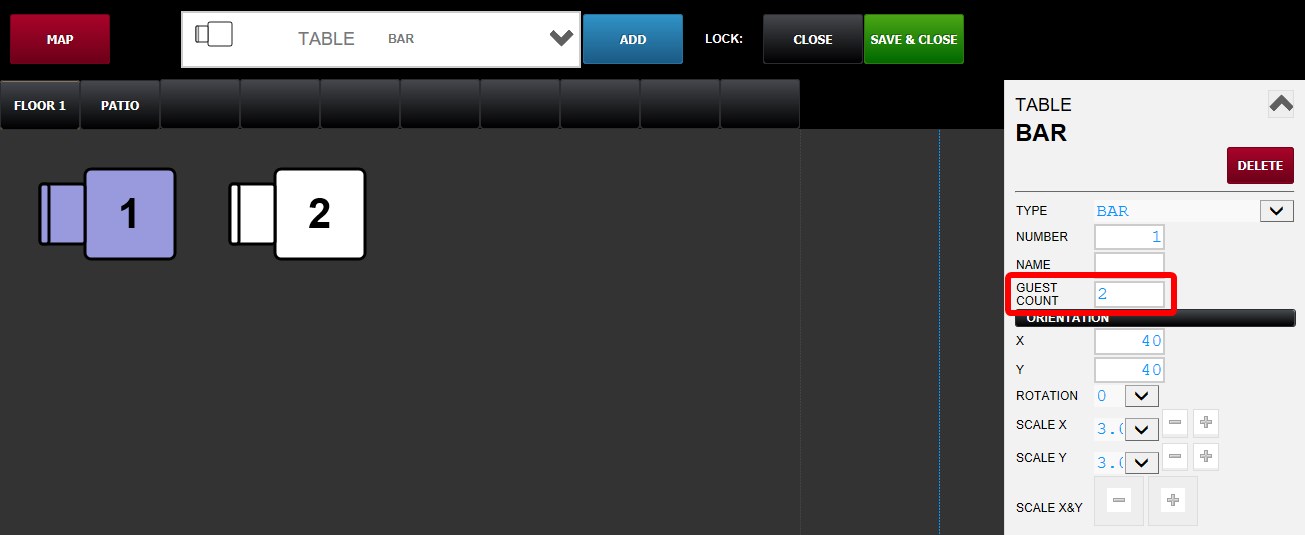
GUEST COUNT: Sets the seating capacity of the table. When the table is opened, the specified guest count is automatically applied.
ORIENTATION X: Defines the horizontal position of the selected element on the map.
ORIENTATION Y: Defines the vertical position of the selected element on the map.
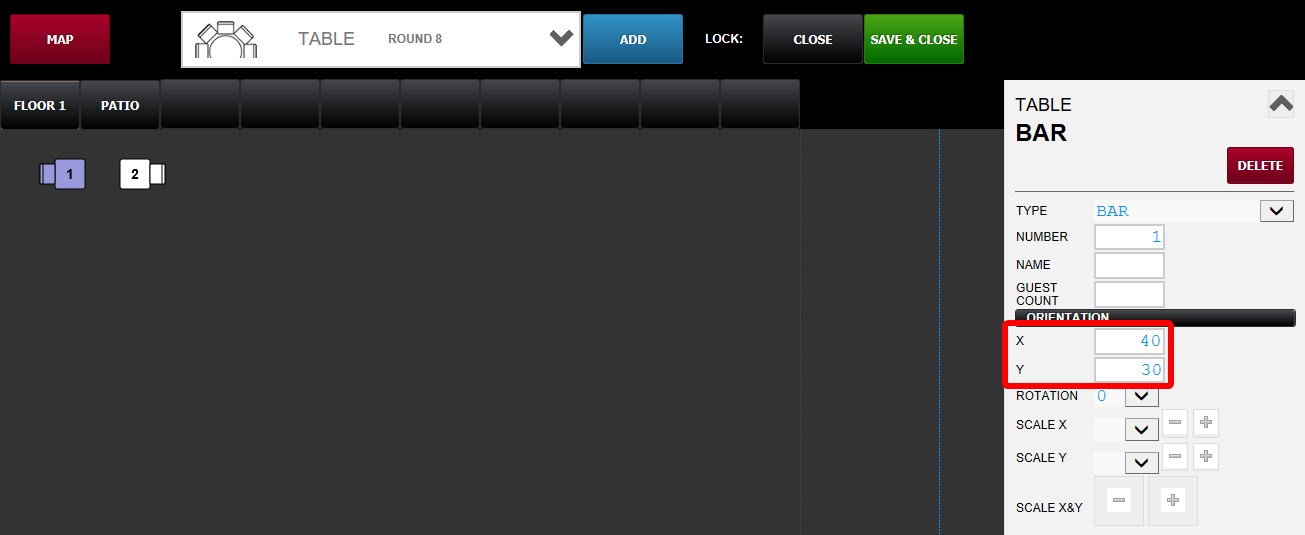
Hint: Elements can also be repositioned by clicking and dragging them directly within the map workspace.
ROTATION: Rotates the selected element.
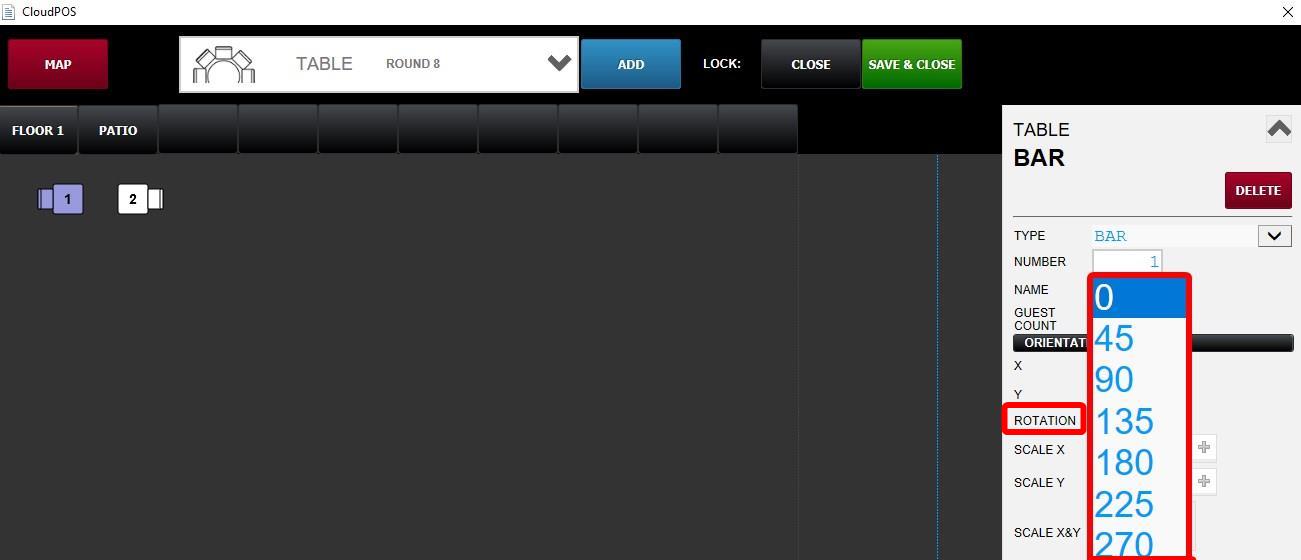
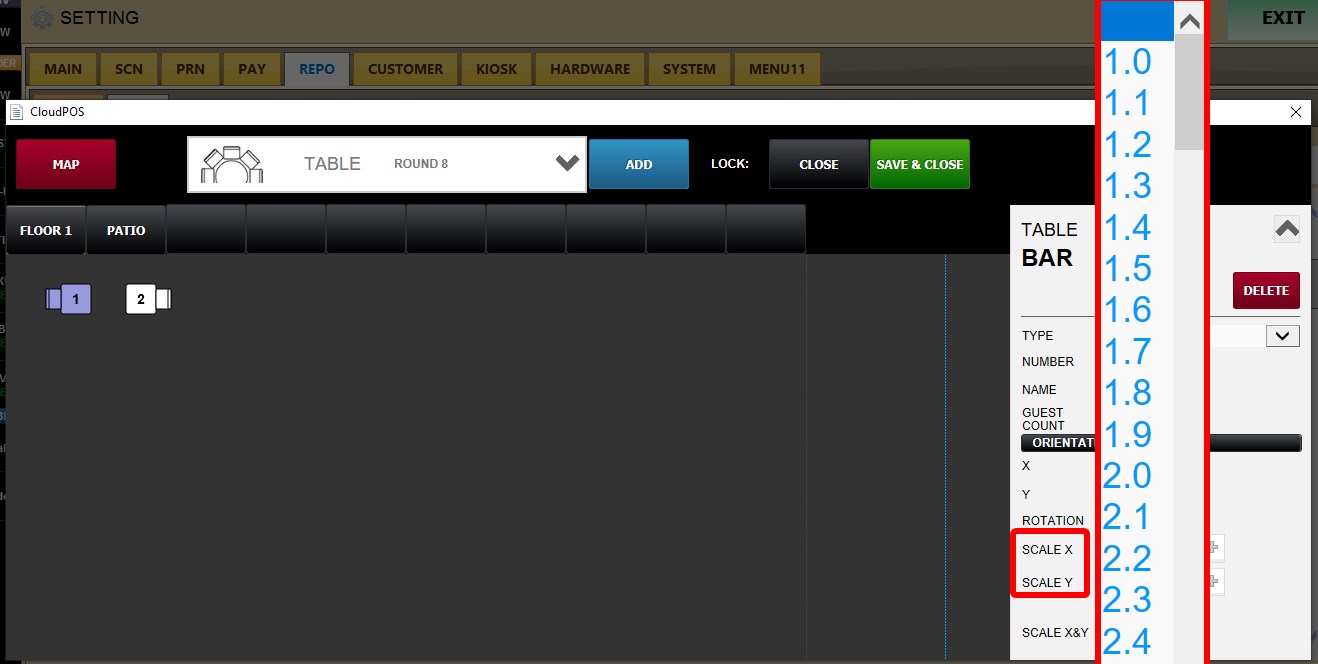
SCALE X: Adjusts the width of the selected element. Higher values make the element wider.
SCALE Y: Adjusts the height of the selected element. Higher values make the element taller.
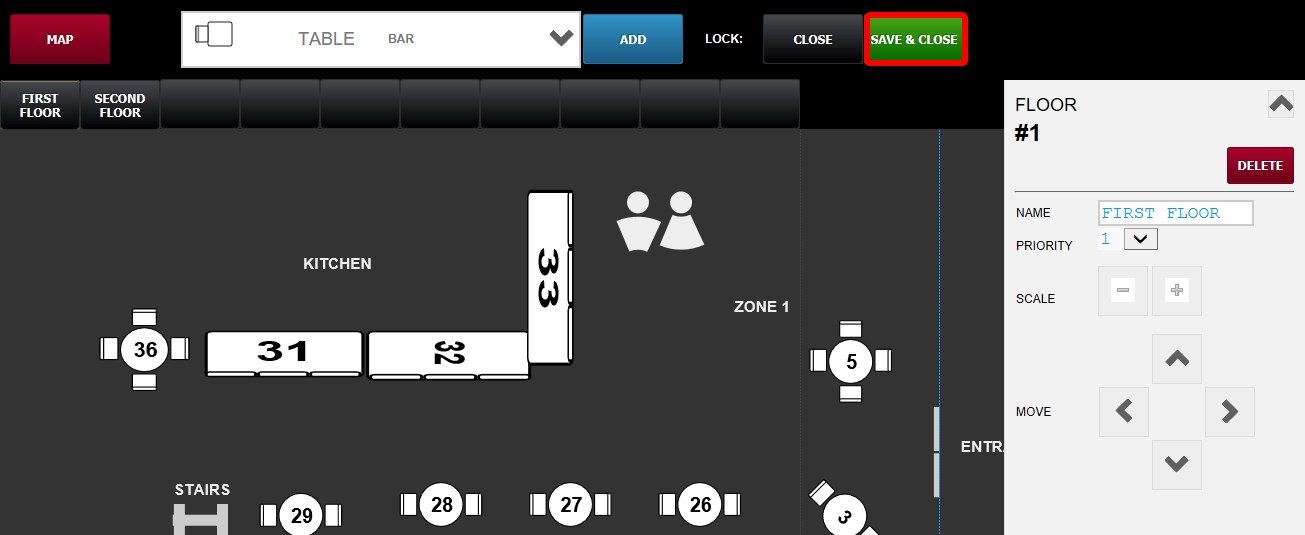
After finishing the table map layout, click SAVE & CLOSE.
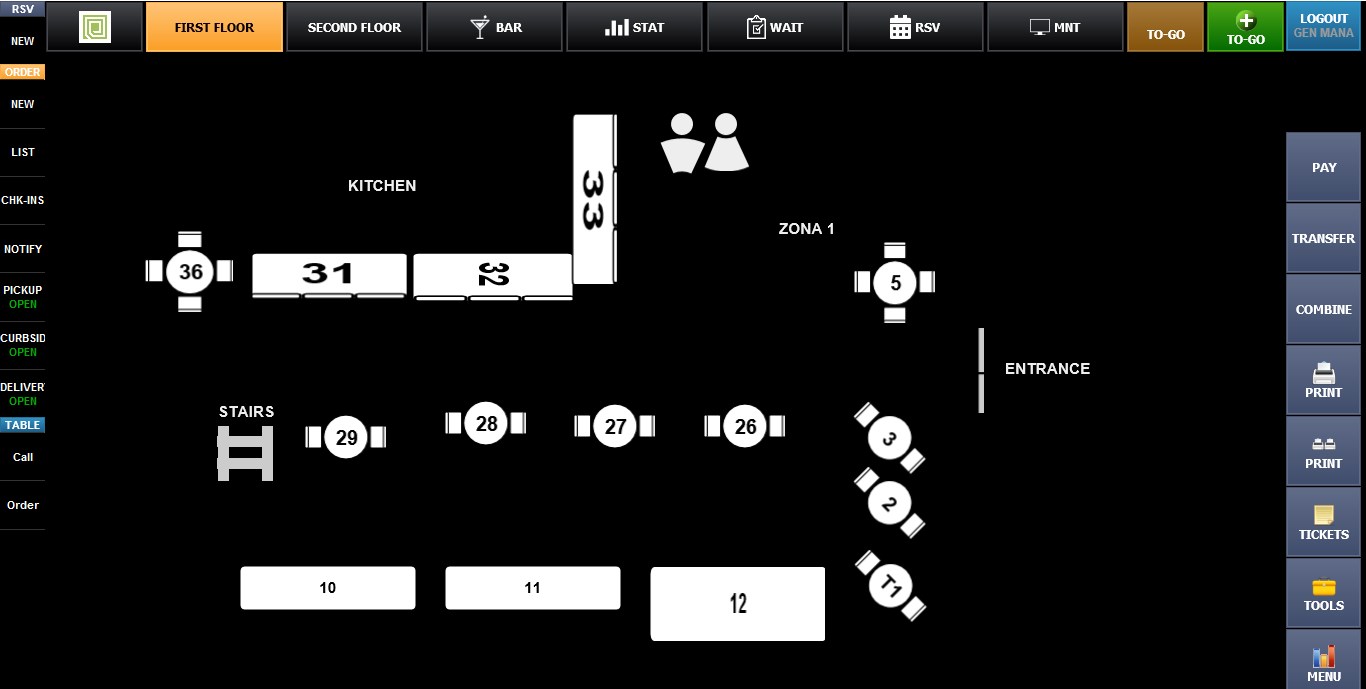
Result:
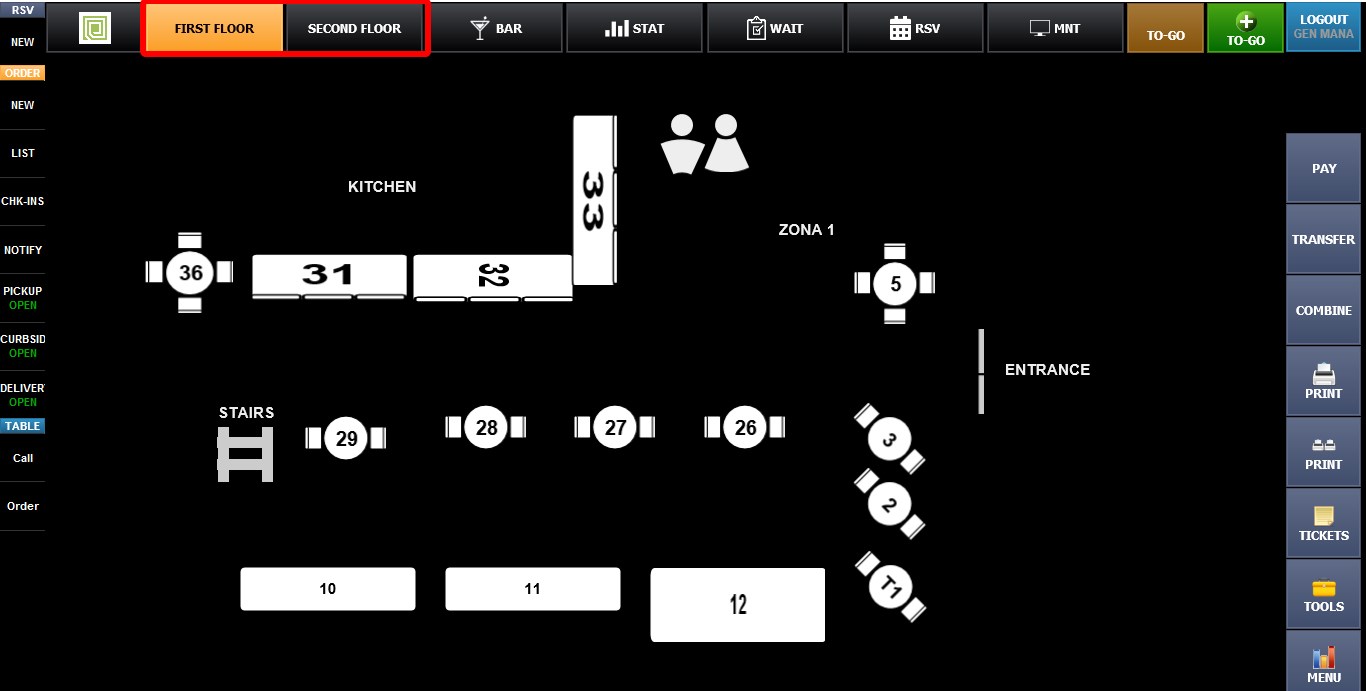
The configured table map will now be available and displayed in the Sales Screen.
Refer to the How to Set Up Map Table KB to assign the map.