Adding a Customer in the Wating List
Host Mode allows staff to manage guest waitlists and seating queues. Guests can be added to the waitlist with party information and seating preferences, making it easier to organize seating and track waiting customers.
See the Change to Host Mode Guide to learn how to enable Host Mode.
Once Host Mode is enabled, the main screen will display the Host interface.

To add a guest to the waitlist, click TOUCH TO ADD.

Hint: You can click anywhere within the large shaded area containing the TOUCH TO ADD label. The entire section acts as the button and will open the Add Guest screen.
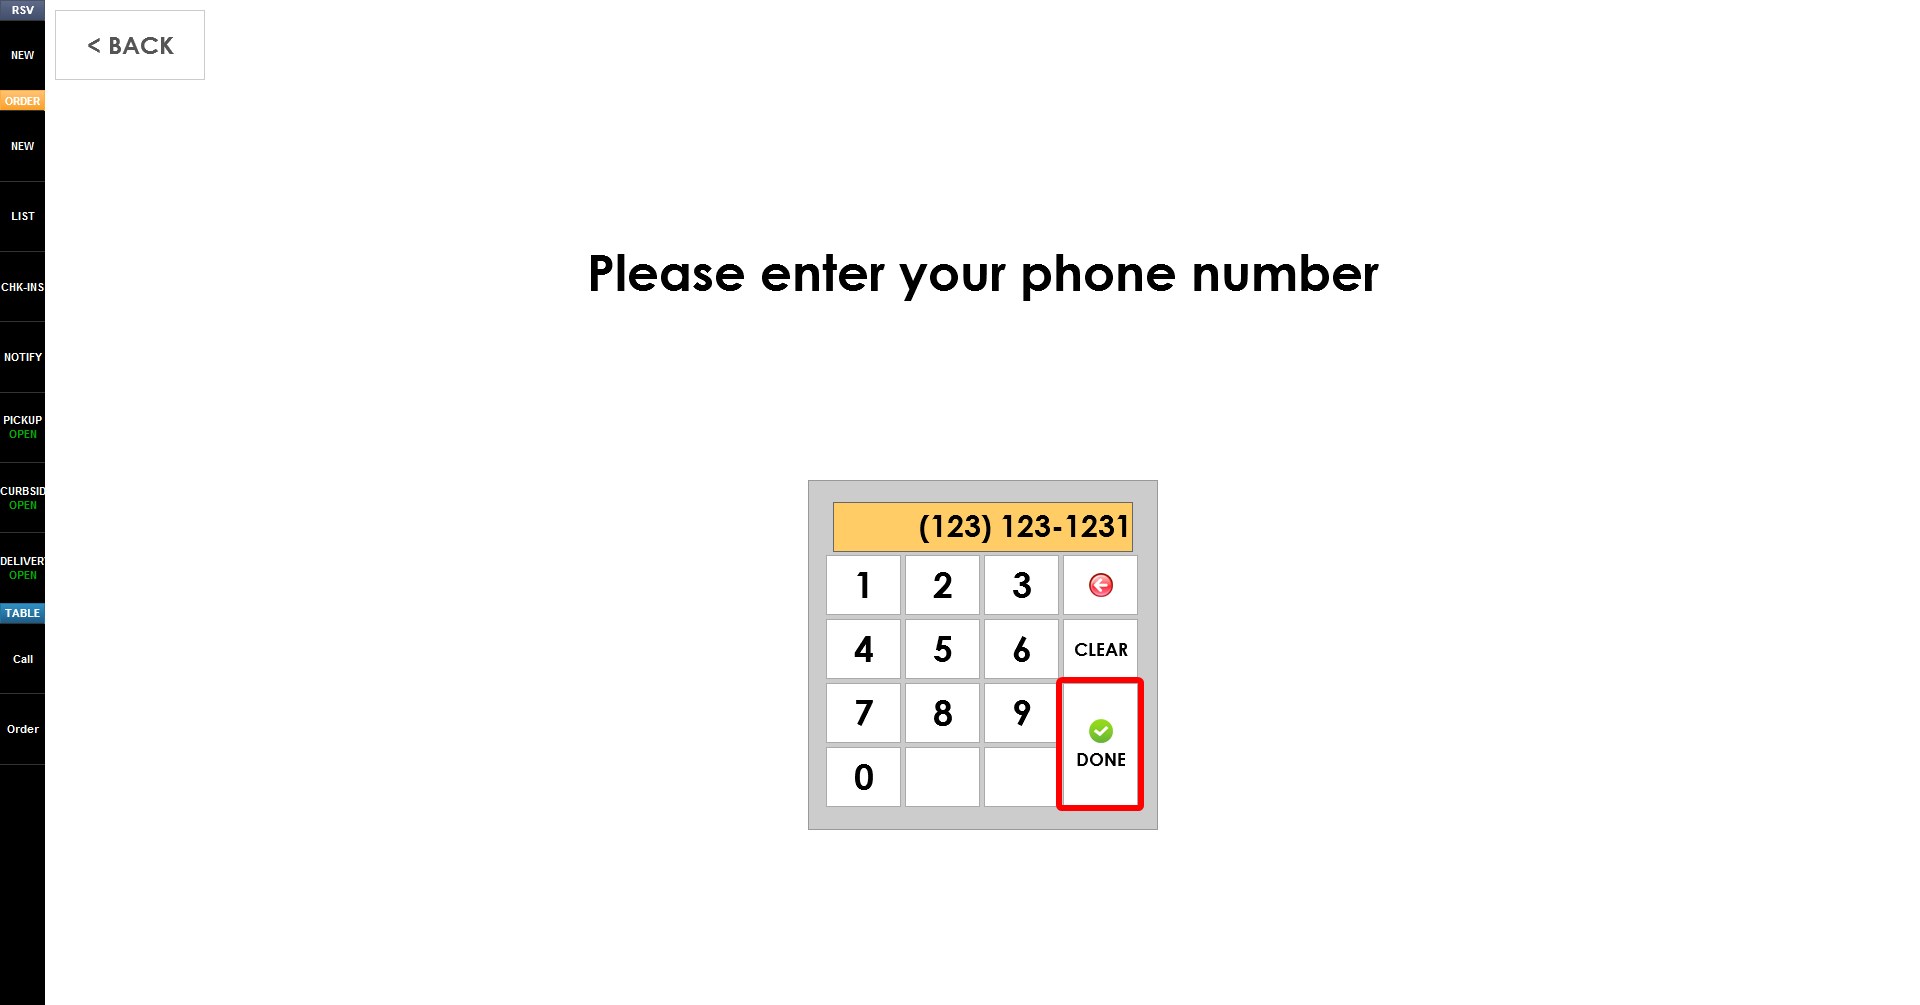
Enter the customer's phone number and click DONE.
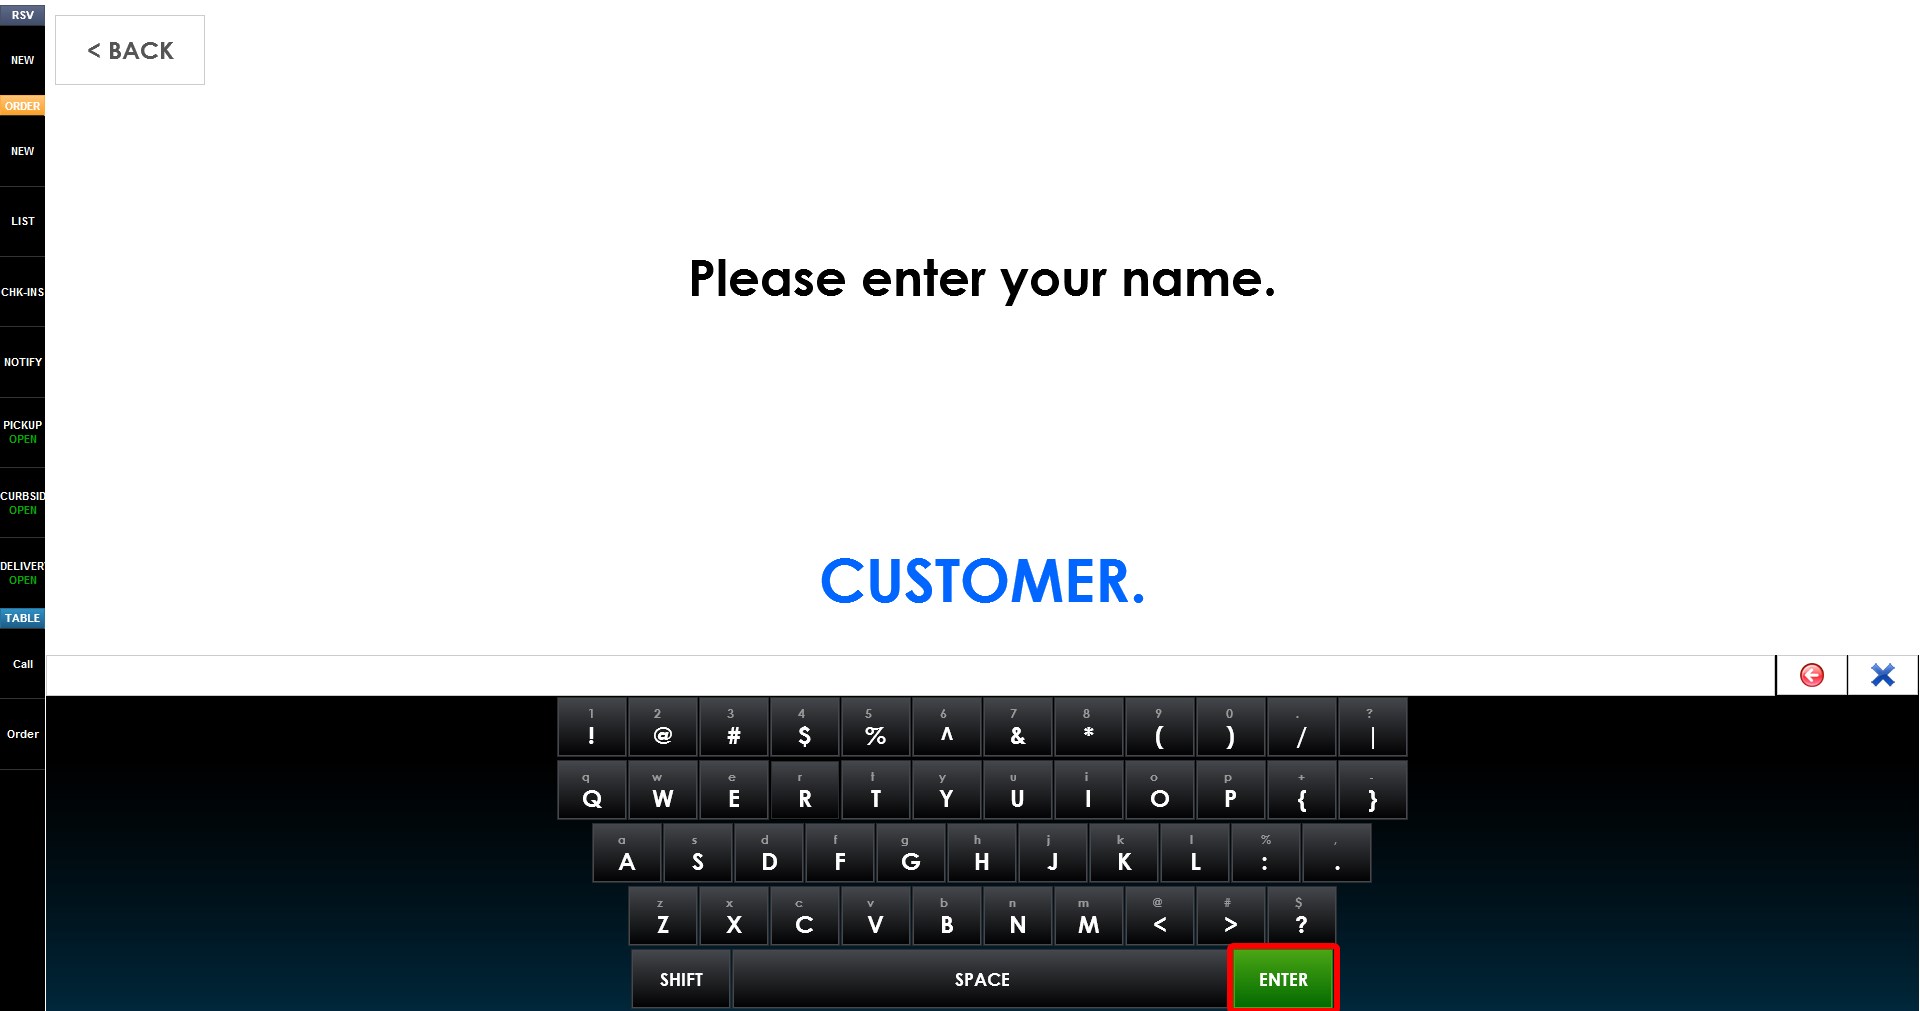
Enter the customer's name and click ENTER.
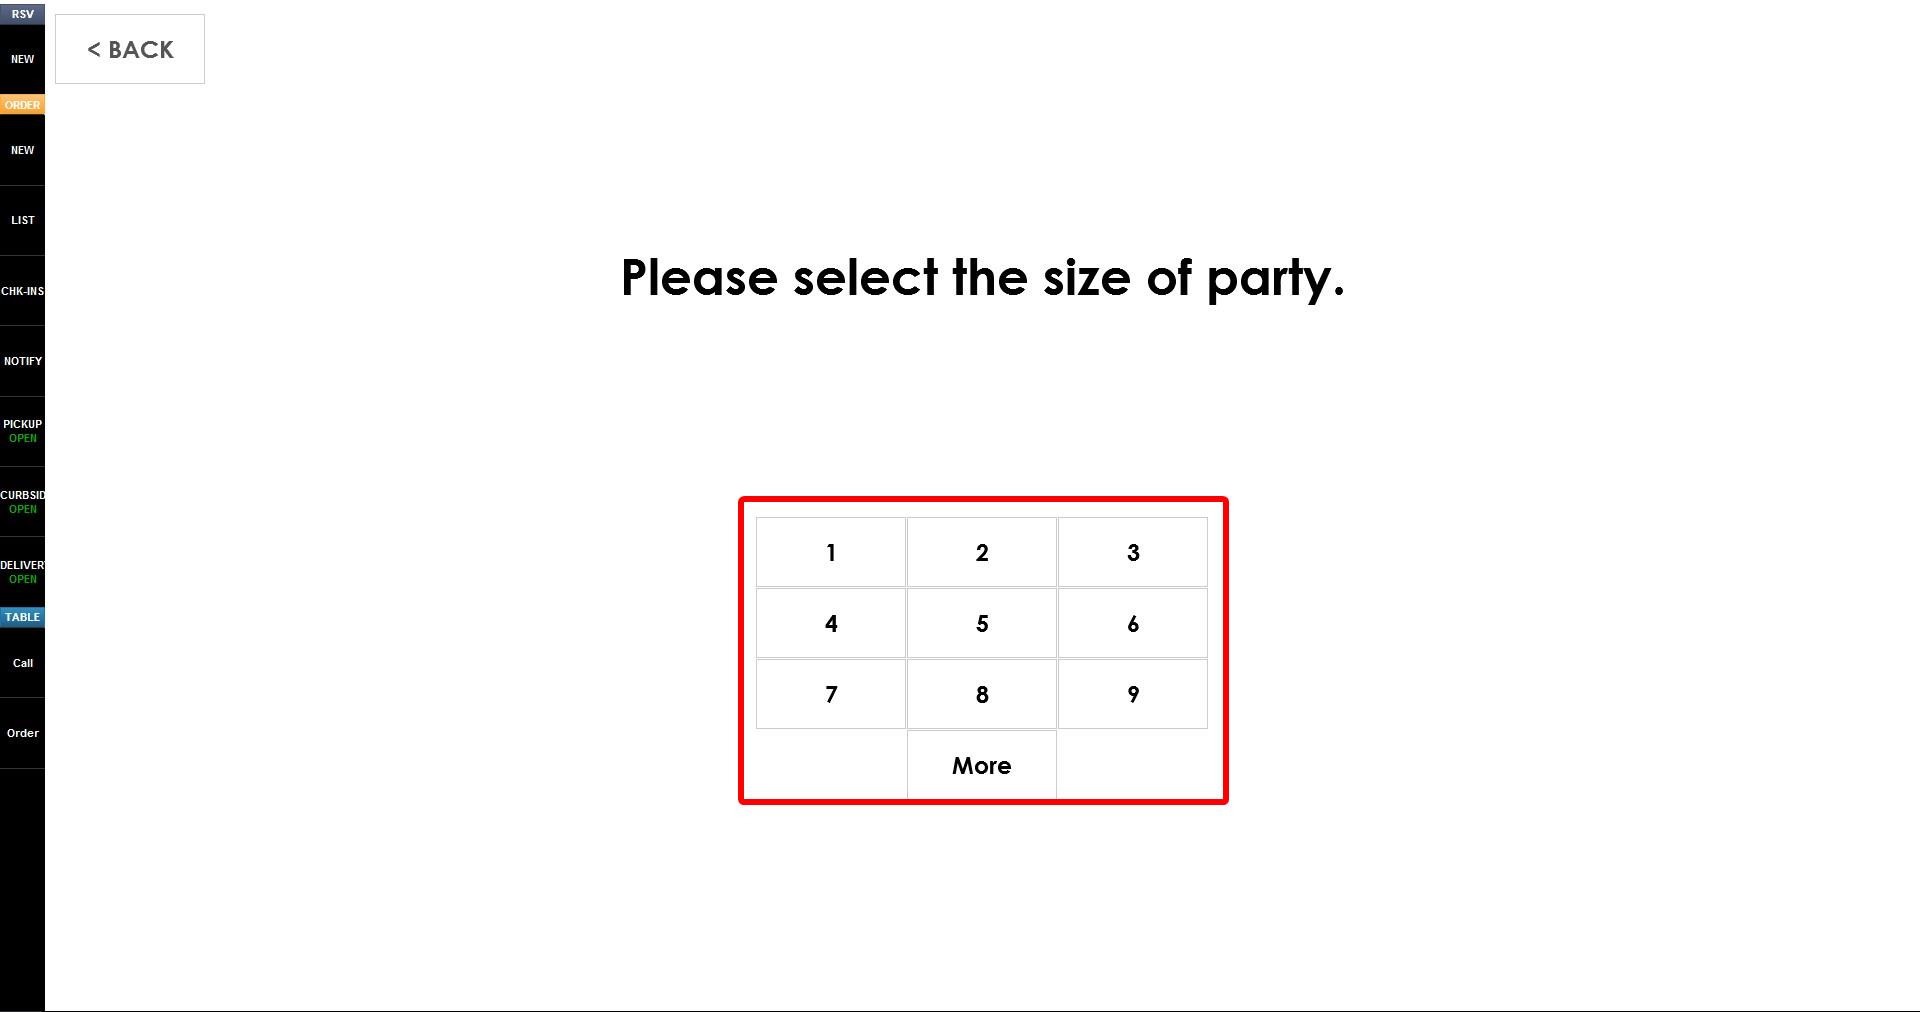
Enter the party size.
See the Host Settings Guide to learn how to customize the preferences.
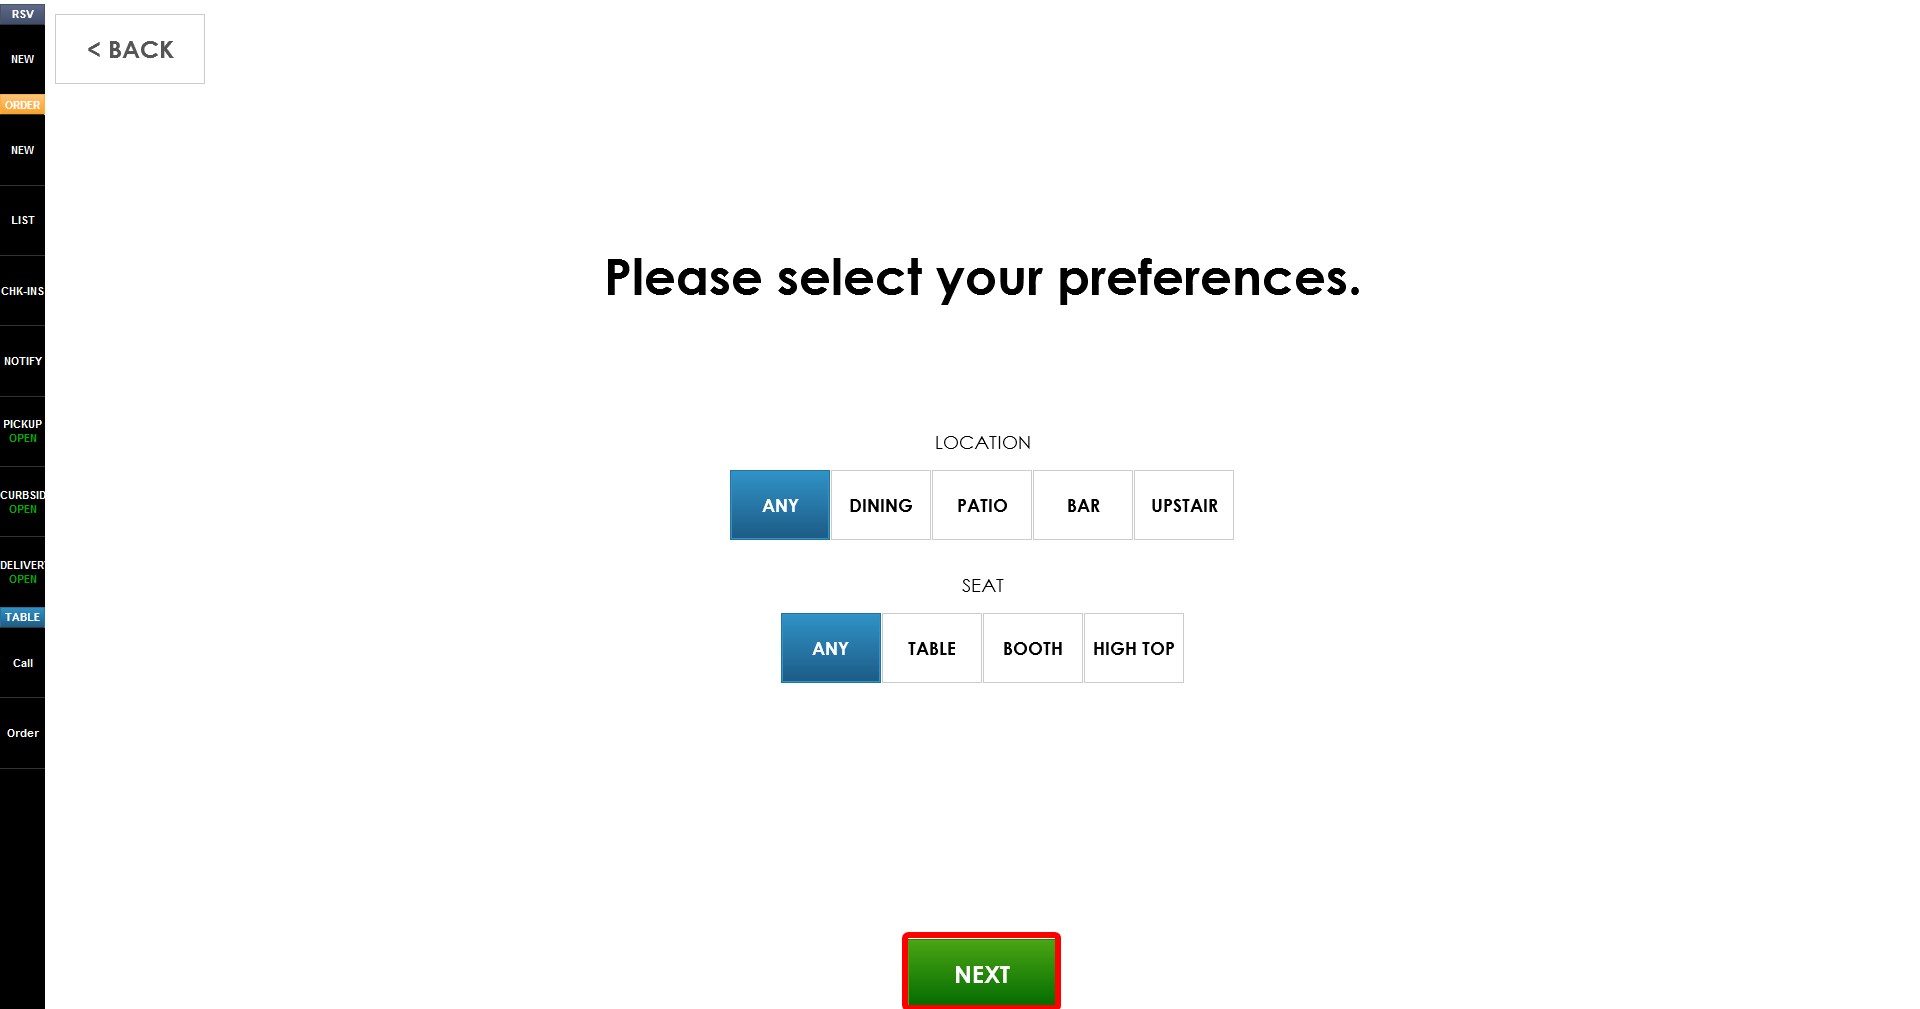
Select the desired LOCATION preference and the desired SEAT preference.
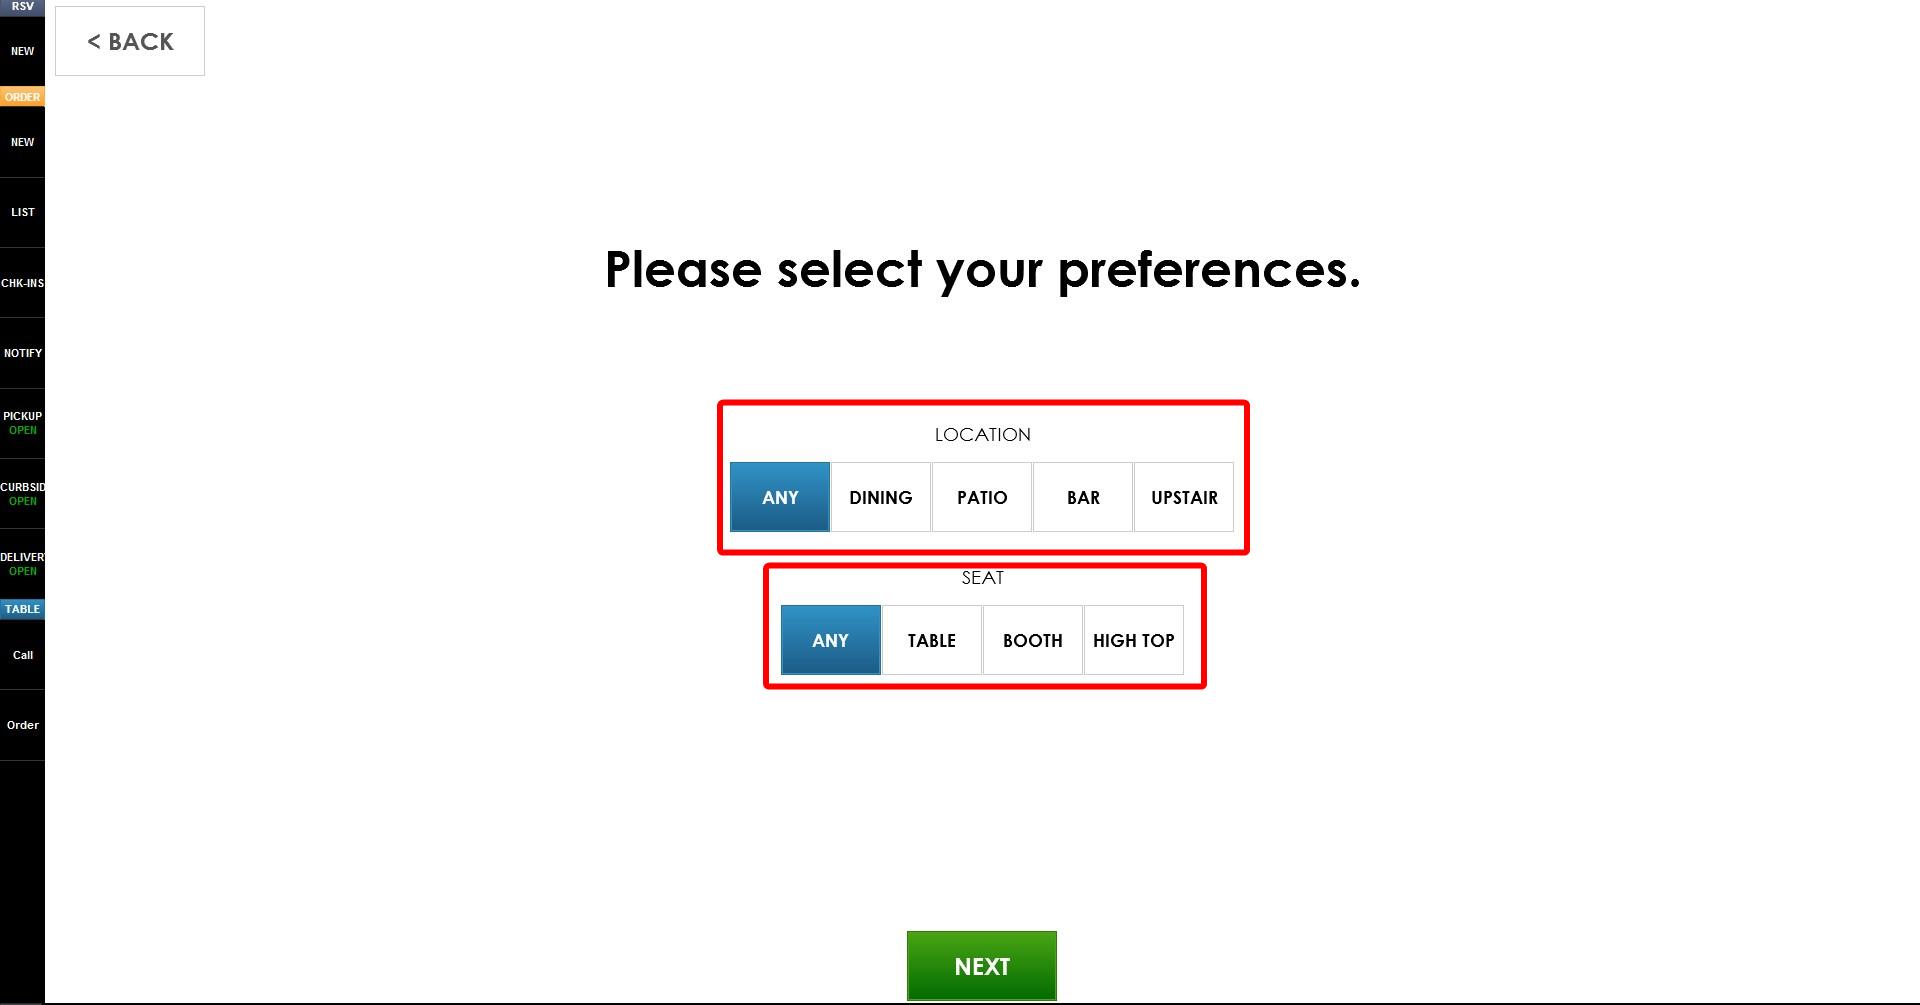
After selecting the preferences, click DONE.
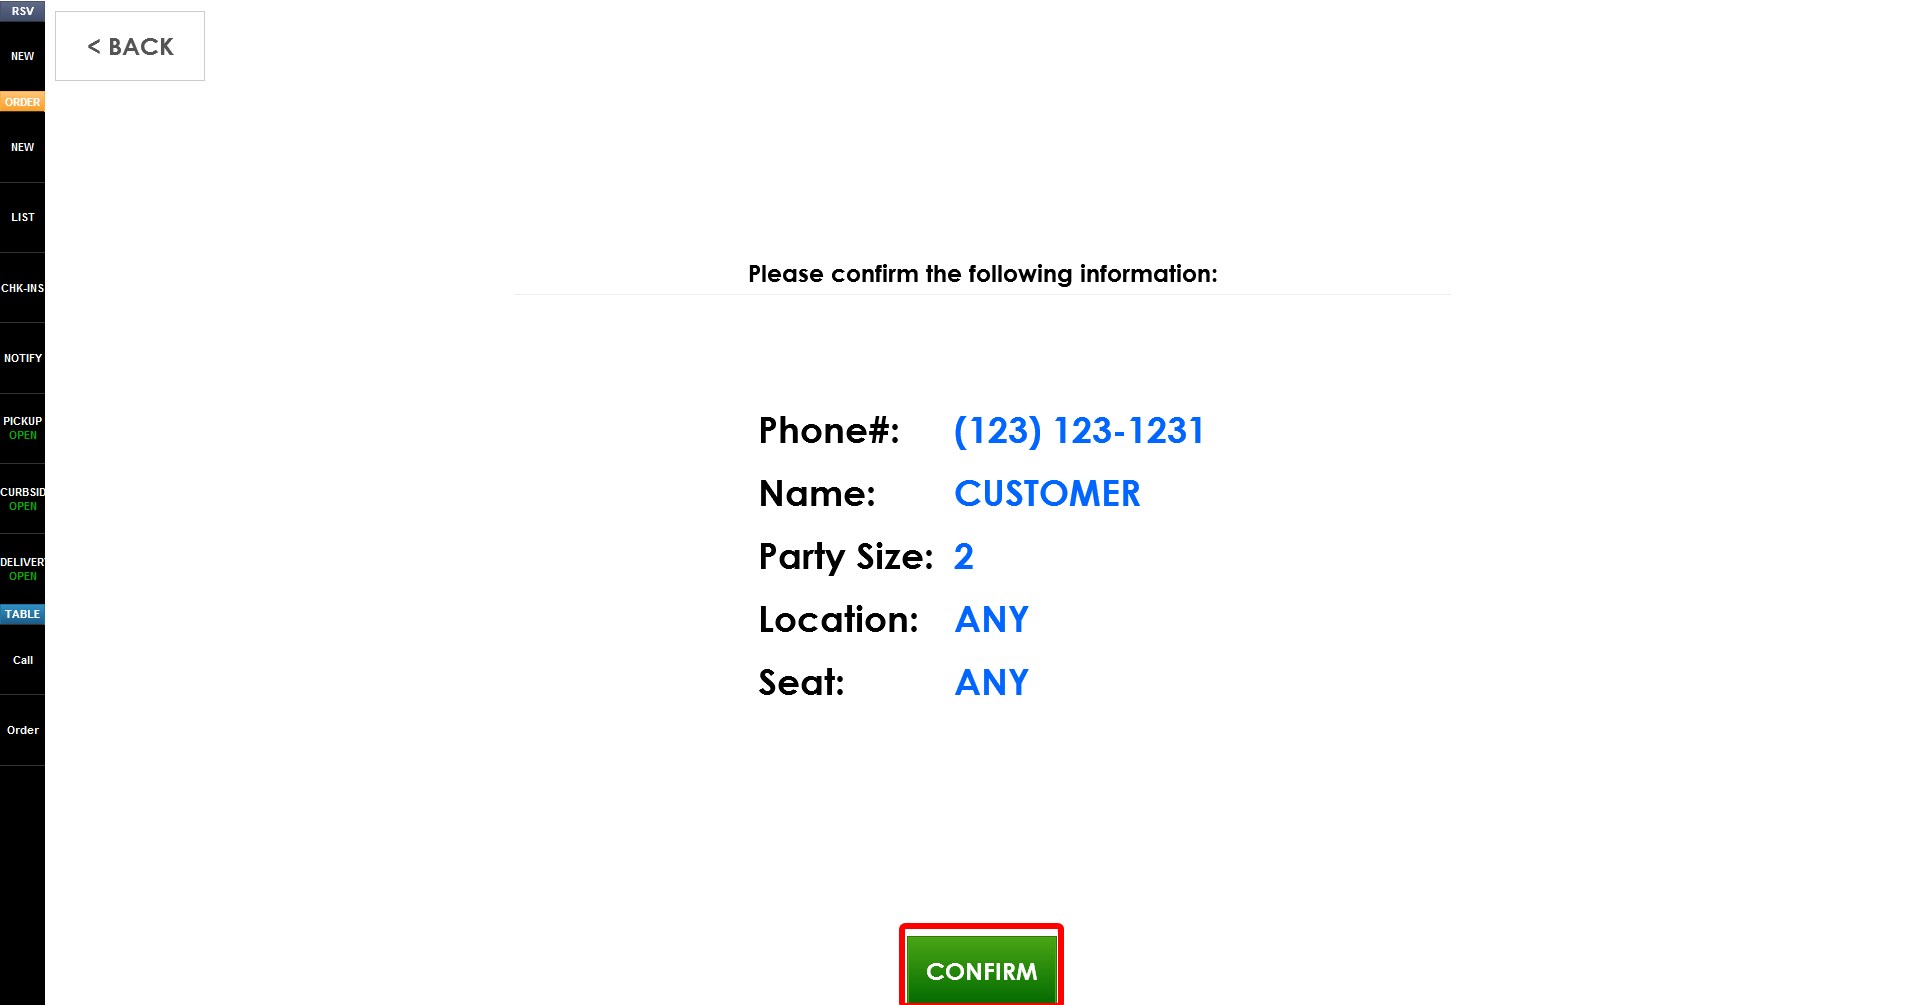
Review the information on the confirmation screen. Click CONFIRM to add the guest to the waitlist.
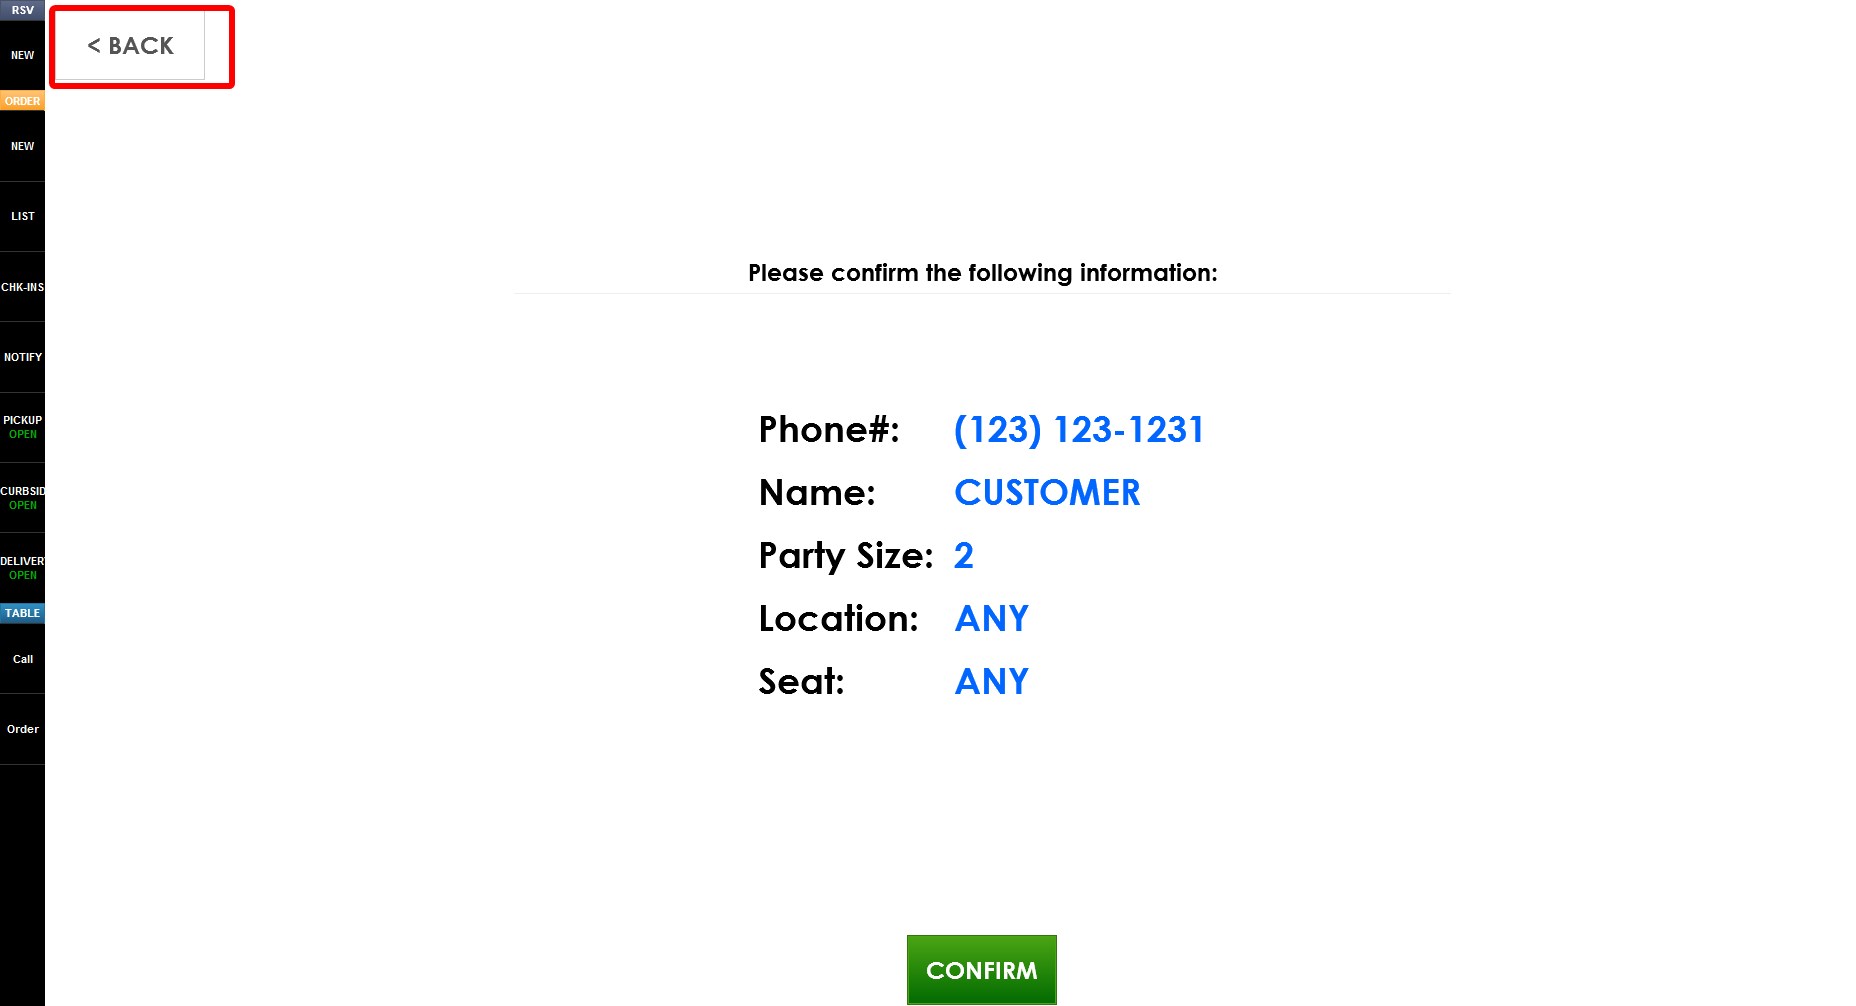
Or click BACK to return and modify any information entered previously.
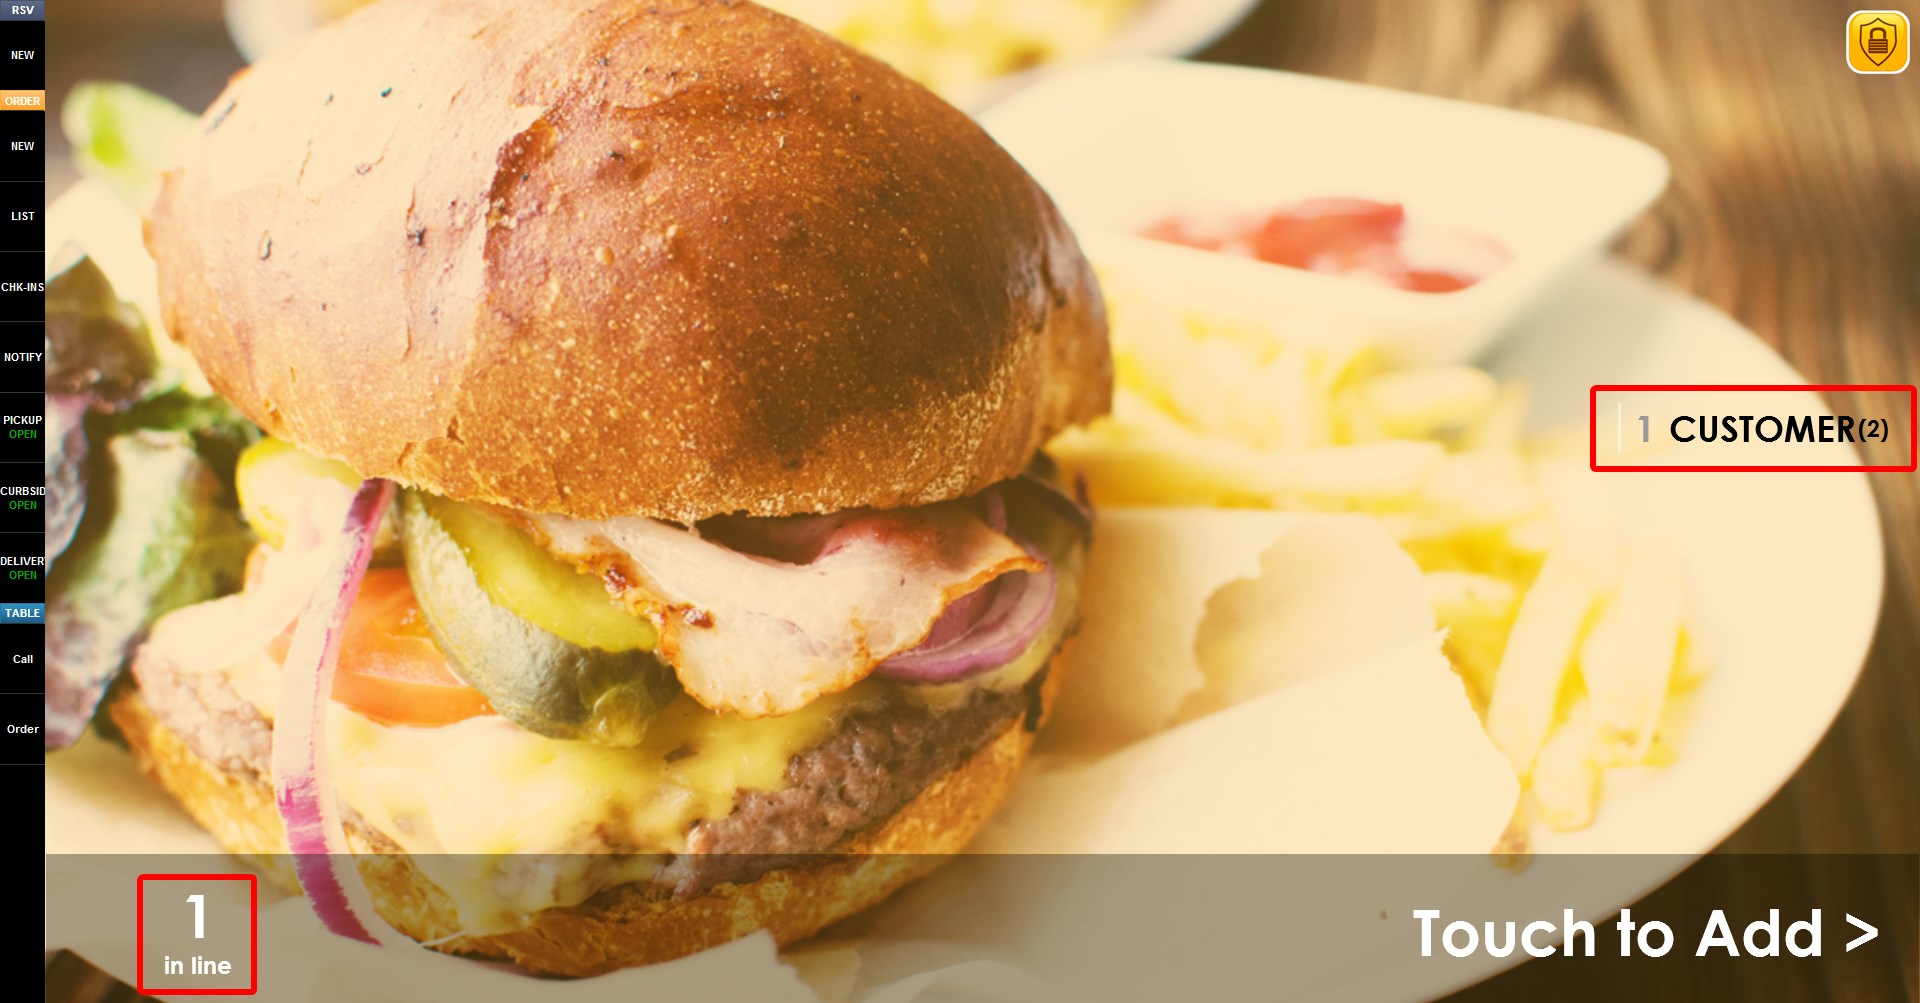
RESULT:
You will be returned to the main Host Mode screen.
The waitlist count will increase to reflect the number of parties currently waiting.
The guest will appear in the waitlist and can later be seated from the waitlist management screen.
Repeat the process by clicking TOUCH TO ADD to add additional guests or parties.
See the Manage the Waiting List KB to learn how to manage and seat guests from the waitlist.