Category
The Category settings control how the category buttons look on the kiosk ordering screen: where they are placed, how many rows are shown, and their size, font size, width, and color.
MENU > SETTINGS > KIOSK > ORDER > LAYOUT
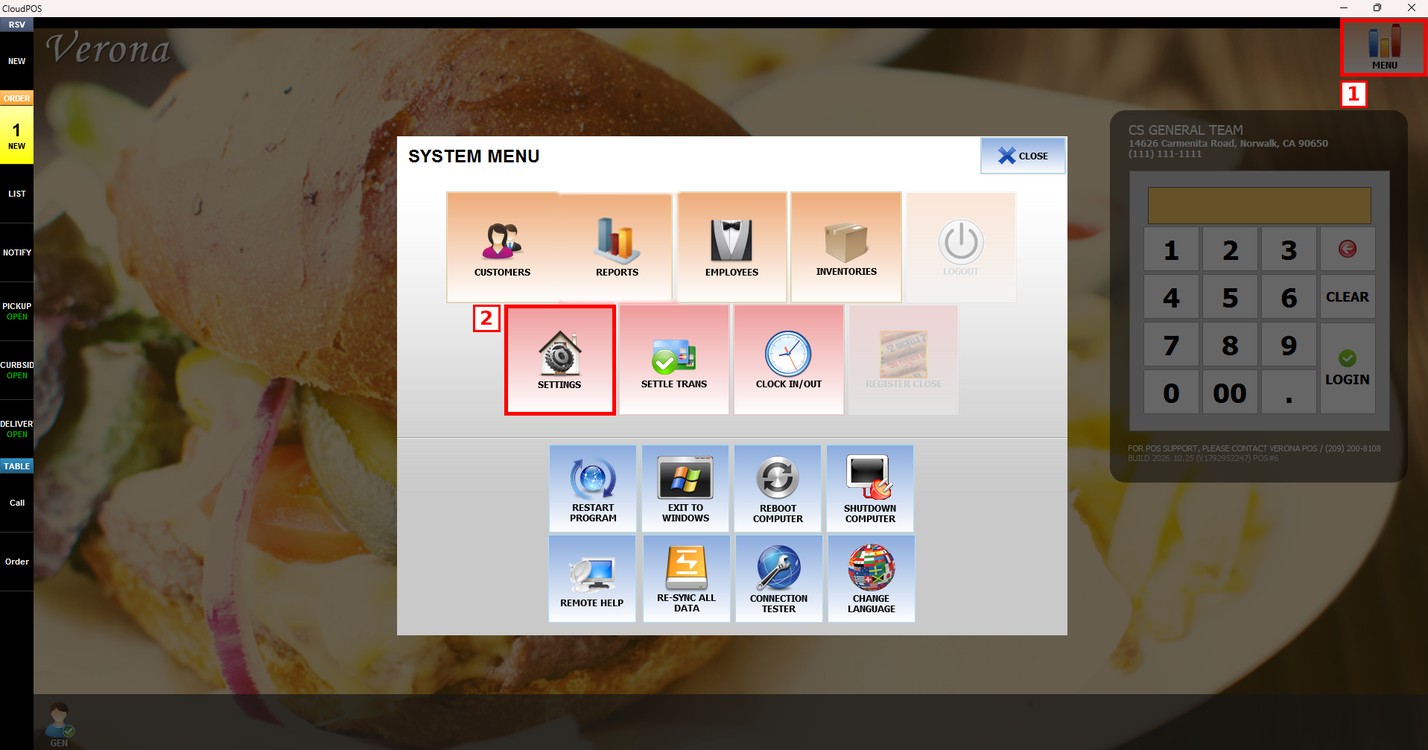
Go to MENU and press SETTINGS.
Press the KIOSK tab and then the ORDER subtab. The settings are in the [ CATEGORY ] part of the LAYOUT section.
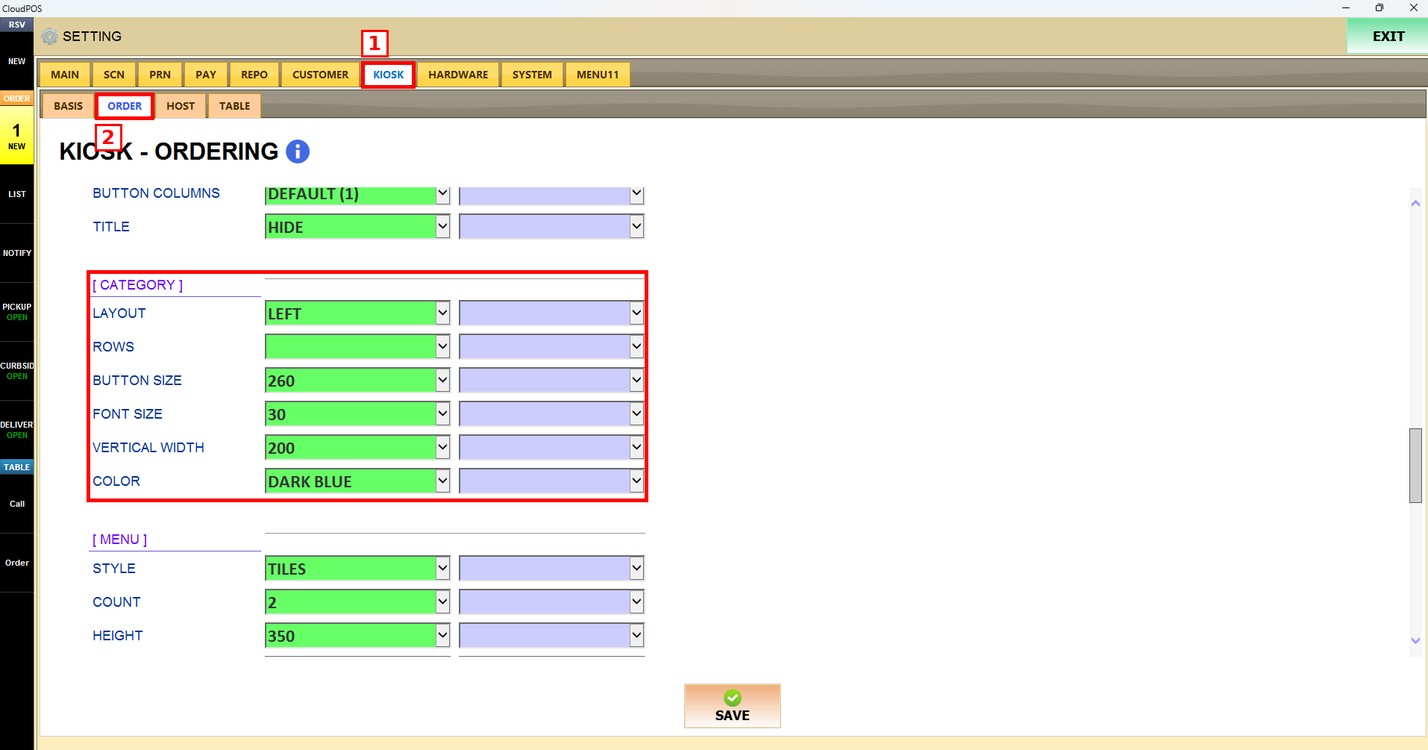
Each setting has two dropdowns. The first one (green) is the setting used by all the kiosks of the store. The second one is the setting used only by this kiosk. Leave it empty to use the store setting.
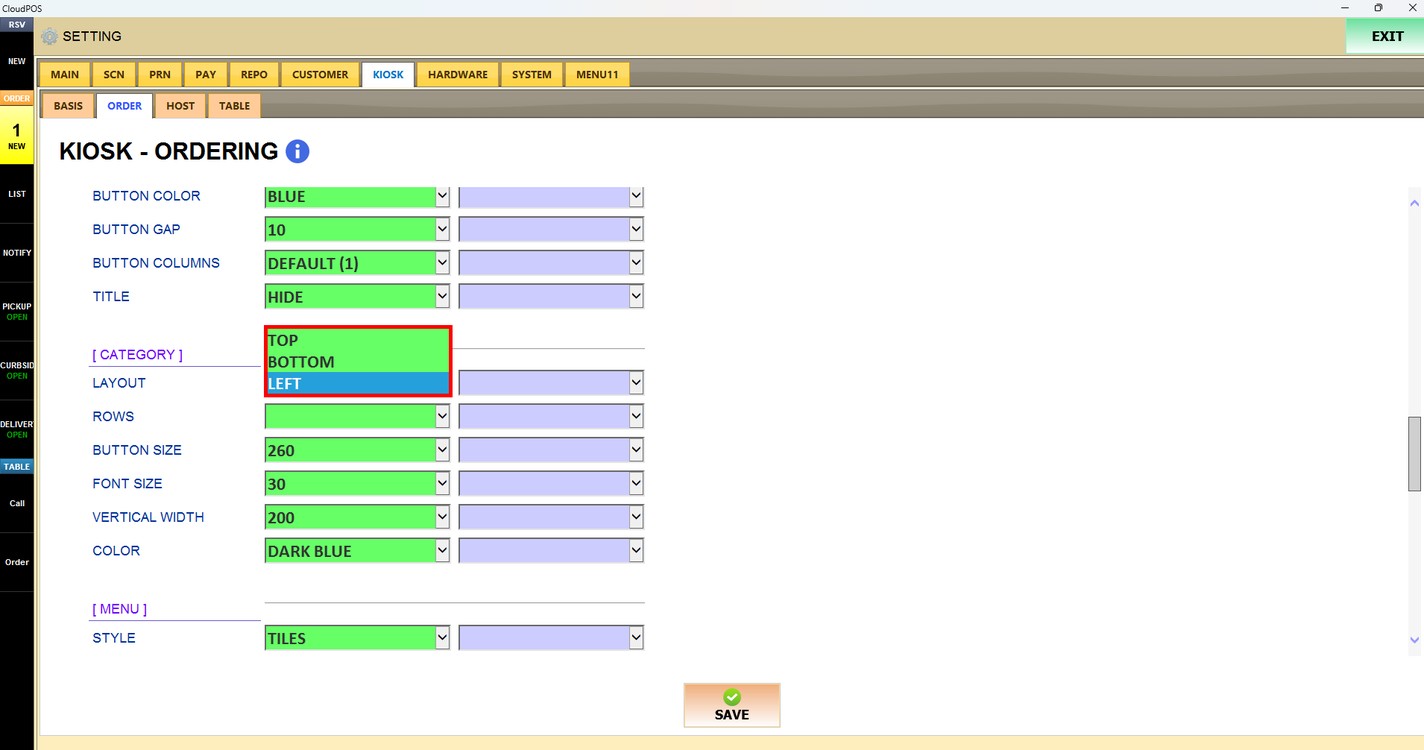
Layout:
Sets where the category buttons are shown on the ordering screen.
1. TOP: The categories are shown at the top of the screen.
2. BOTTOM: The categories are shown at the bottom of the screen.
3. LEFT: The categories are shown on the left side of the screen.
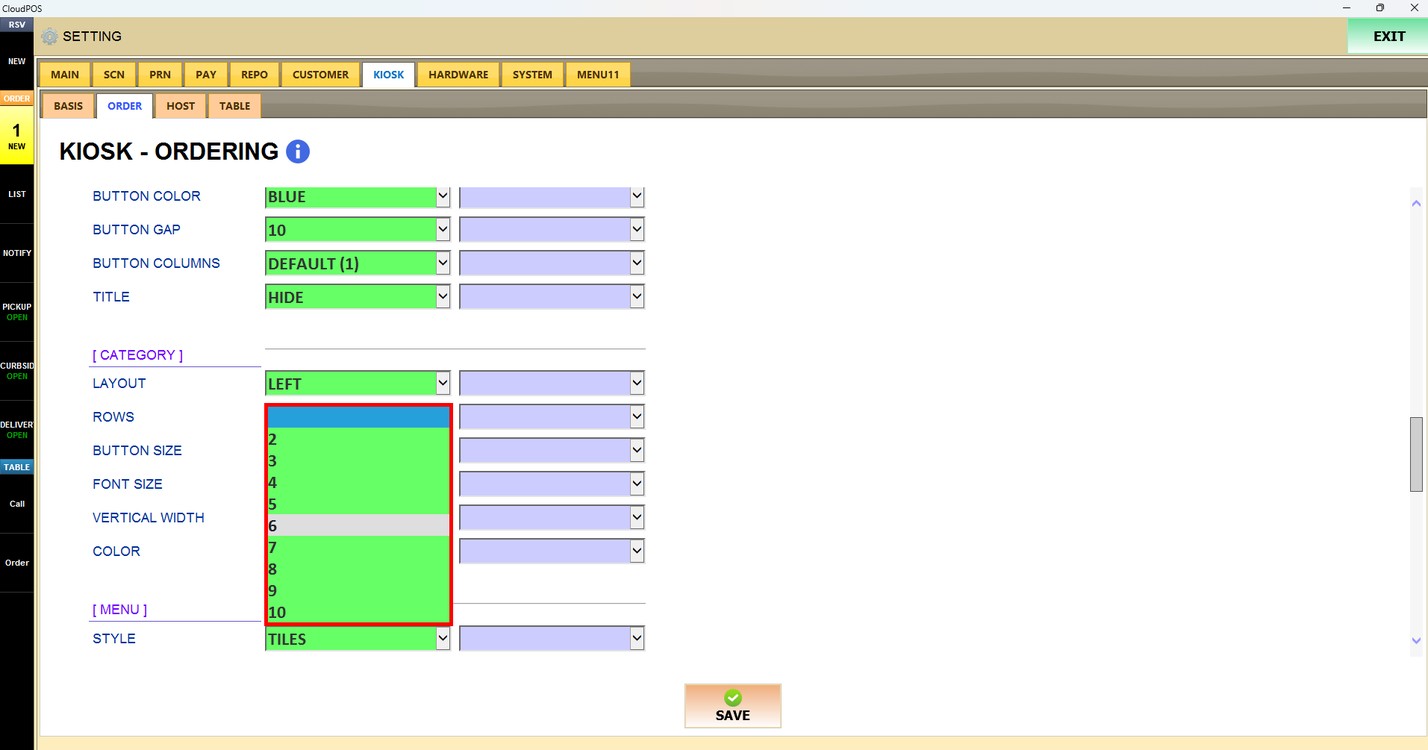
Rows:
Sets how many rows of category buttons are shown. Choose a number from 2 to 10, or leave it empty to use the default.
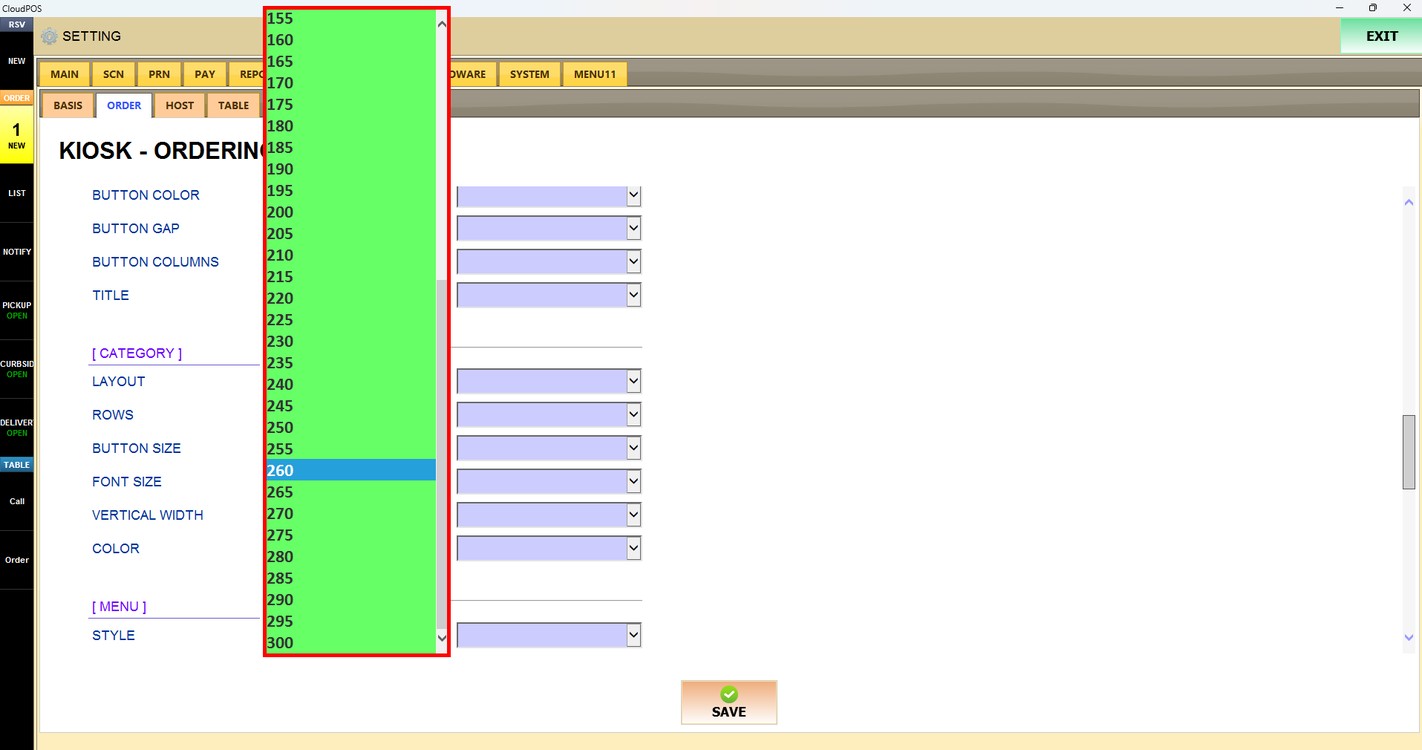
Button Size:
Sets the size of the category buttons. Choose a number from the list (in steps of 5); a higher number shows bigger buttons.
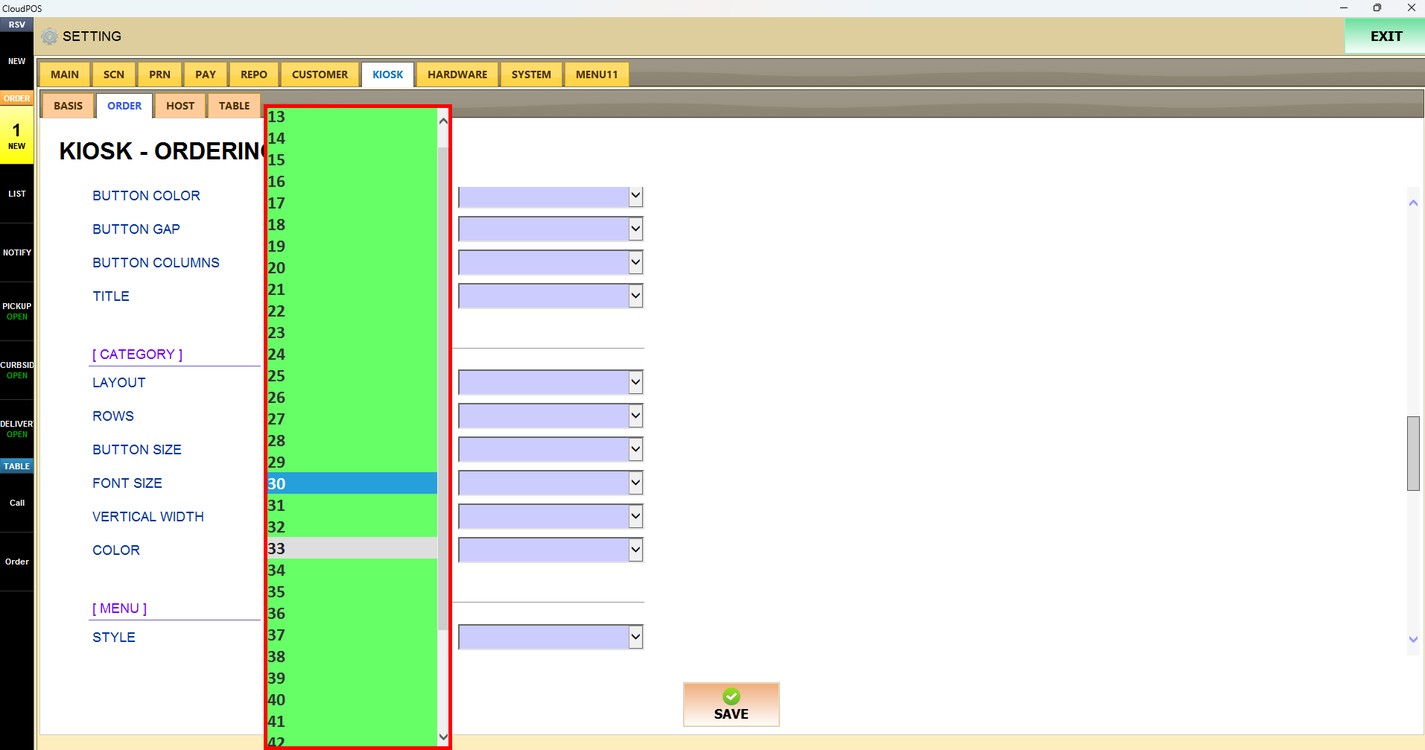
Font Size:
Sets the font size of the category names. Choose a number from the list; a higher number shows bigger text.
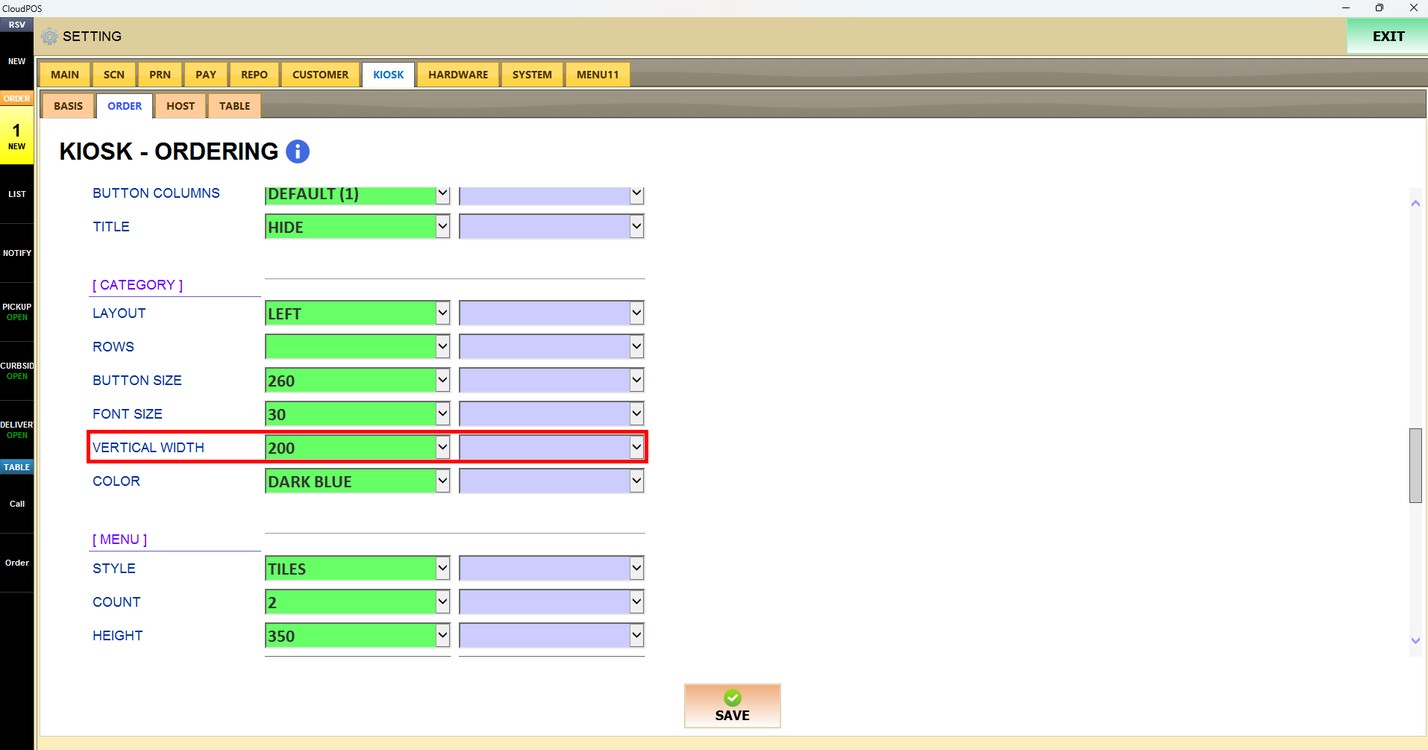
Vertical Width:
Sets the width of the category column when the categories are shown on the side of the screen (LEFT layout). Choose a number from the list; a higher number shows a wider column.
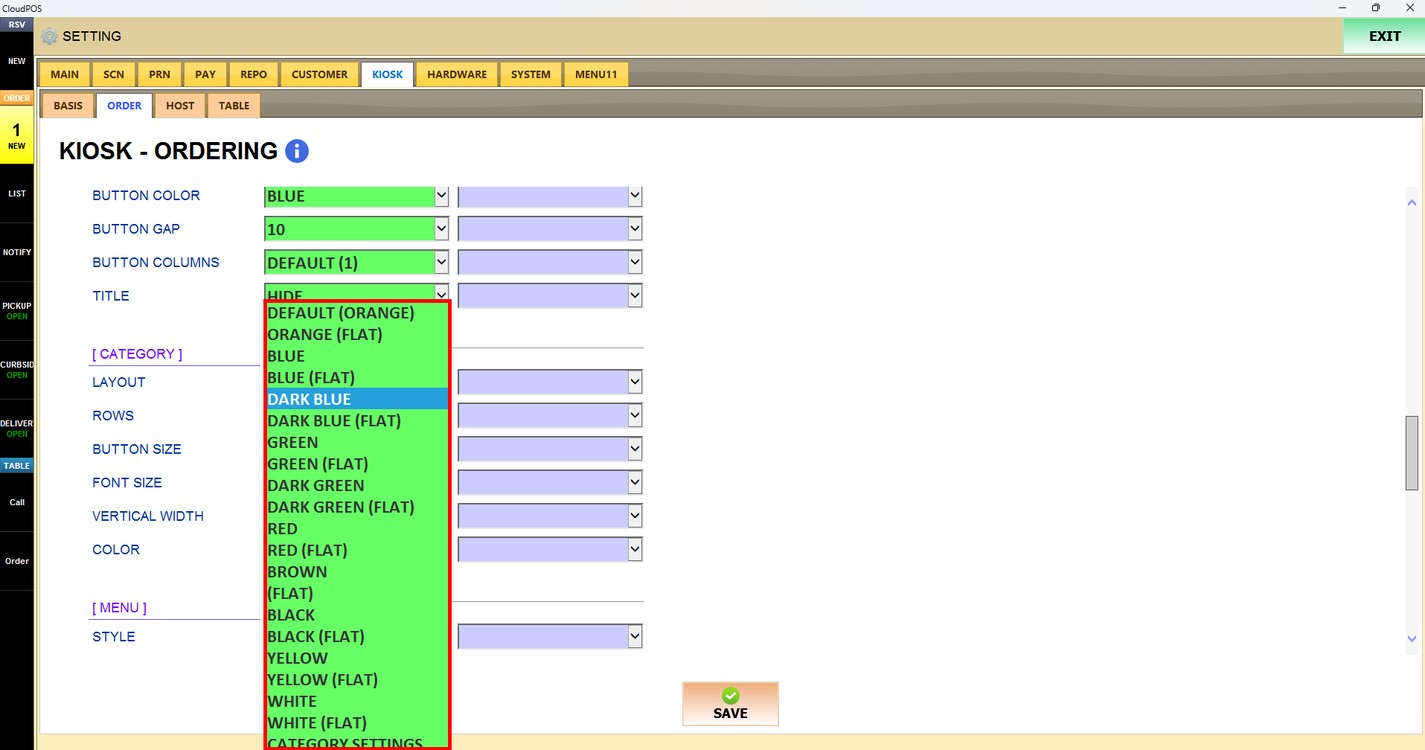
Color:
Sets the color of the category buttons. Choose DEFAULT (ORANGE), BLUE, DARK BLUE, GREEN, DARK GREEN, RED, BROWN, BLACK, YELLOW or WHITE. Each color is also available in a (FLAT) version. Choose CATEGORY SETTINGS to use the color configured for each category.
Press SAVE to apply the changes.