Contactless Dining
The Contactless Dining settings control the basic options of QR contactless dining: how the QR code is used, the title shown, the menu, how menu items are displayed, special instructions, and how QR codes are printed.
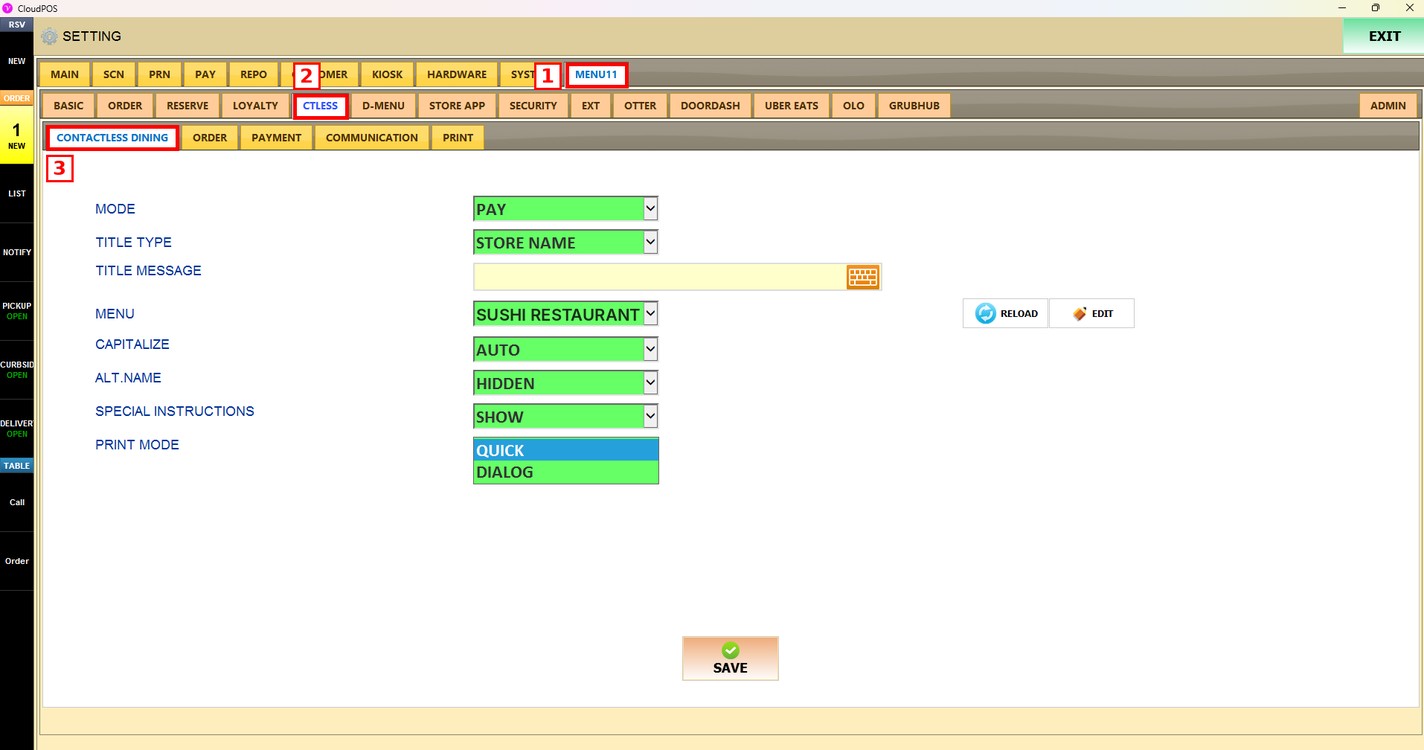
MENU > SETTINGS > MENU11 > CTLESS > CONTACTLESS DINING
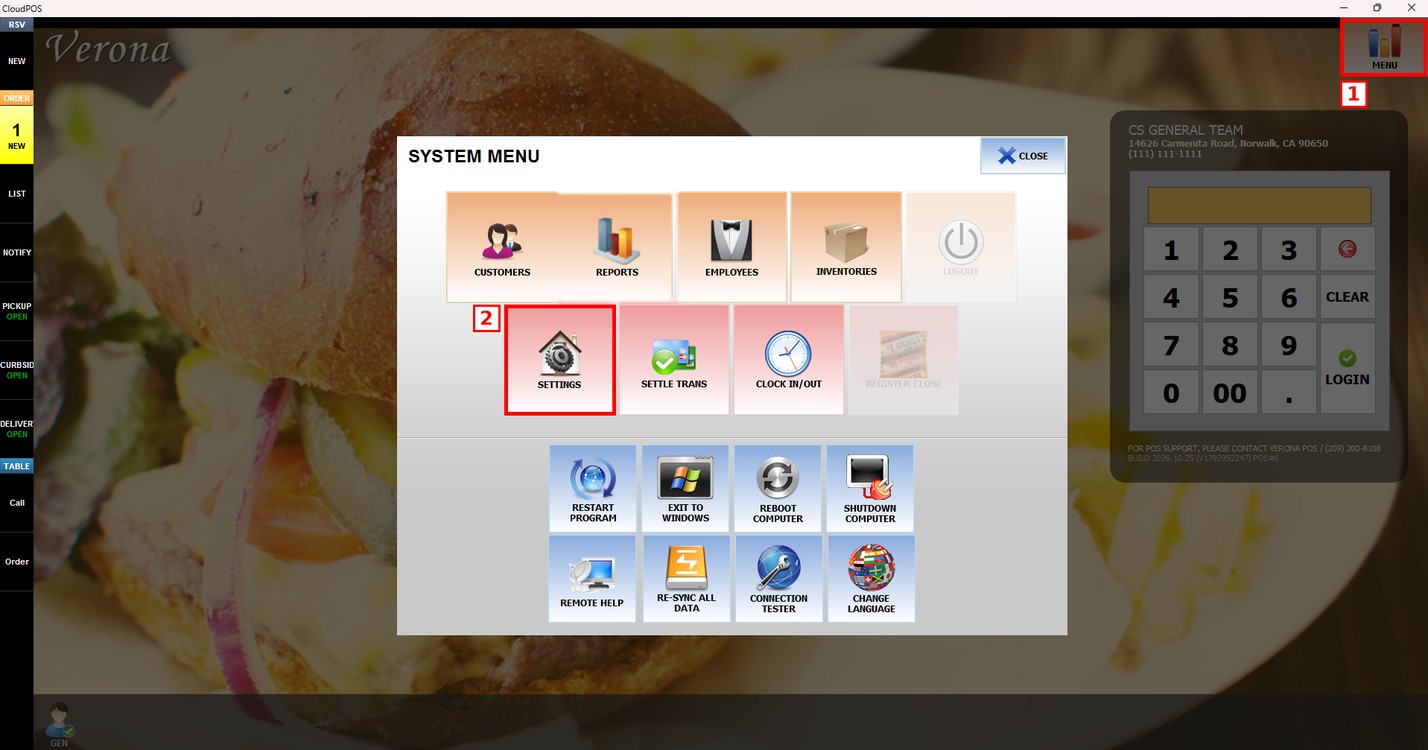
Go to MENU and press SETTINGS.
Press the MENU11 tab, then the CTLESS subtab, and then CONTACTLESS DINING.
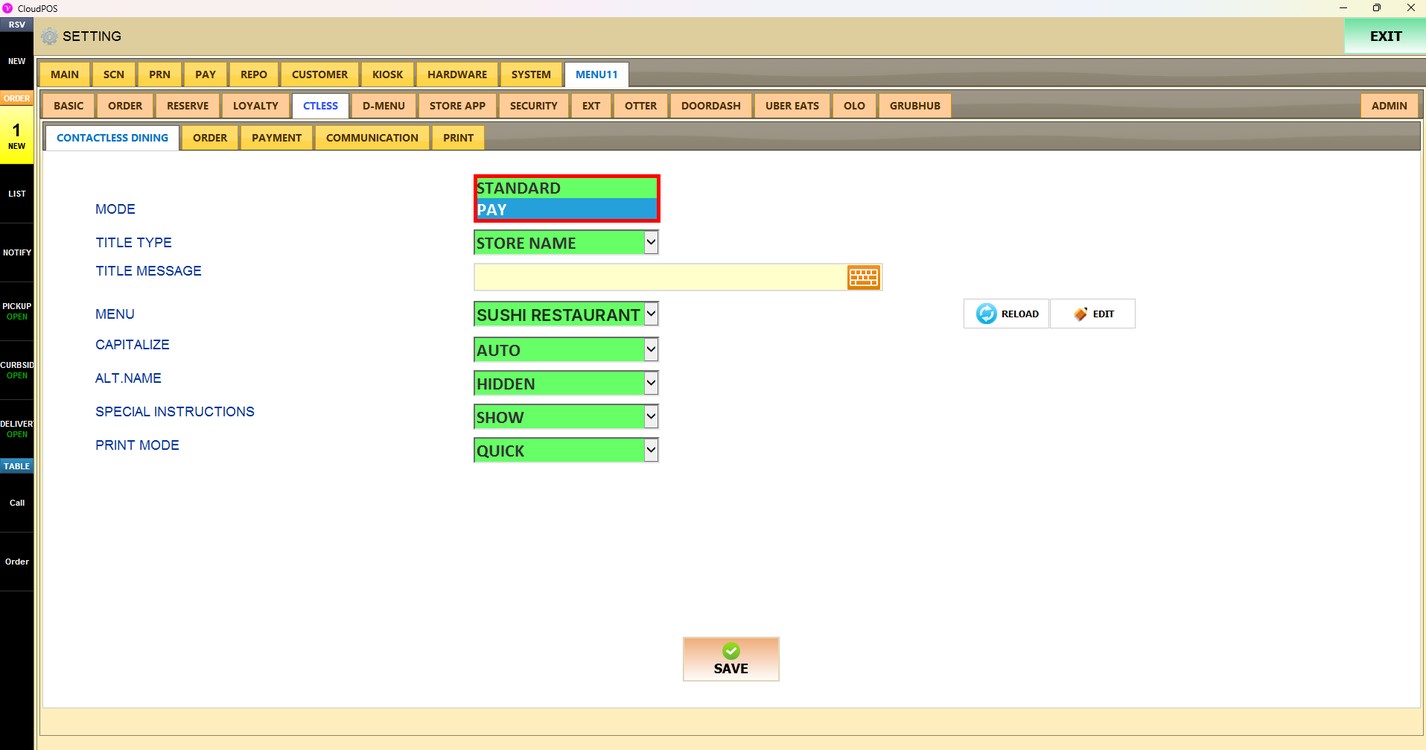
Mode:
Sets how contactless dining works.
1. STANDARD: The standard contactless dining mode.
2. PAY: The contactless dining QR code is used only to receive payments.
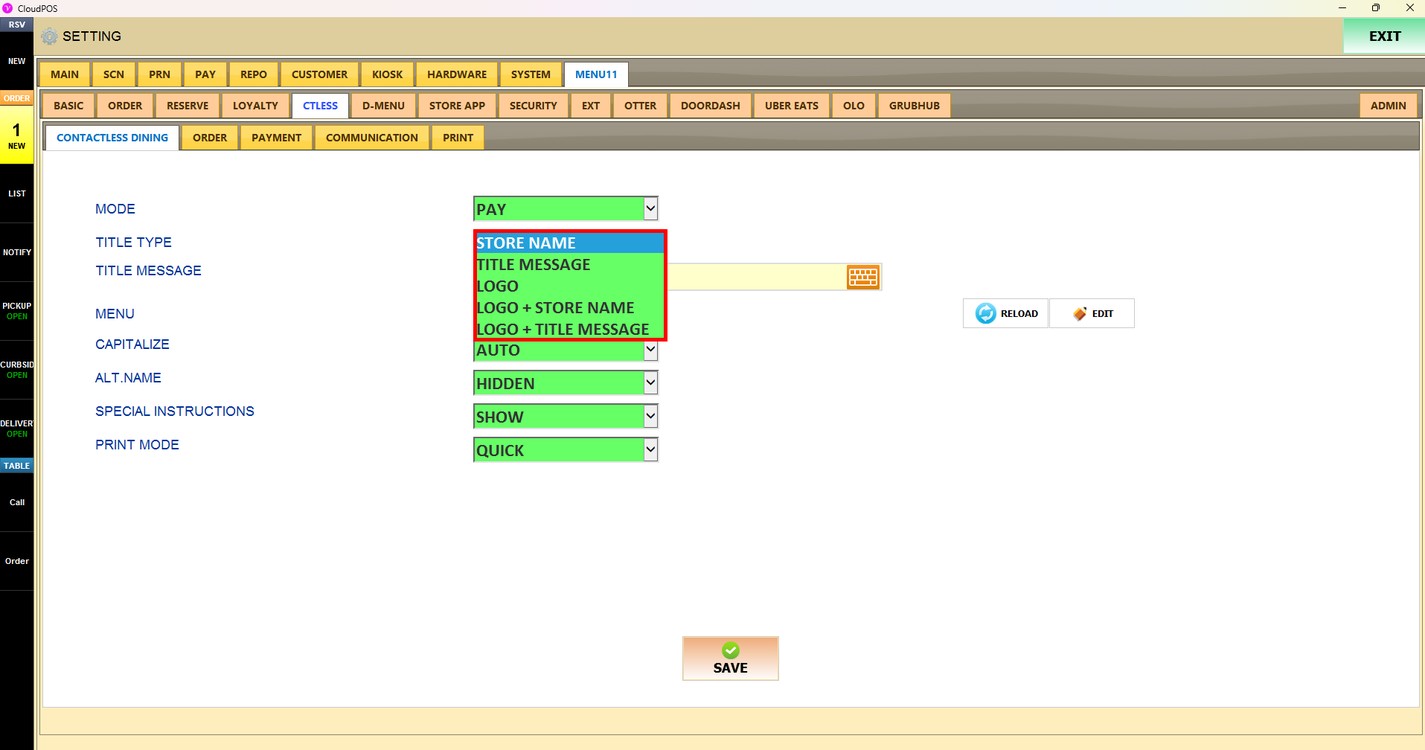
Title Type:
Sets the title shown at the top of the printed QR code.
1. STORE NAME: Shows the store name.
2. TITLE MESSAGE: Shows the text entered in TITLE MESSAGE.
3. LOGO: Shows the store logo.
4. LOGO + STORE NAME: Shows the store logo and the store name.
5. LOGO + TITLE MESSAGE: Shows the store logo and the text entered in TITLE MESSAGE.
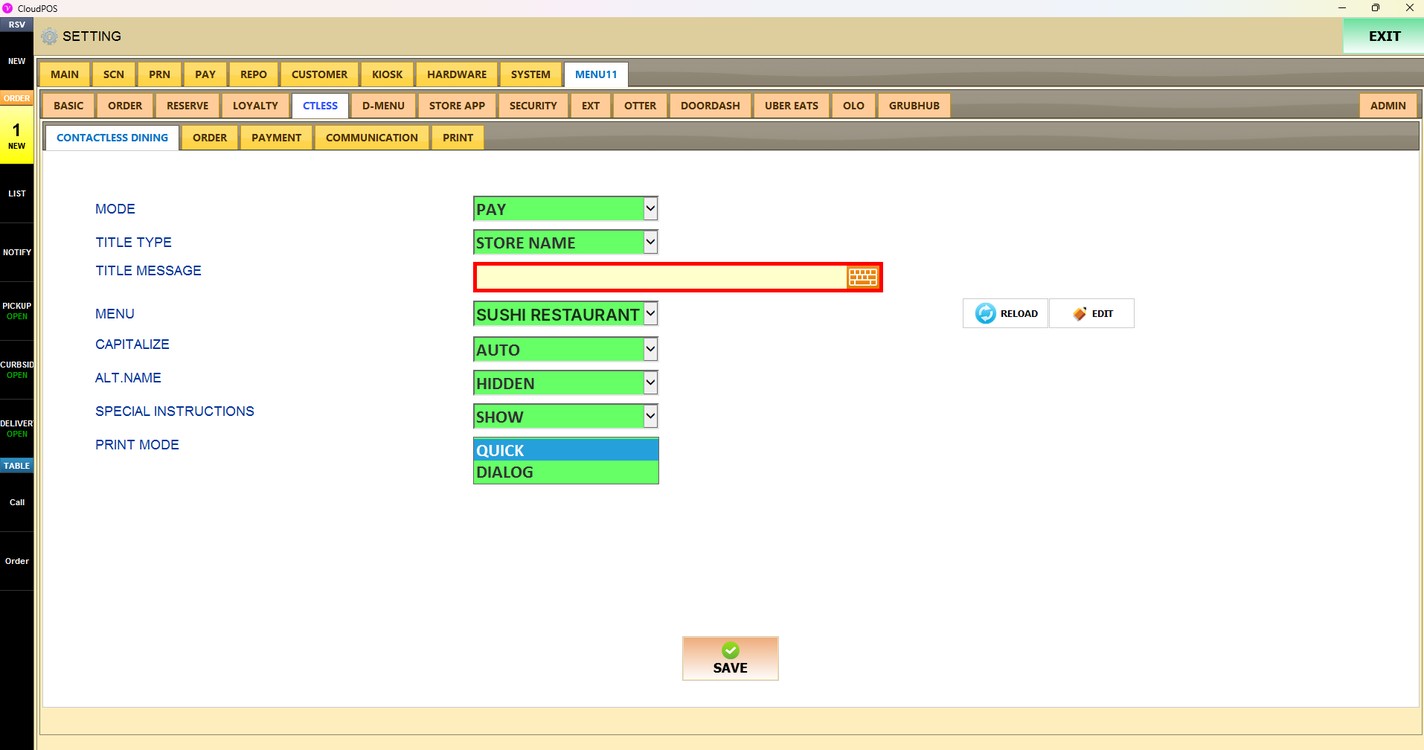
Title Message:
Sets the text used as the title when TITLE TYPE is set to TITLE MESSAGE or LOGO + TITLE MESSAGE. Press the keyboard icon to enter the text.
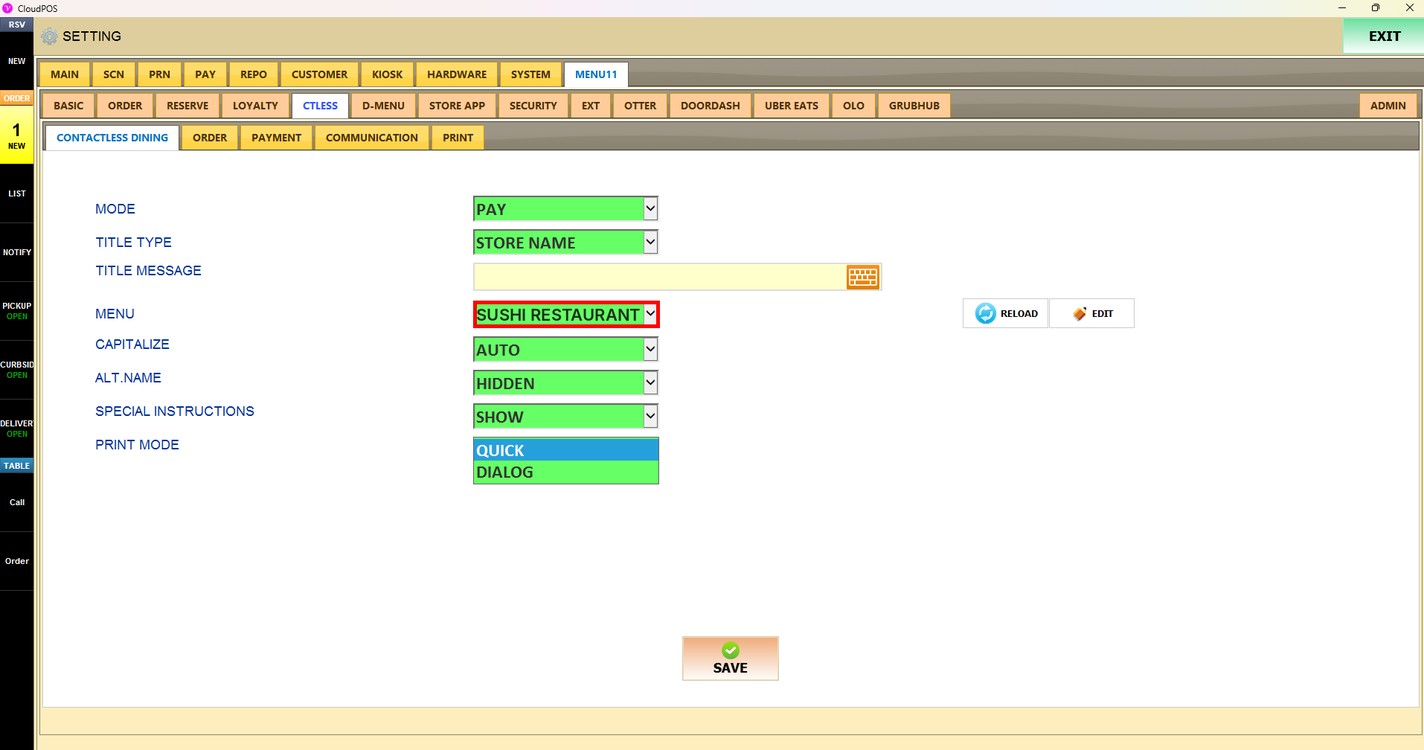
Menu:
Sets which menu is shown to customers in contactless dining. Choose the menu from the list.
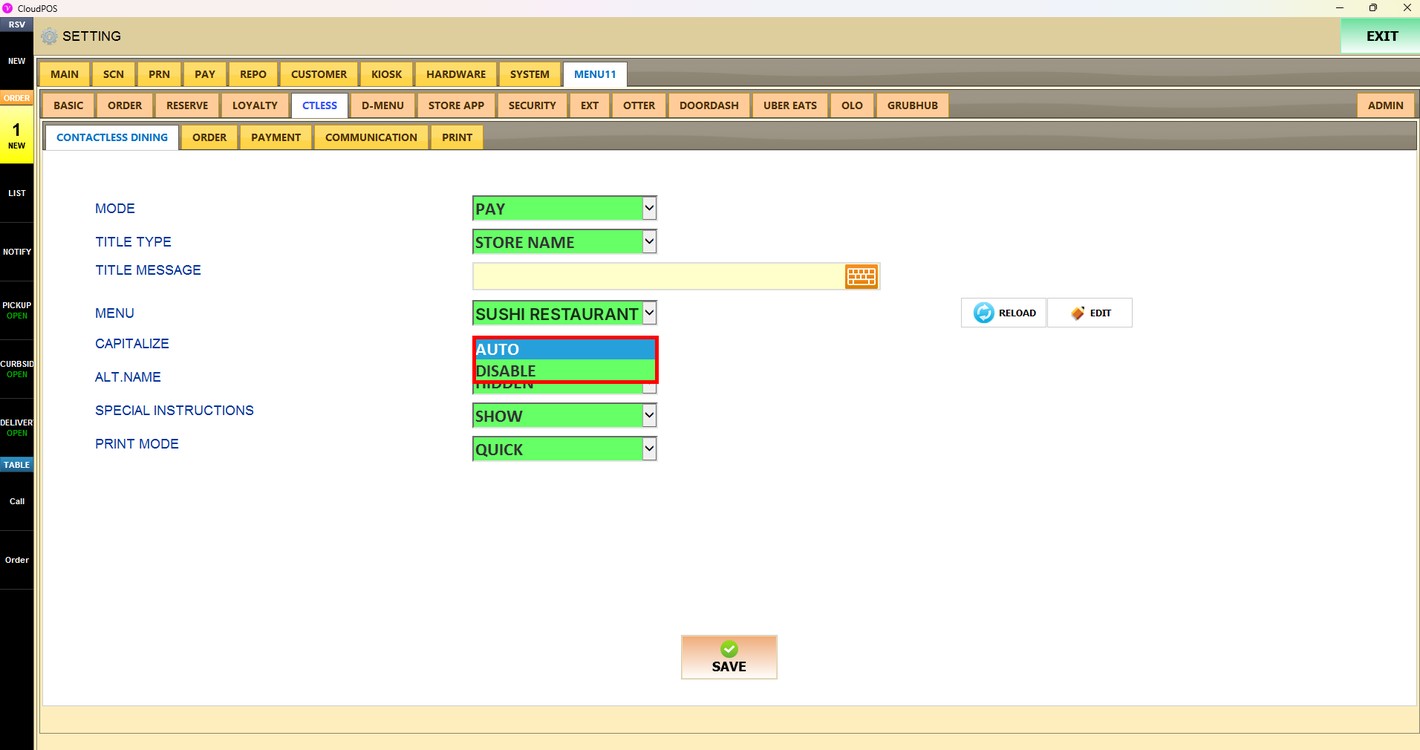
Capitalize:
Sets how the menu text is shown.
1. AUTO: The menu text is capitalized automatically.
2. DISABLE: The menu text is shown exactly as it is written in the menu.
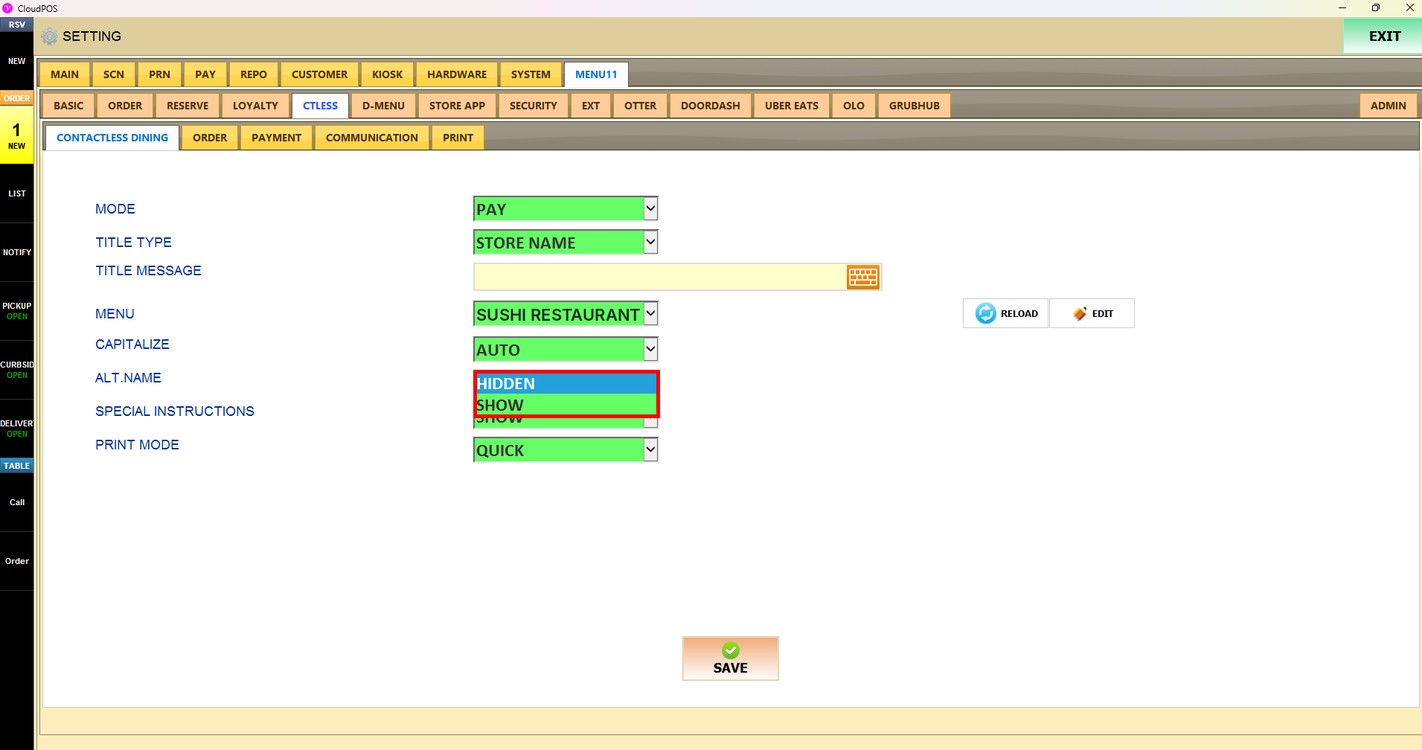
Alt. Name:
Shows or hides the alternative name of the menu items. Choose SHOW or HIDDEN.
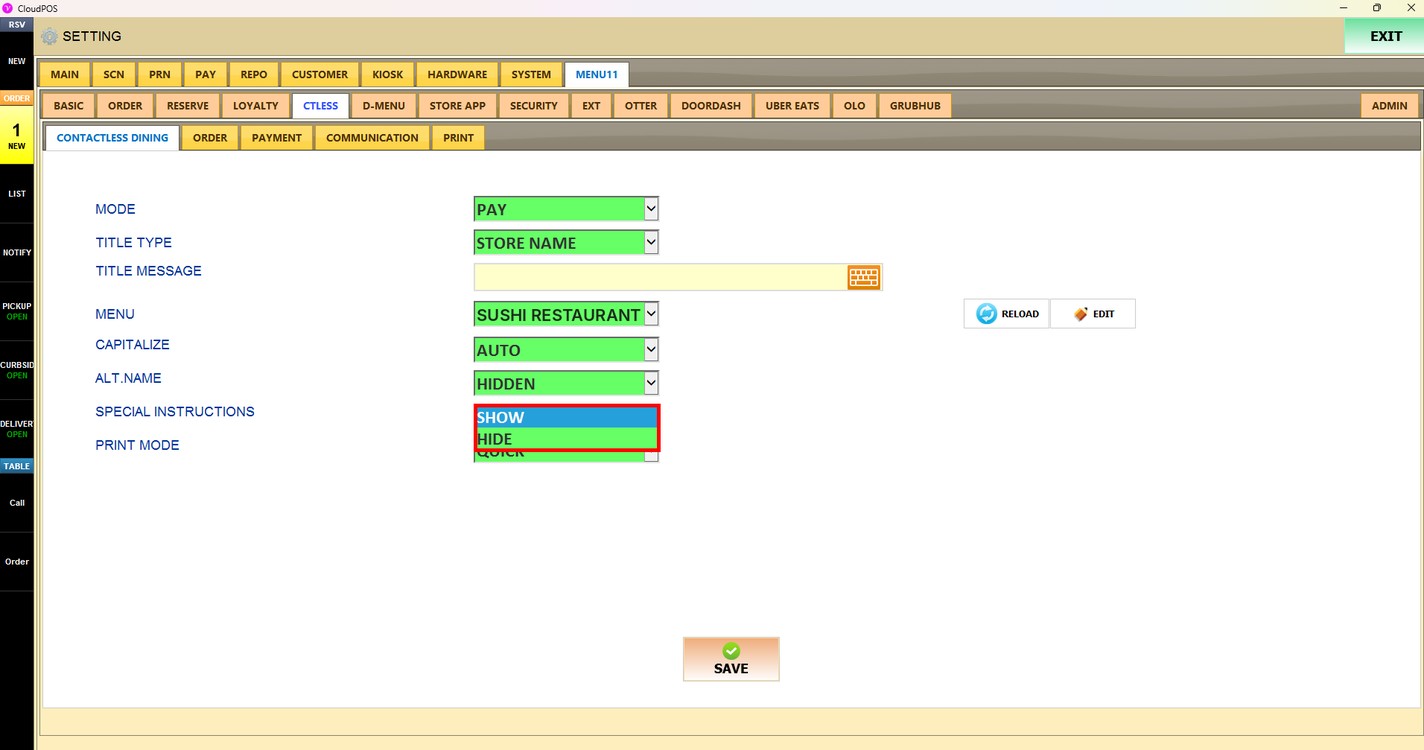
Special Instructions:
Allows the customer to add special instructions to the order. Choose SHOW or HIDE.
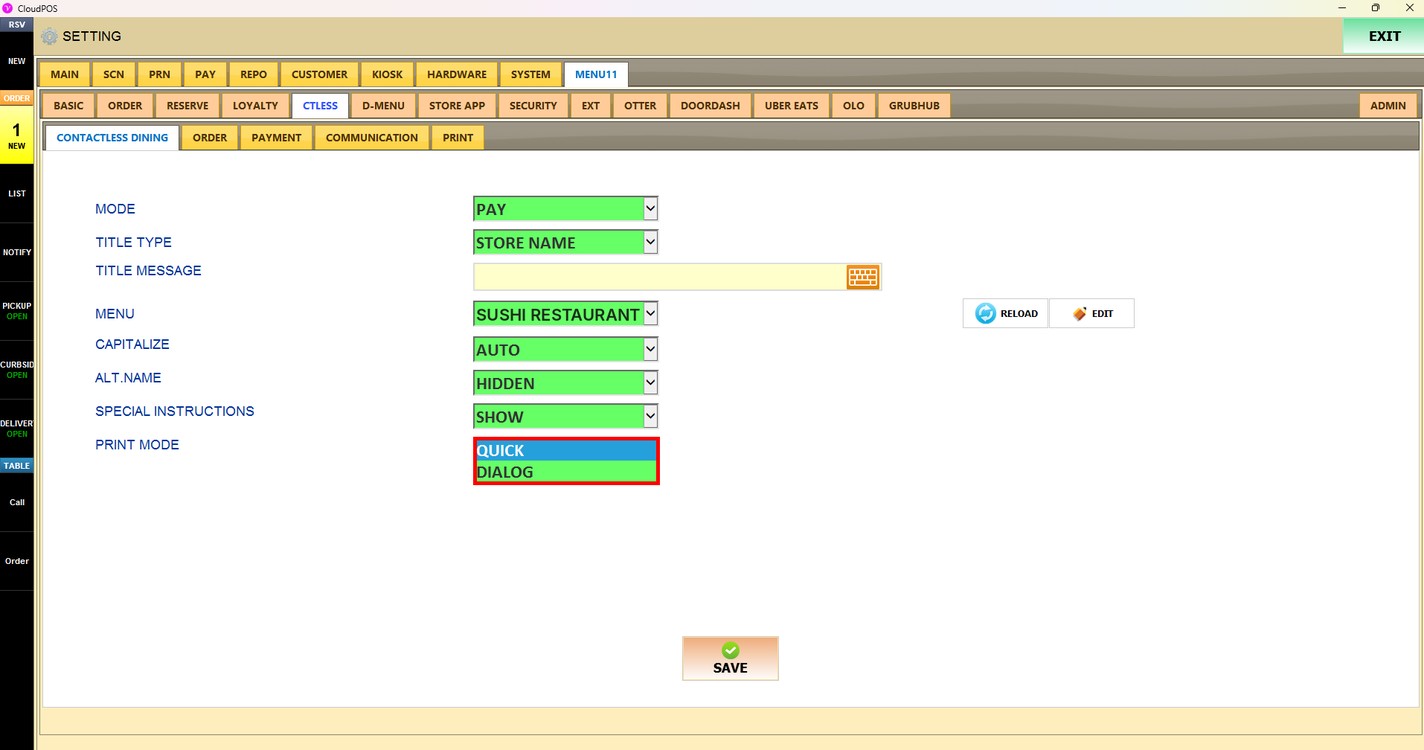
Print Mode:
Sets how QR codes are printed for a table.
1. QUICK: One QR code is printed for the table.
2. DIALOG: A window opens to generate multiple QR codes for one table, depending on the number of guests.
Press SAVE to apply the changes.
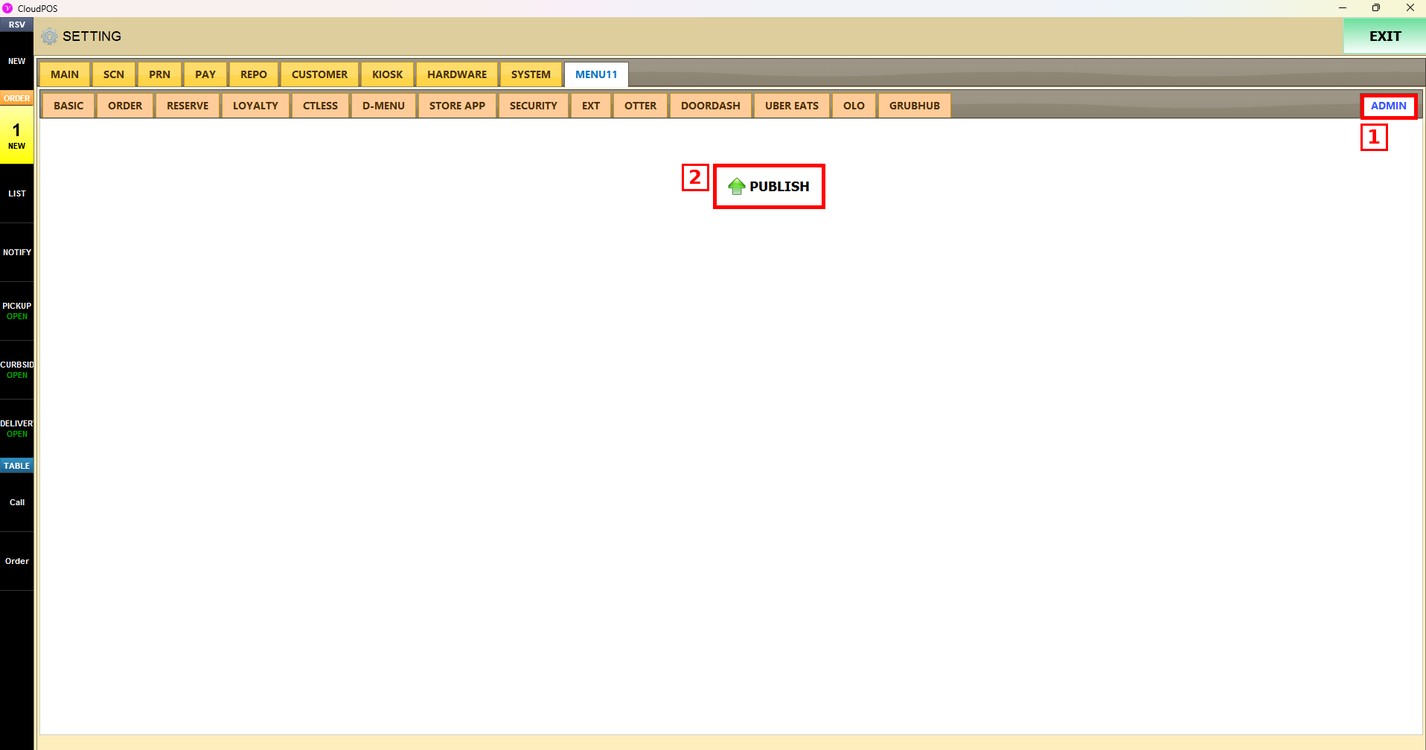
Publish the changes:
After saving, press the ADMIN tab and press PUBLISH. The changes are updated only after they are published.