Slow/Dead Items
The Slow / Dead Items report shows the menu items that sold little or nothing in the selected dates. It helps find the items that can be removed or promoted.
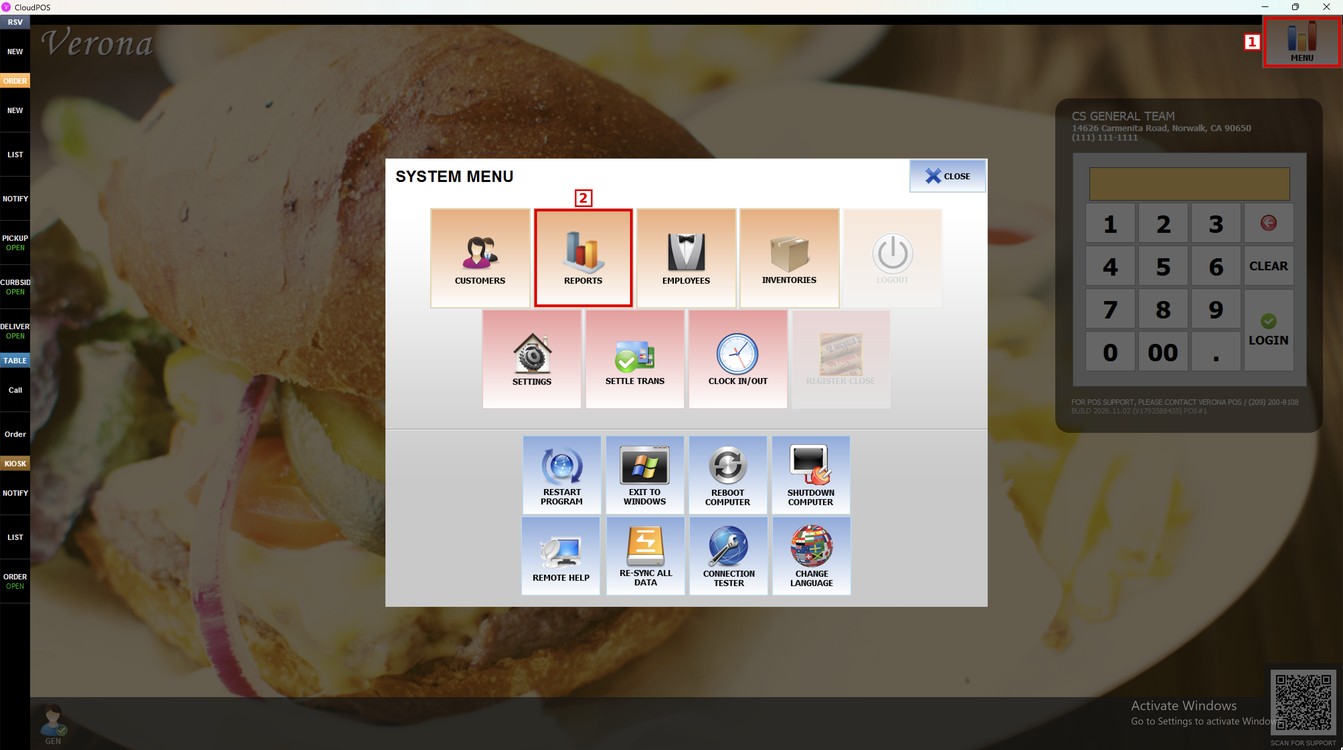
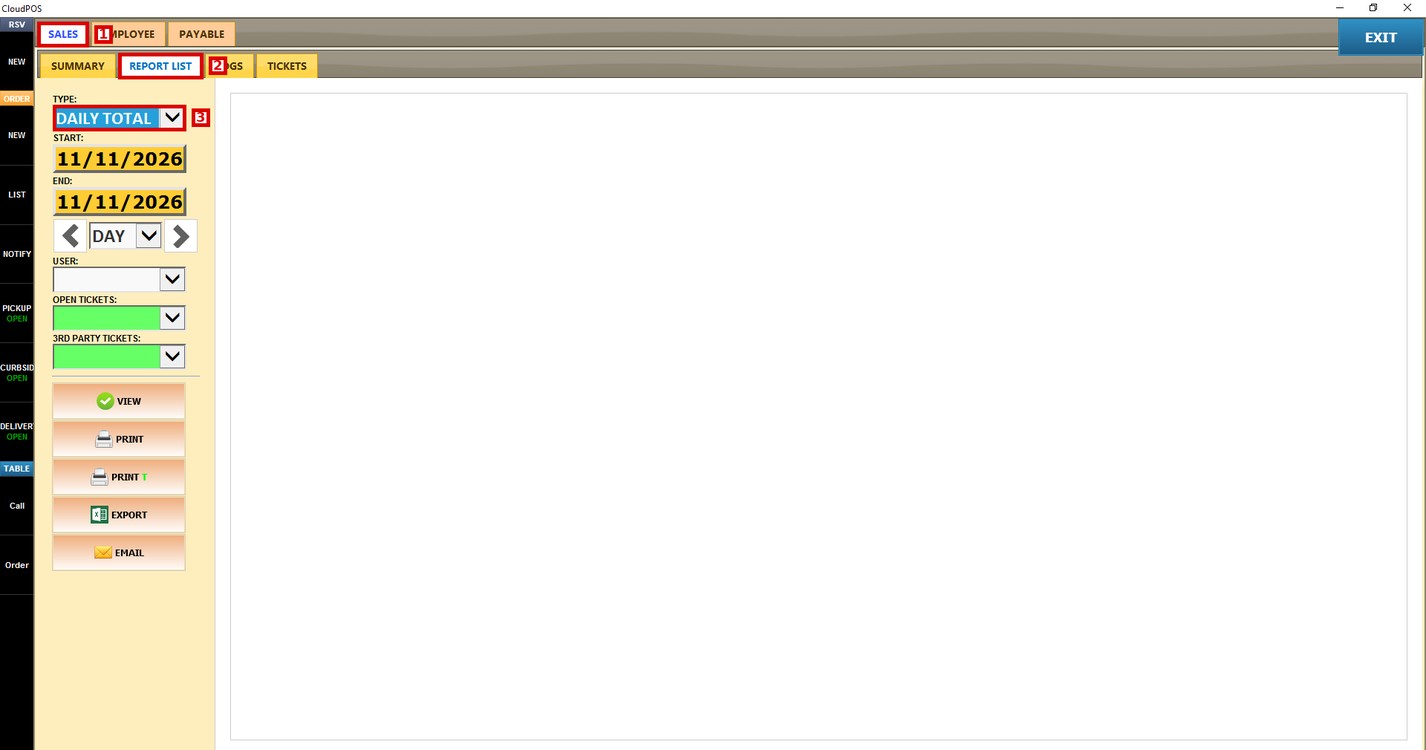
Main Screen> MENU> REPORTS> SALES> REPORT LIST> SLOW / DEAD ITEMS
Press MENU and then REPORTS.
Go to the SALES tab, open REPORT LIST, and press the TYPE dropdown.
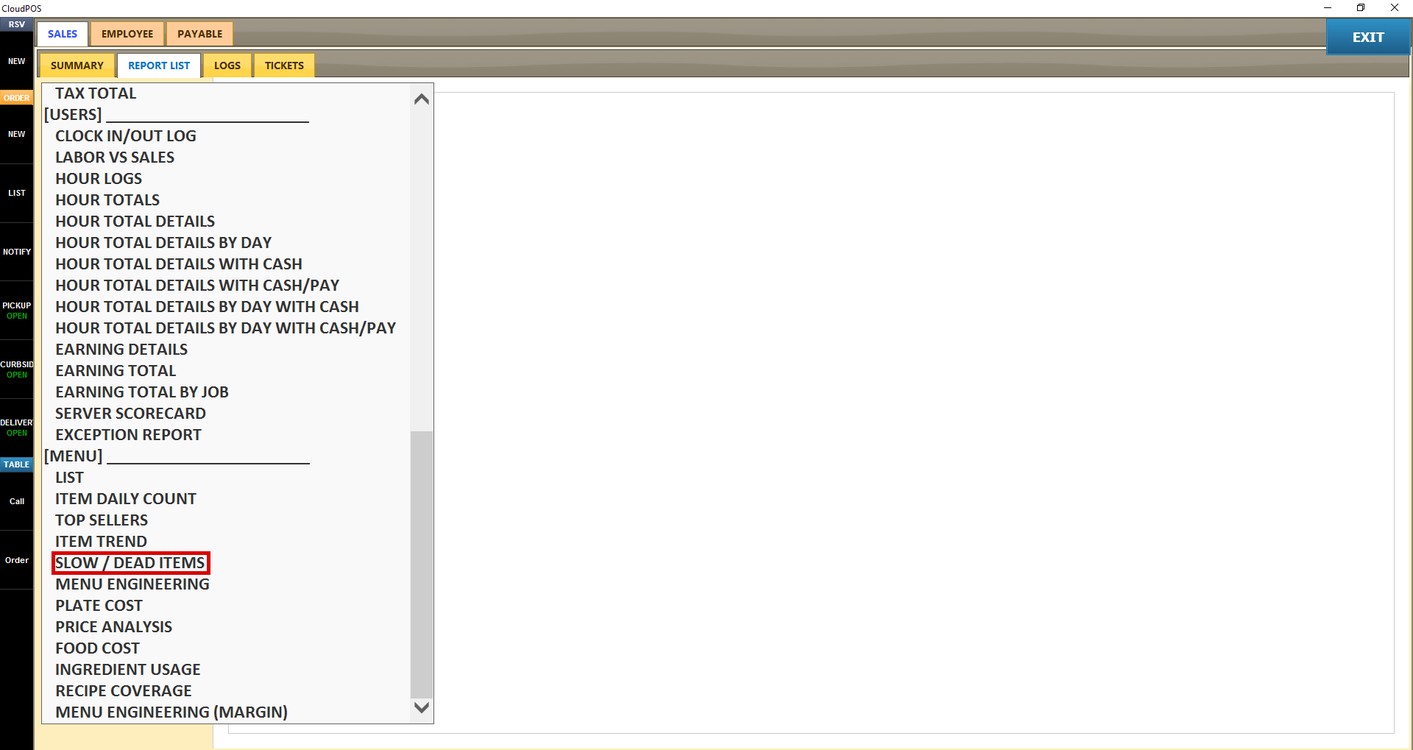
In the [MENU] section, select SLOW / DEAD ITEMS.
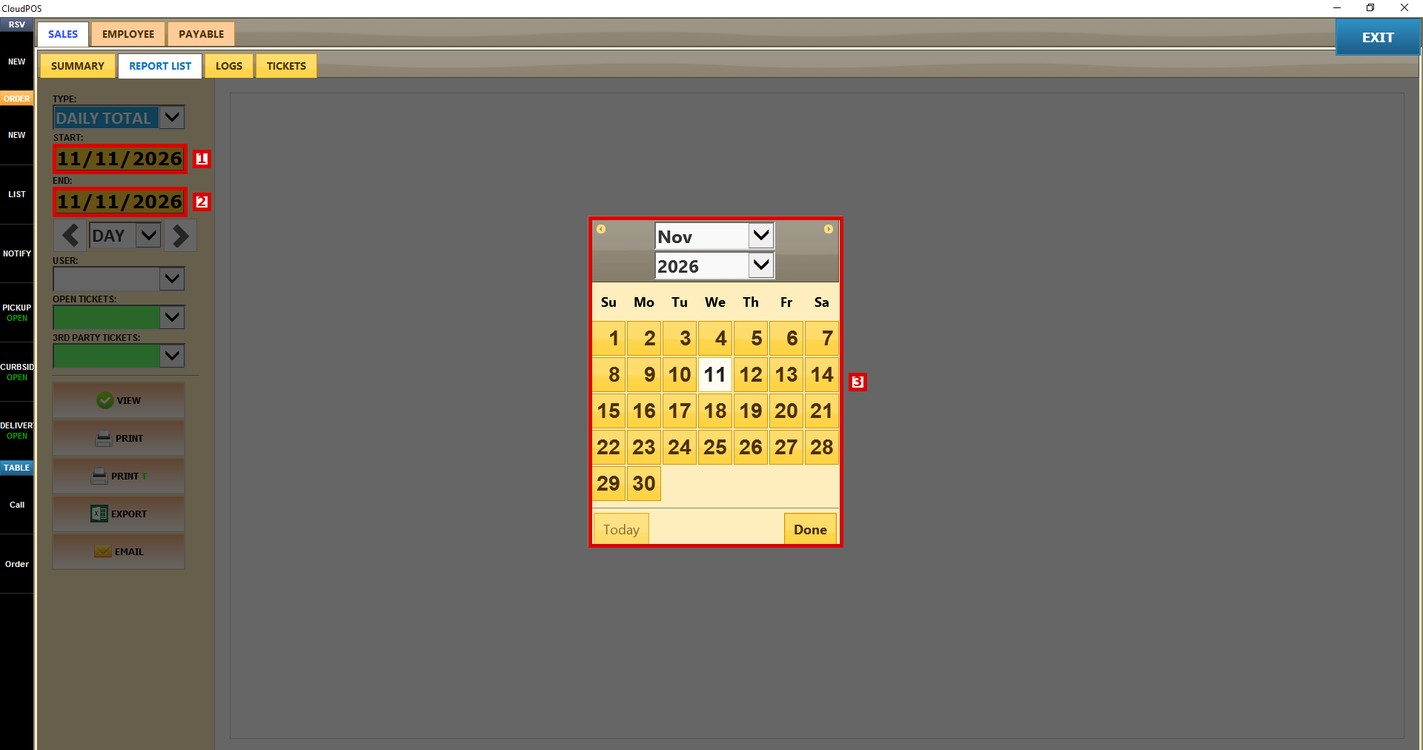
Filters:
Press START to select the first day and END to select the last day of the report. Select the day in the calendar and press Done.
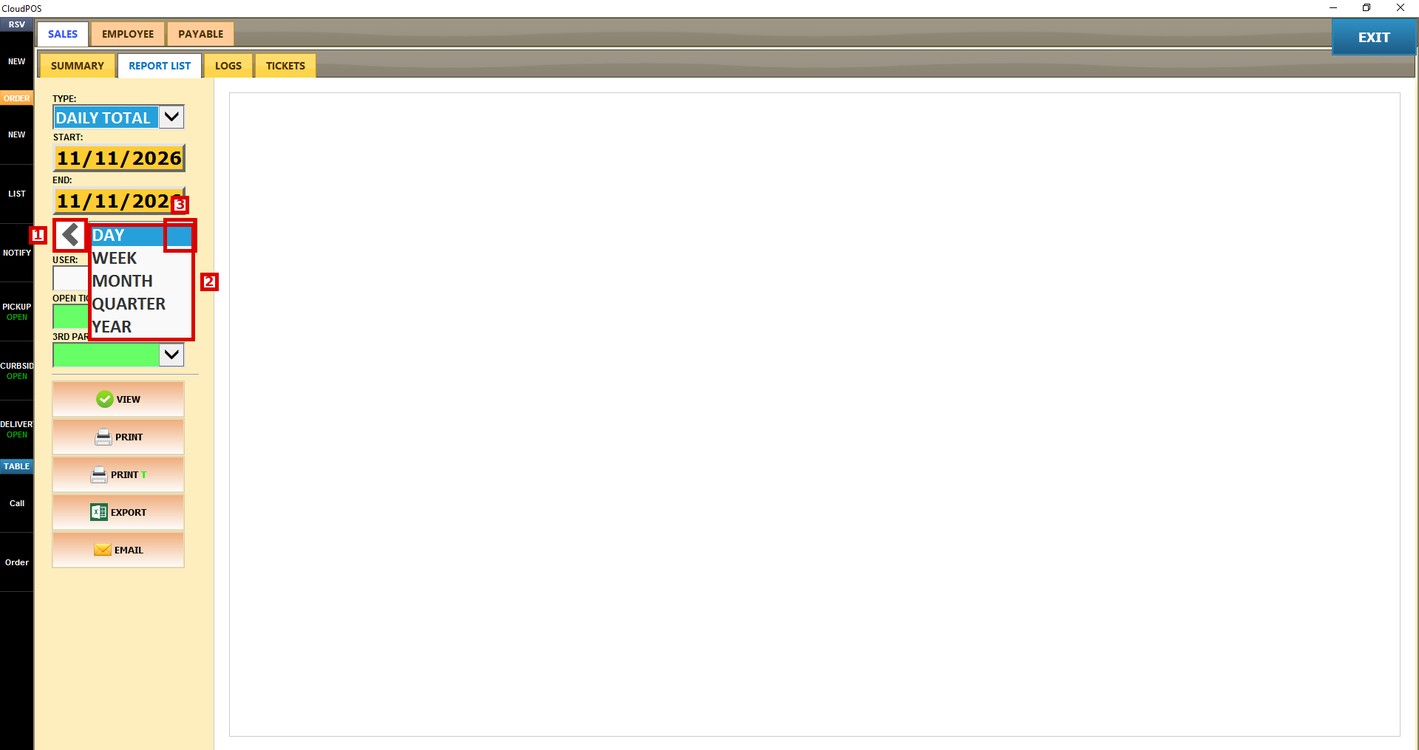
Select the period in the dropdown: DAY, WEEK, MONTH, QUARTER, or YEAR. Press the arrows to go to the previous or next period.
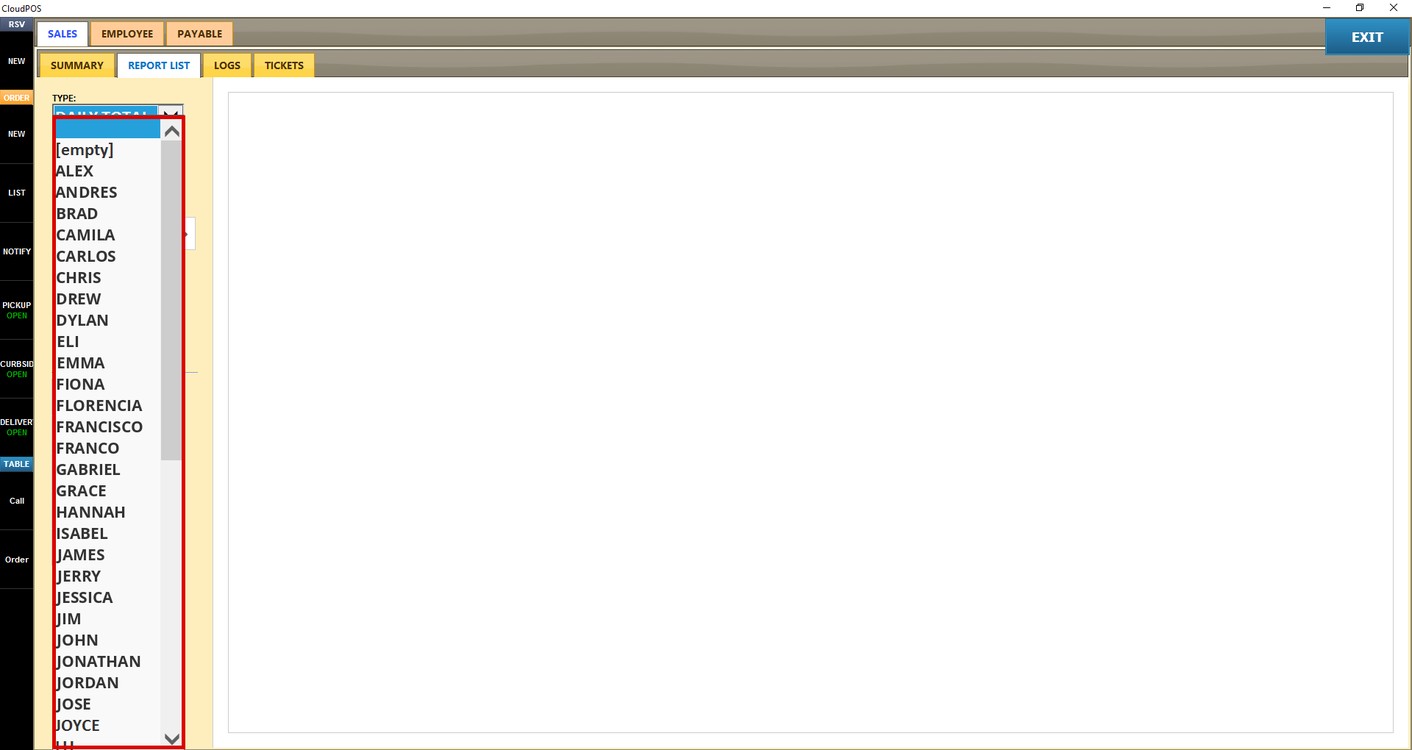
USER: select an employee to see only the sales of that employee. Leave it empty to see all the employees.
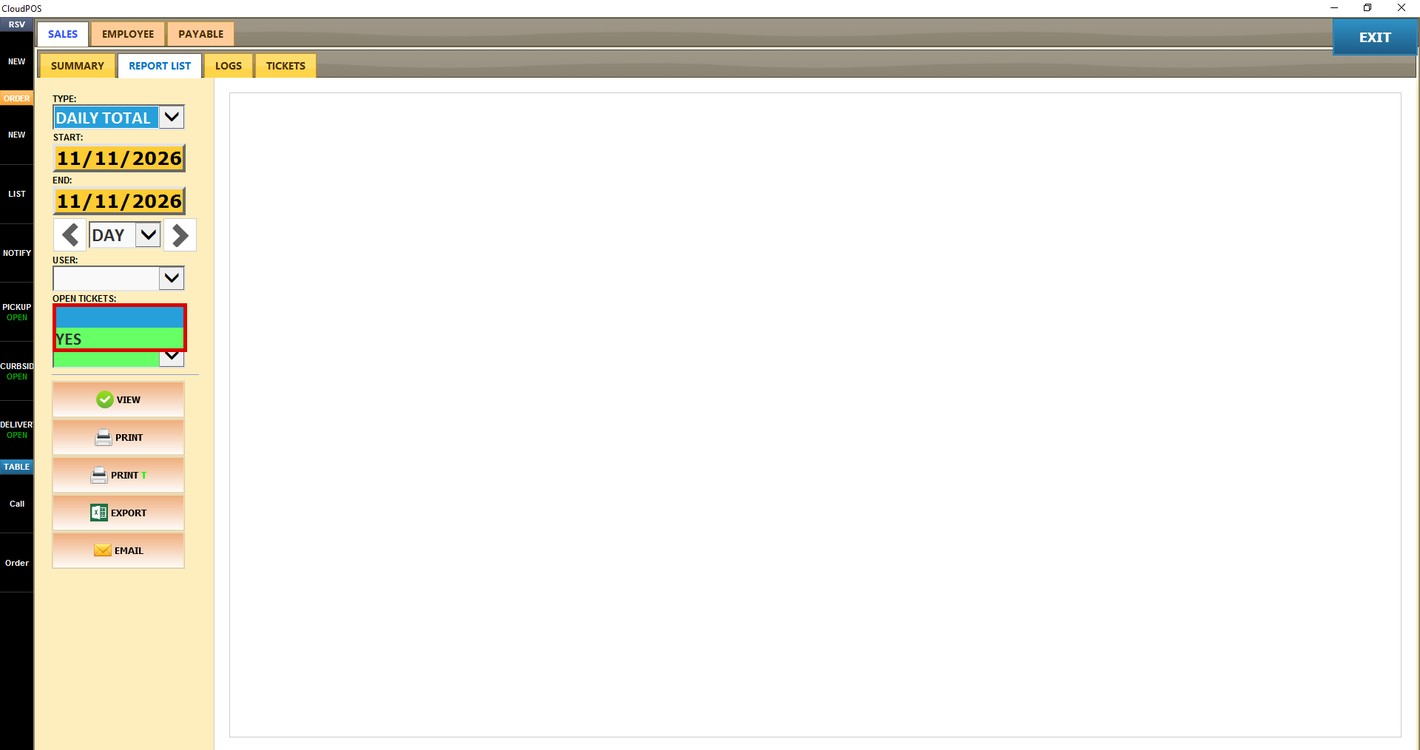
OPEN TICKETS: select YES to include the open tickets in the report.
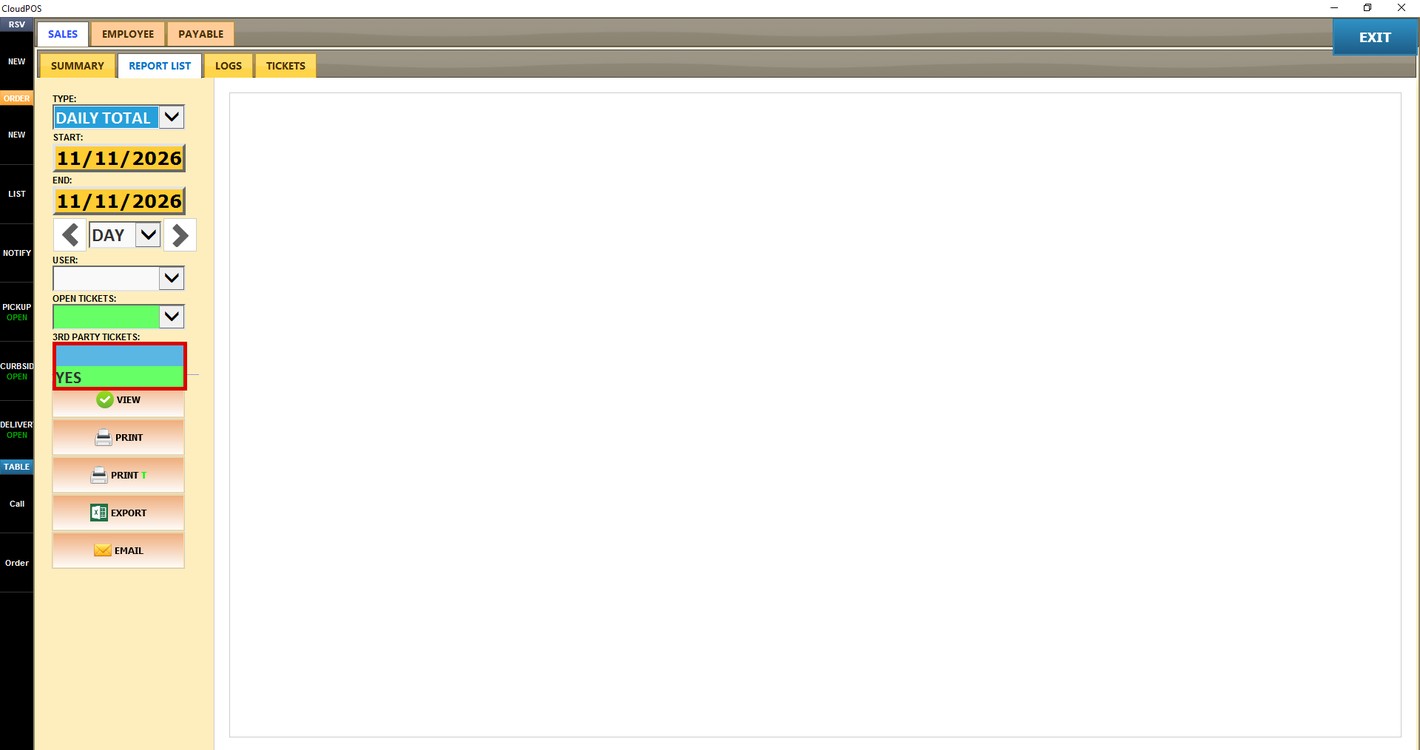
3RD PARTY TICKETS: select YES to include the tickets from third-party services in the report.
View the Report:
Press VIEW. The report is shown on the right.
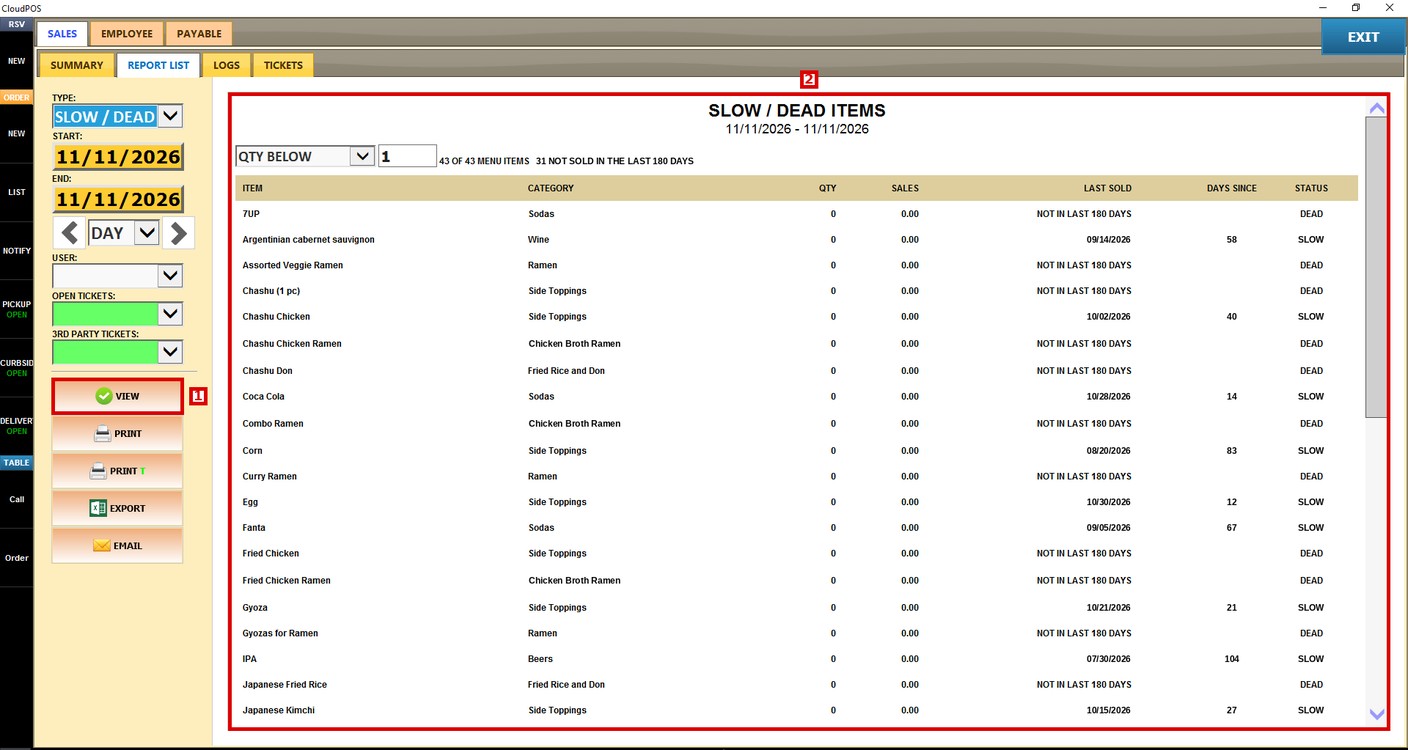
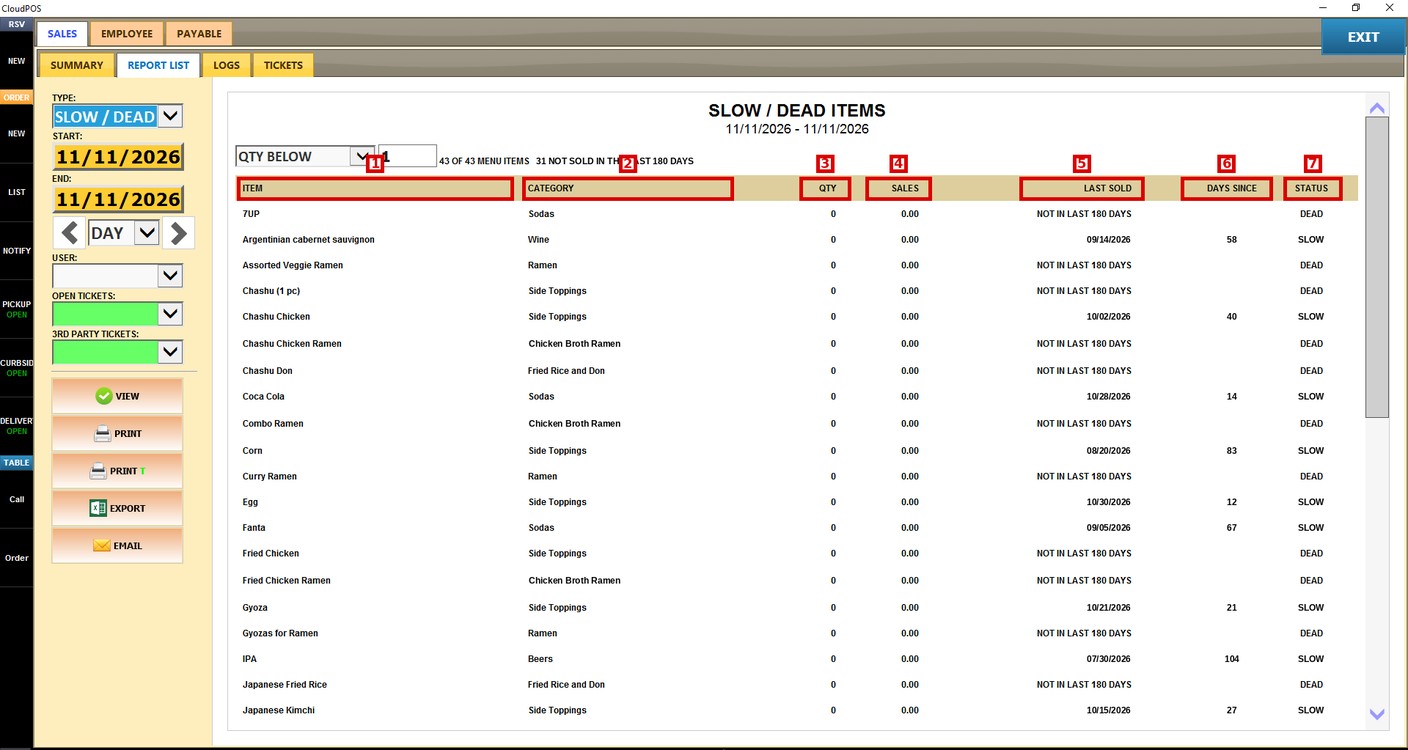
Each row is one menu item. Each column shows:
1. ITEM: Name of the menu item.
2. CATEGORY: Category of the item.
3. QTY: Quantity sold in the selected dates.
4. SALES: Sales amount of the item in the selected dates.
5. LAST SOLD: Last date the item was sold, looking back up to 180 days.
6. DAYS SINCE: Days since the item was last sold.
7. STATUS: SLOW if the item was sold in the last 180 days, DEAD if it was not.
Report Filter:
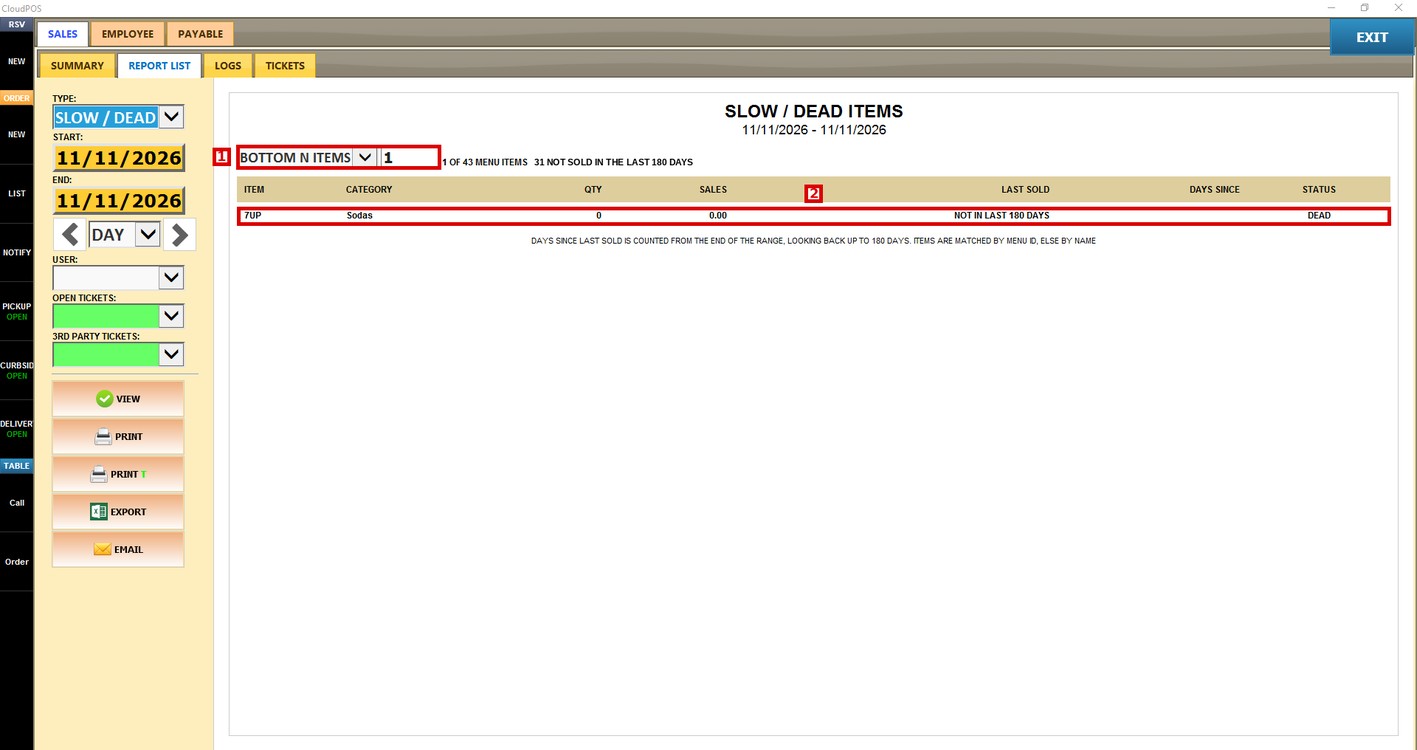
Above the report, select how the items are listed and enter the number.
1. QTY BELOW: Shows the items that sold less than the number entered.
2. BOTTOM N ITEMS: Shows the number of items entered with the lowest sales.

BOTTOM N ITEMS with 1 shows only the item with the lowest sales.
Hint: The days since last sold are counted from the end date of the report, looking back up to 180 days.
Print and Export:
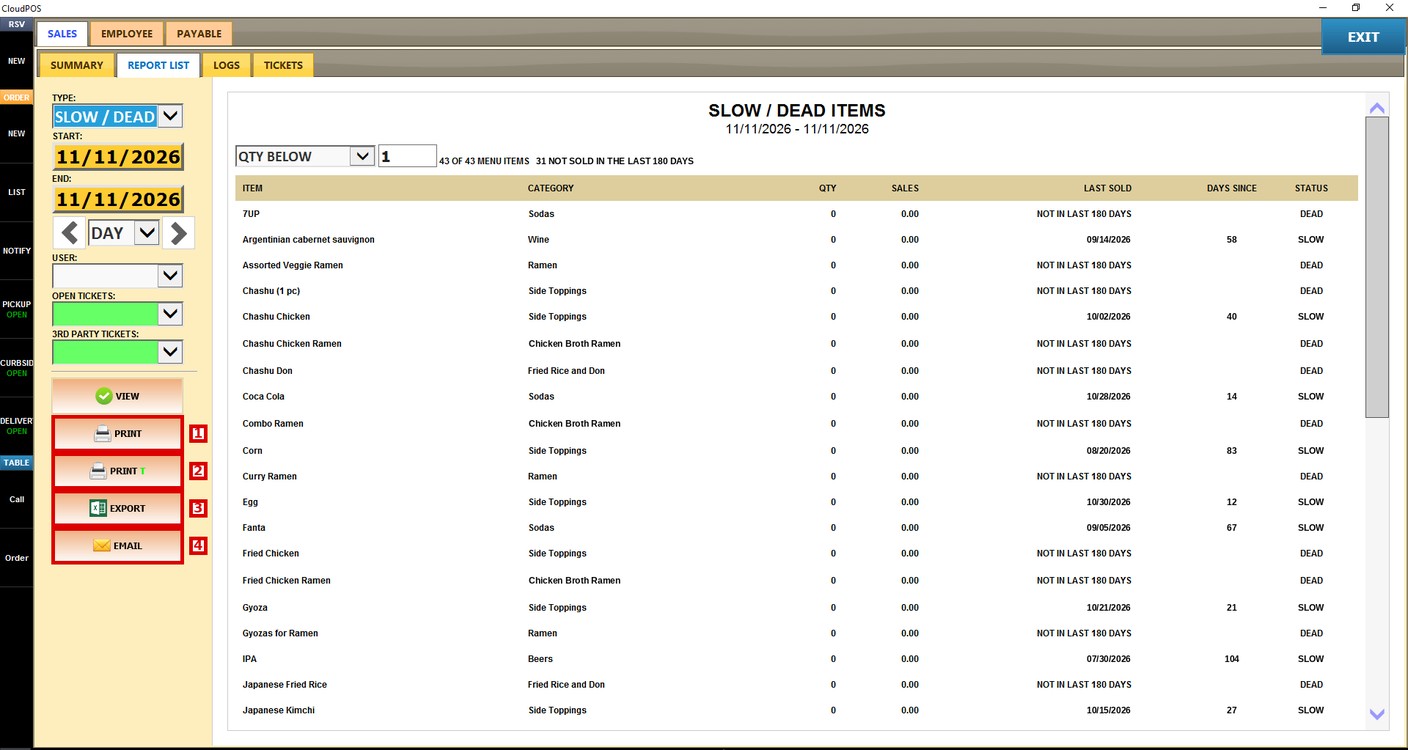
1. PRINT: Prints the report.
2. PRINT T: Prints the report on the ticket printer.
3. EXPORT: Exports the report to an Excel file.
4. EMAIL: Sends the report by email.
To learn about the best-selling items, please refer to the Top Sellers Guide.