Display
This settings allow you to configure how orders and order information are displayed on the kitchen screen, including bump settings, layout, text formatting, destination colors, timers, and notification messages.
MENU > SETTINGS > PRINT > KITCHEN > KITCHEN DISPLAY
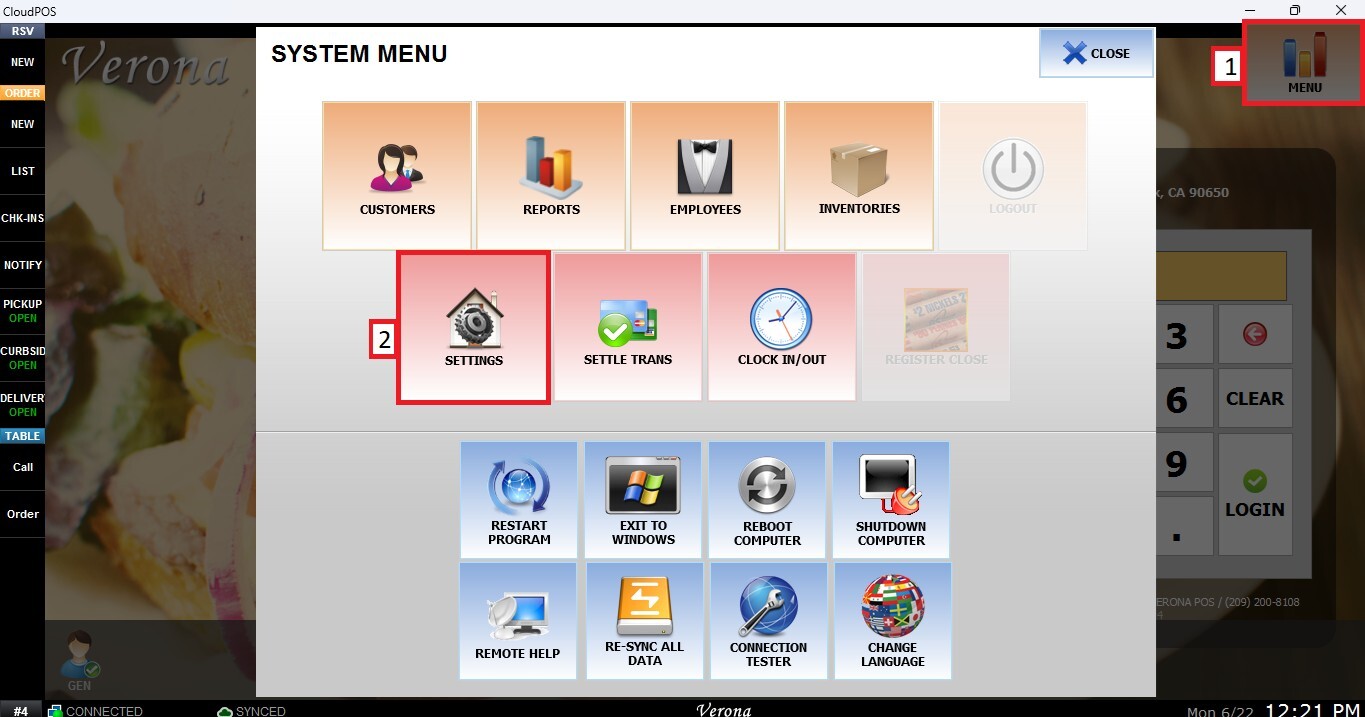
From the MAIN SCREEN, click MENU, then select SETTINGS.
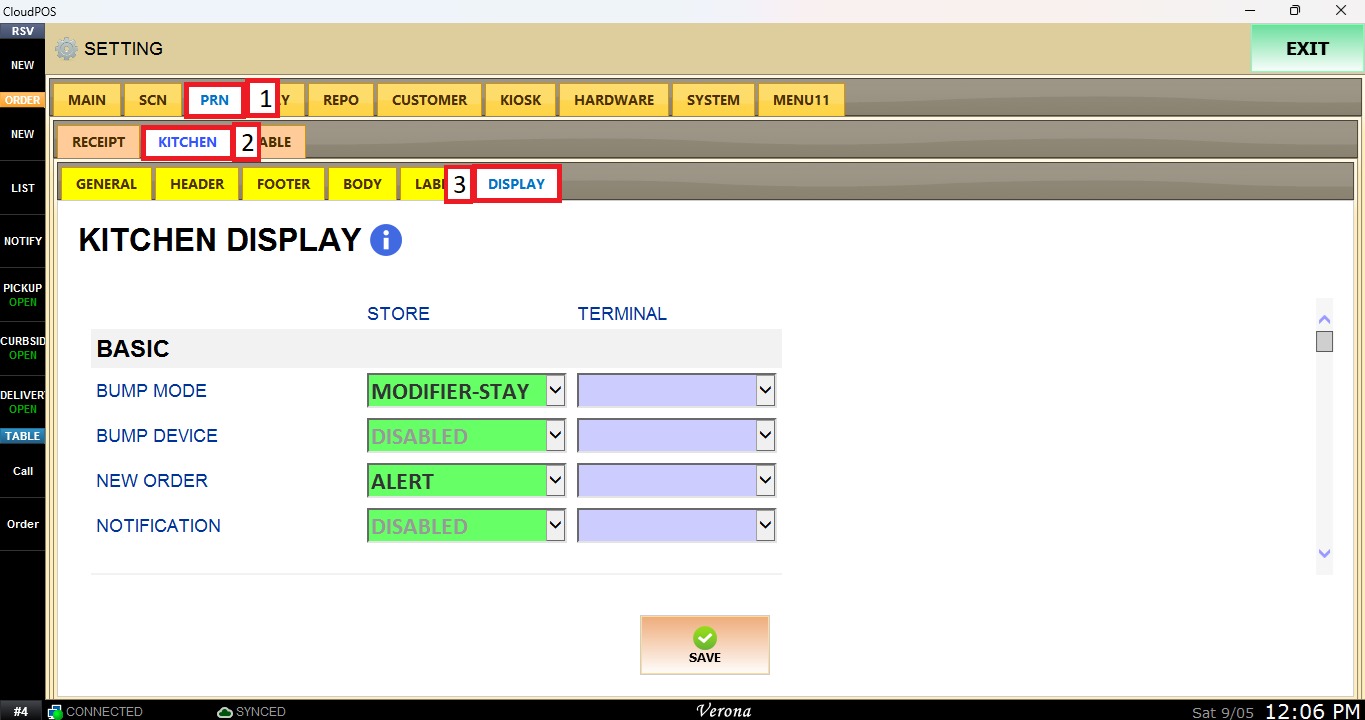
Open the PRINT tab, then KITCHEN, then select KITCHEN DISPLAY.
BASIC
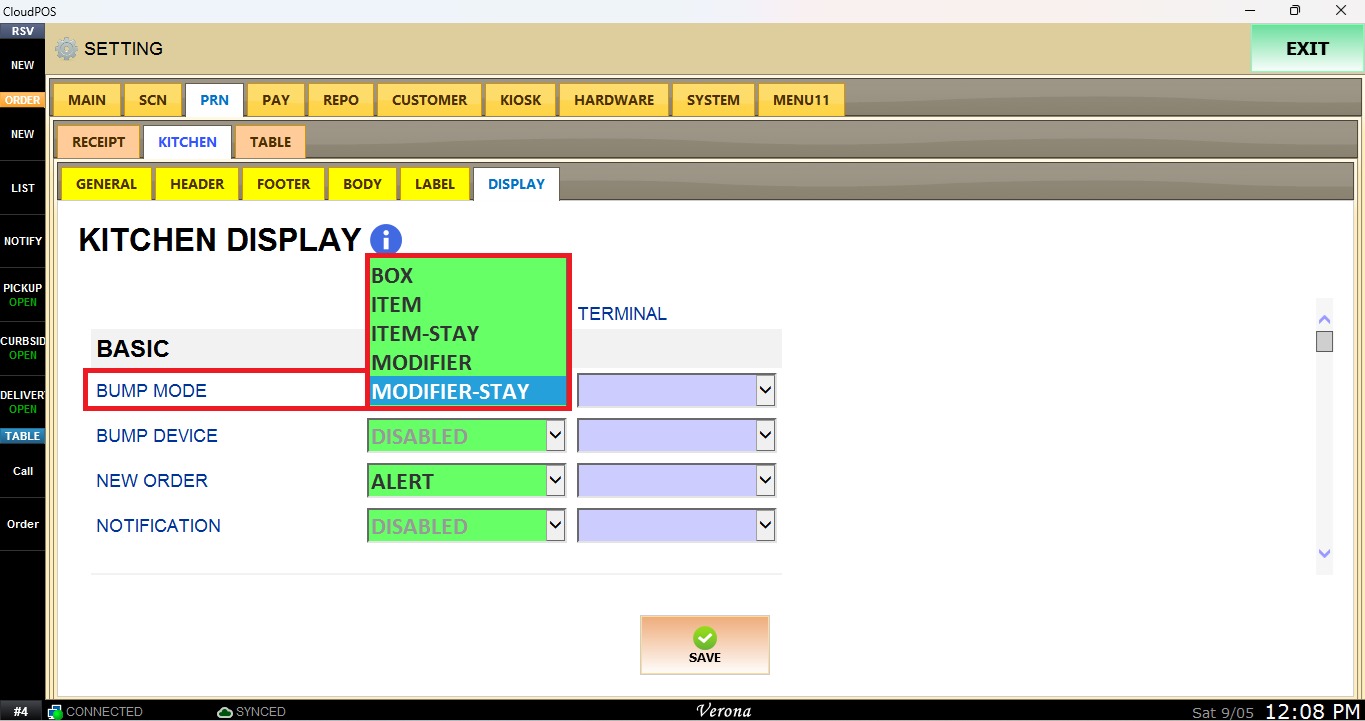
Bump Mode
Determines how an order or item is marked as completed when it is bumped.
Select the desired option from the dropdown menu.
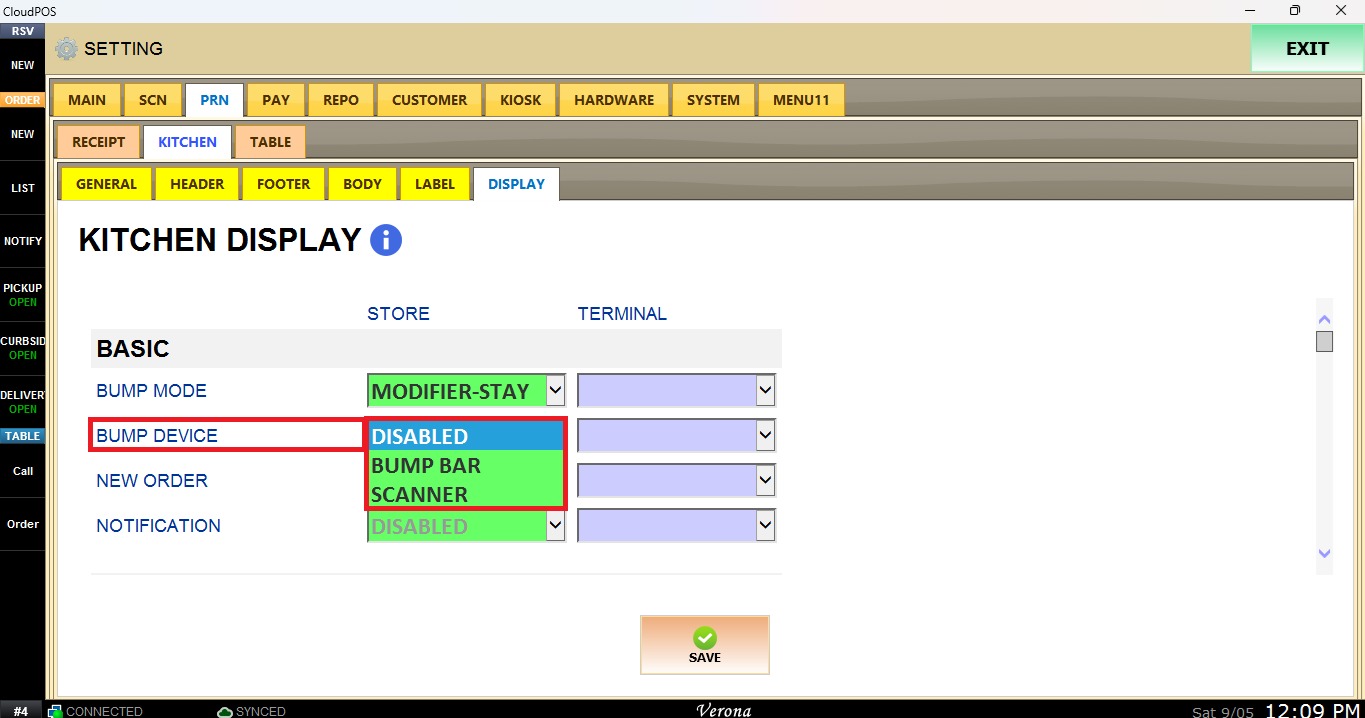
Bump Device
Selects the device you want to use to bump orders from the dropdown menu.
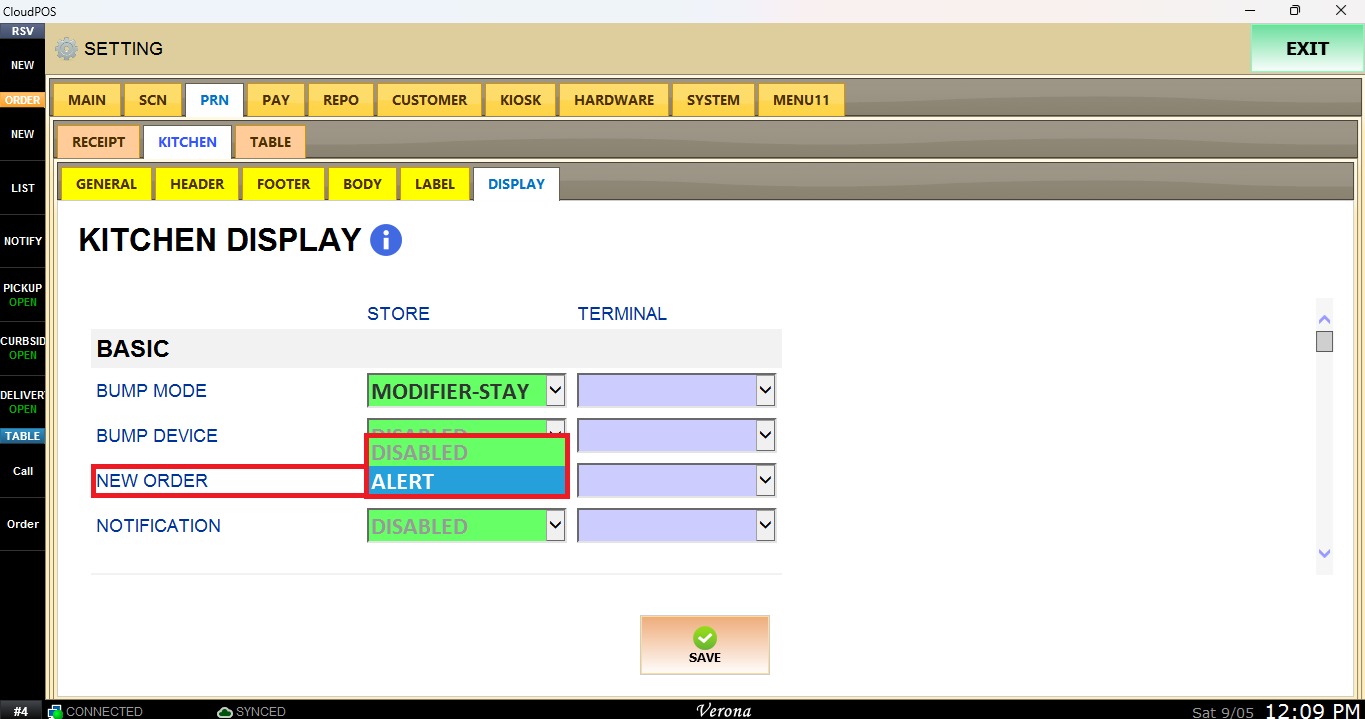
New Order
Determines how a new order is displayed when it is received.
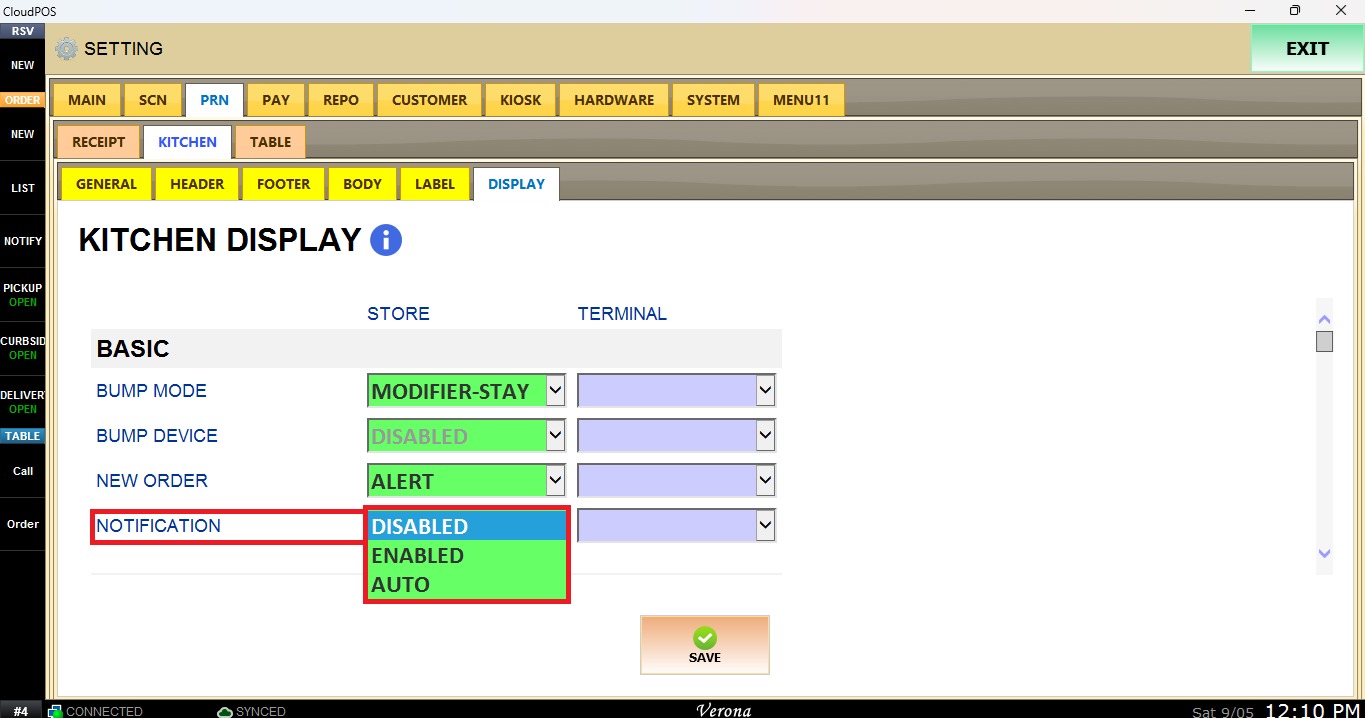
Notification
Determines how KDS notifications are handled.
LAYOUT
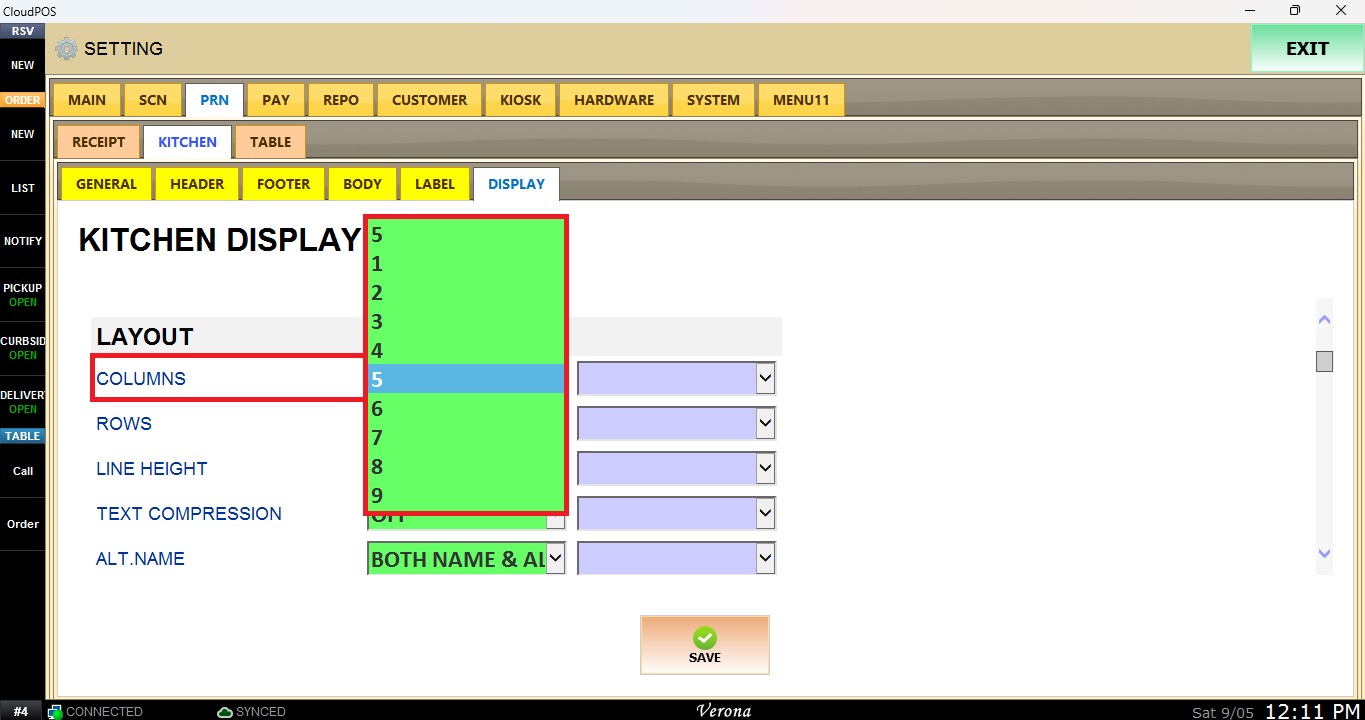
Columns
Sets the number of columns displayed on the KDS screen, from 1 to 9.
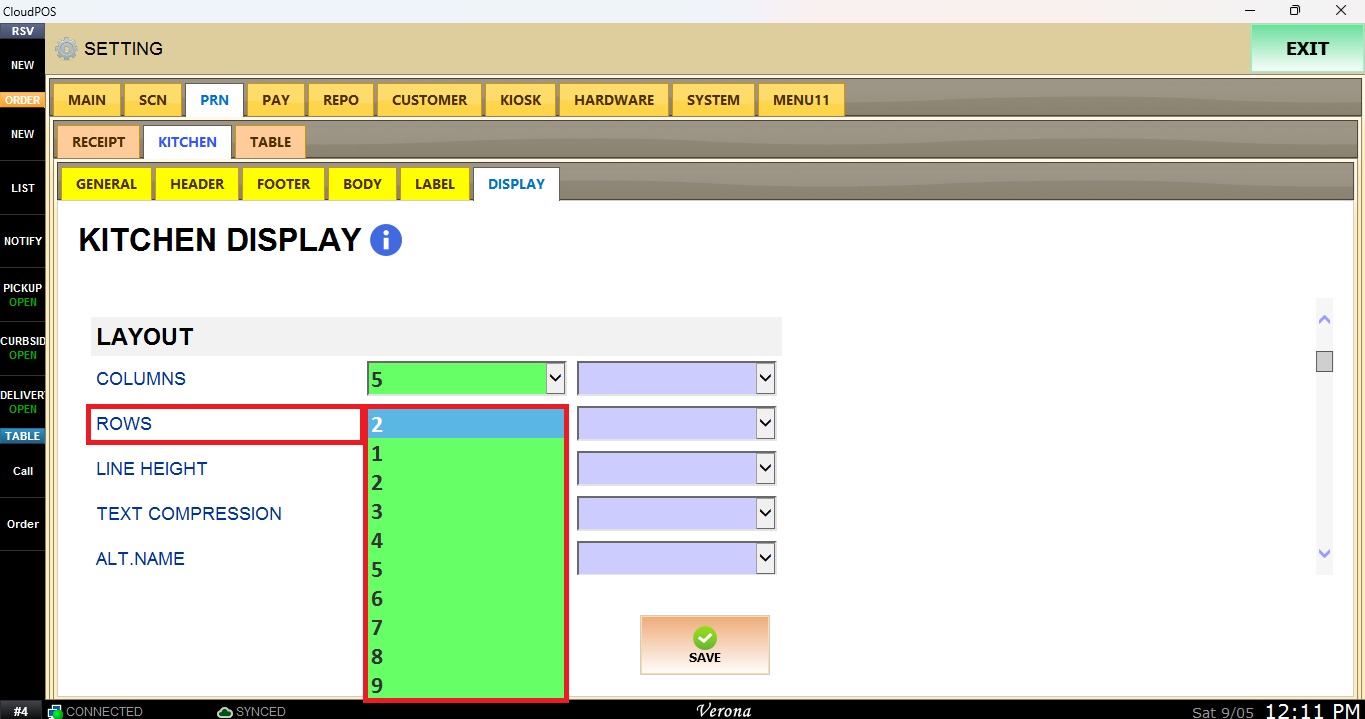
Rows
Sets the number of rows displayed on the KDS screen, from 1 to 9.
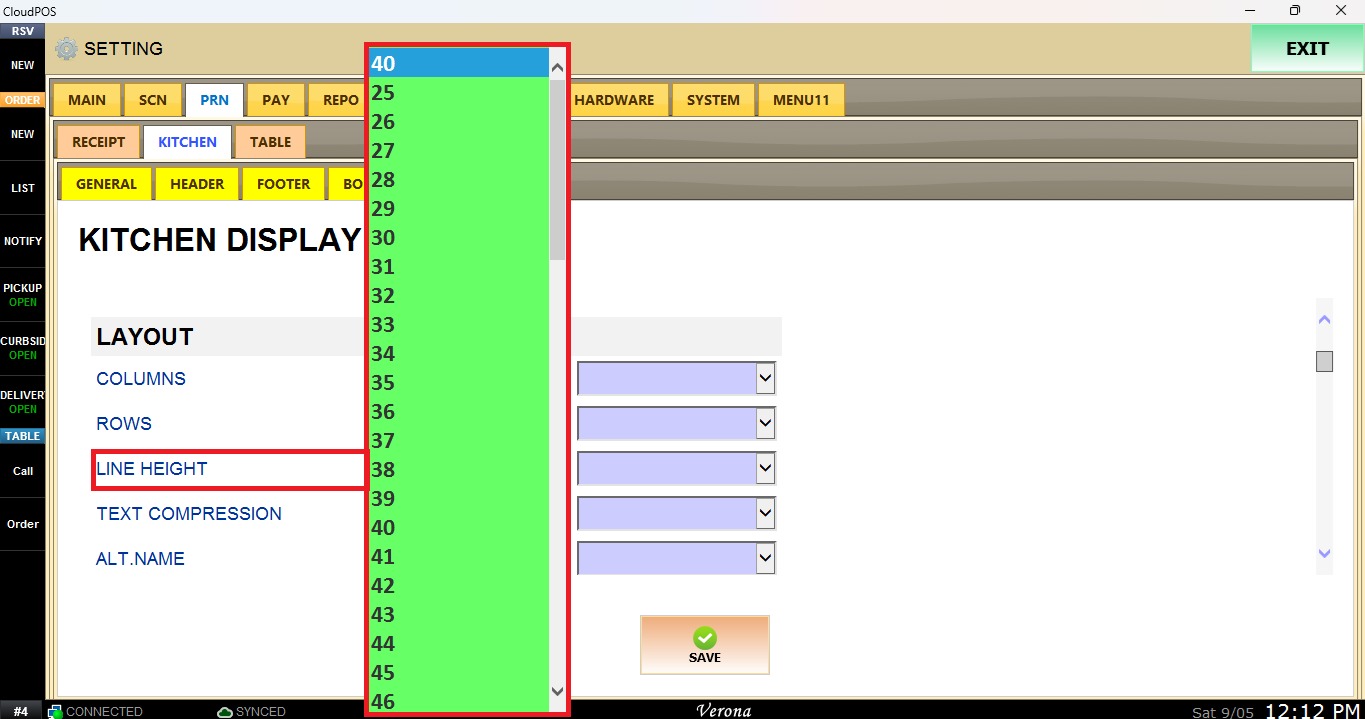
Line Height
Adjusts the height of each line displayed on the KDS, from 25 to 99.
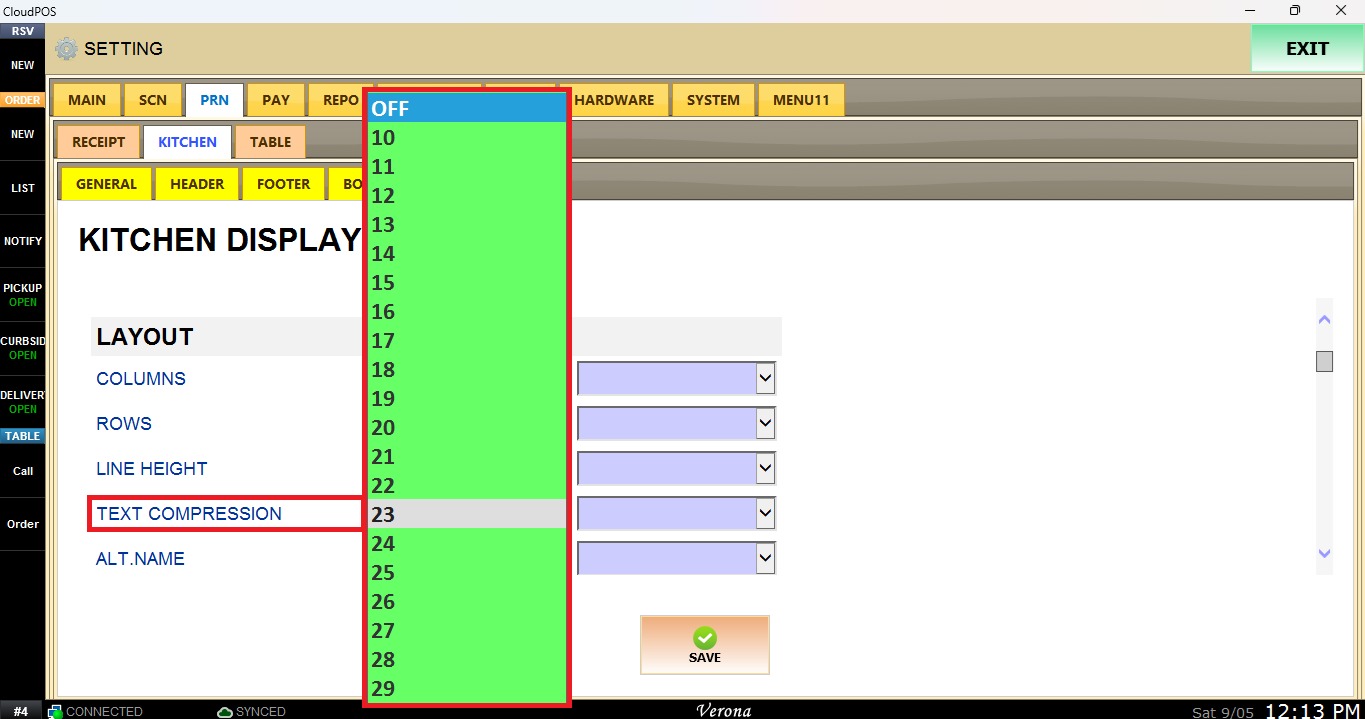
Text Compression
Adjusts the spacing and compression of text displayed on the KDS.
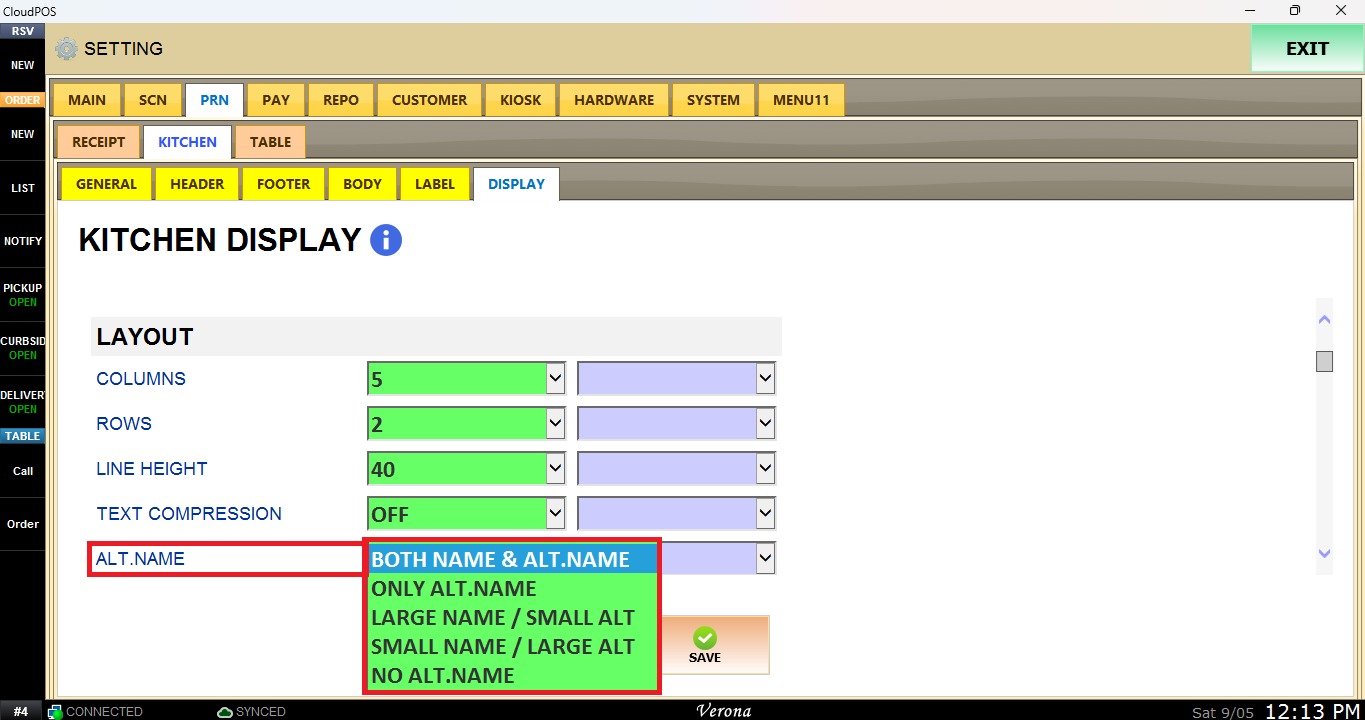
Alt Name
Determines how the item name and alternate name are displayed.
HEADER
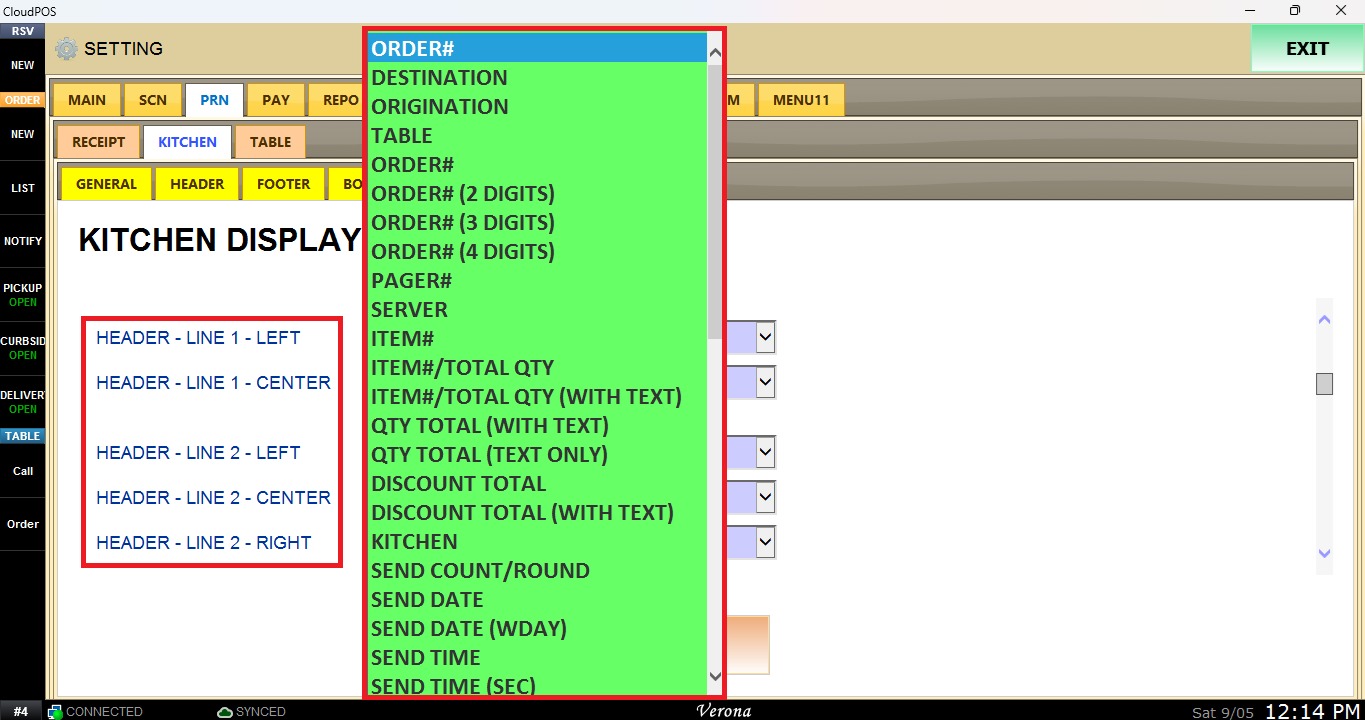
Control which information is displayed in the header of each order on the KDS. Information can be assigned to different positions on Line 1 and Line 2 using the options from the dropdown menu.
ITEM DISPLAY
This section control the size and color of different types of information displayed on the KDS.
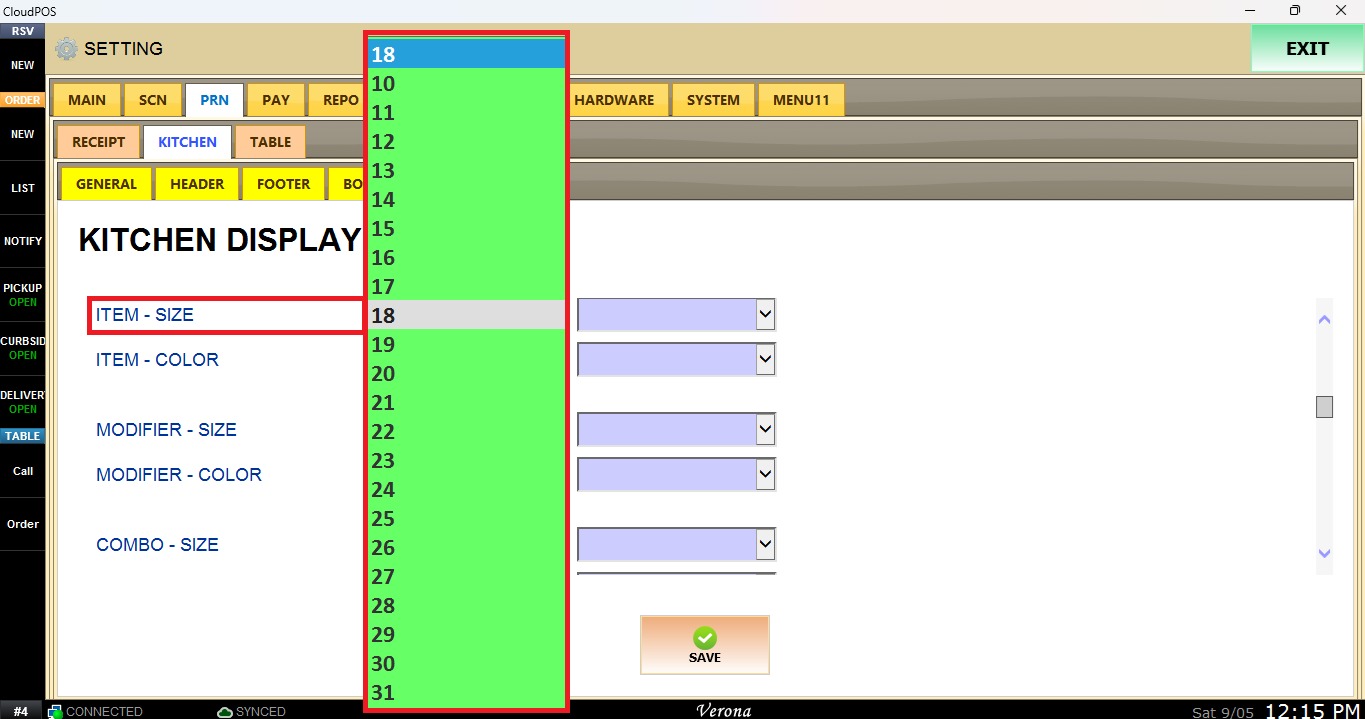
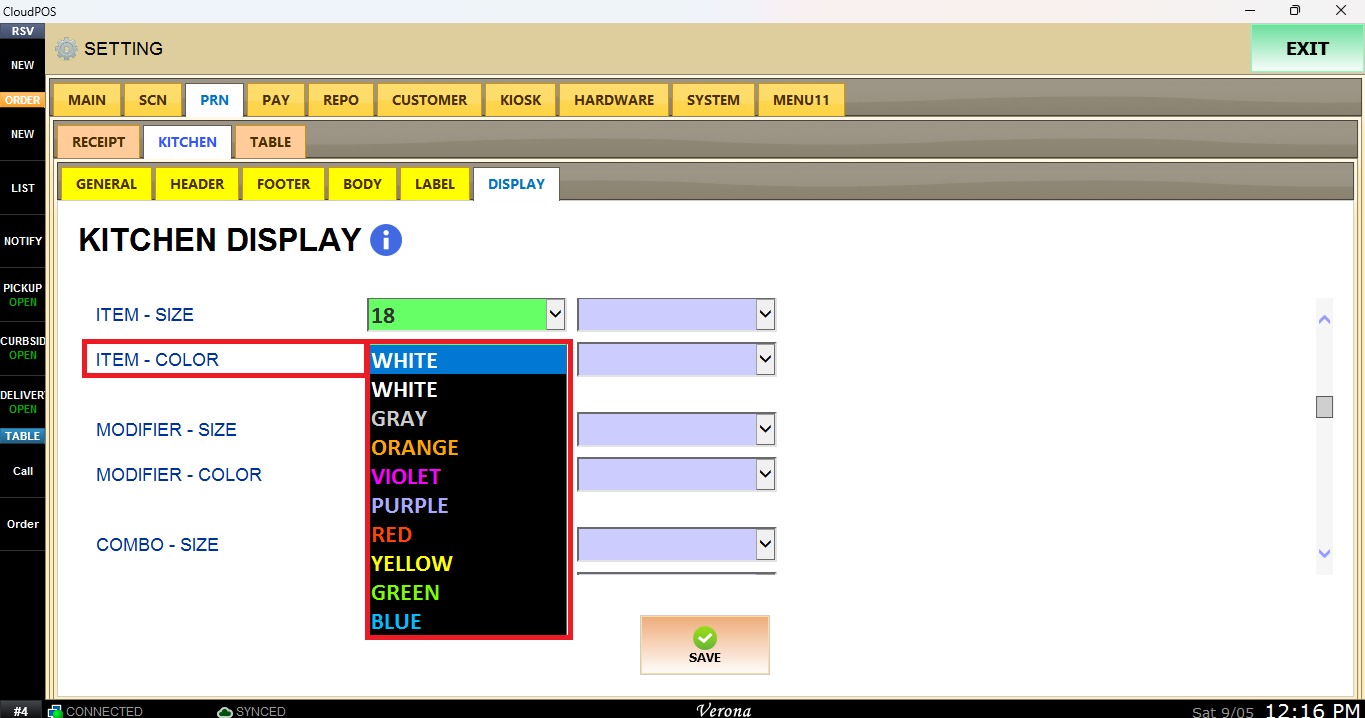
This section controls the text size and color of different elements displayed on the KDS, including items, modifiers, combos, modifier groups, memos, and fire.
Size: Select the text size for each element.
Color: Select the text color for each element.
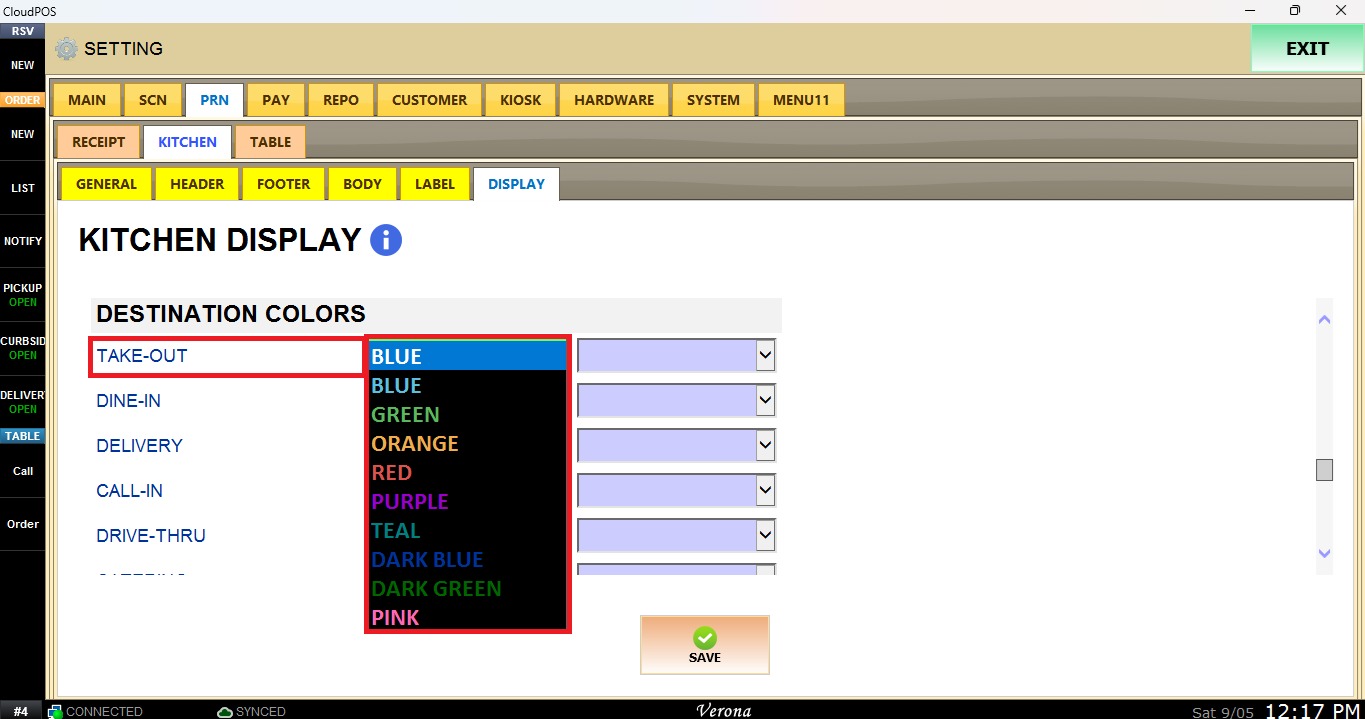
DESTINATION COLORS
On this section you can assign a color to different order destinations.
STATUS TIMERS
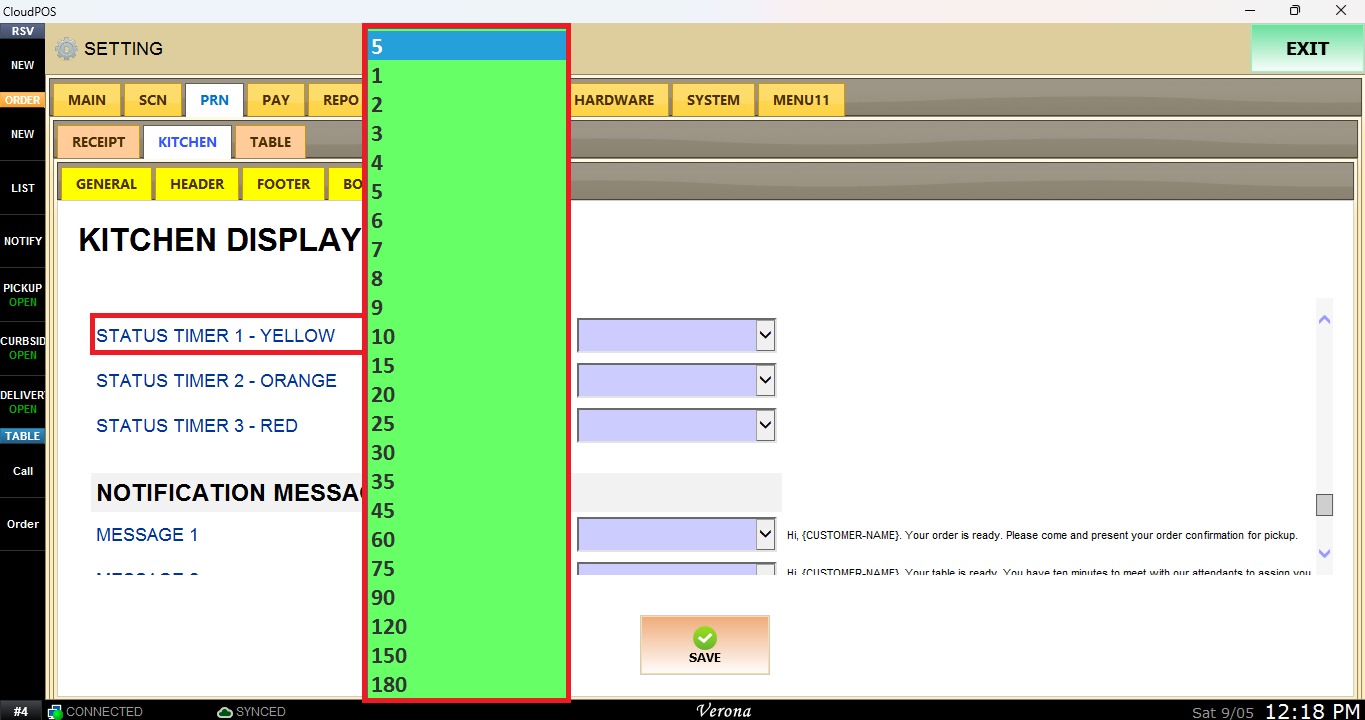
This section allows you to set time thresholds for orders using the dropdown menu. Three timers can be configured, changing the order status color from yellow to orange to red as the configured time thresholds are reached.
NOTIFICATION MESSAGES
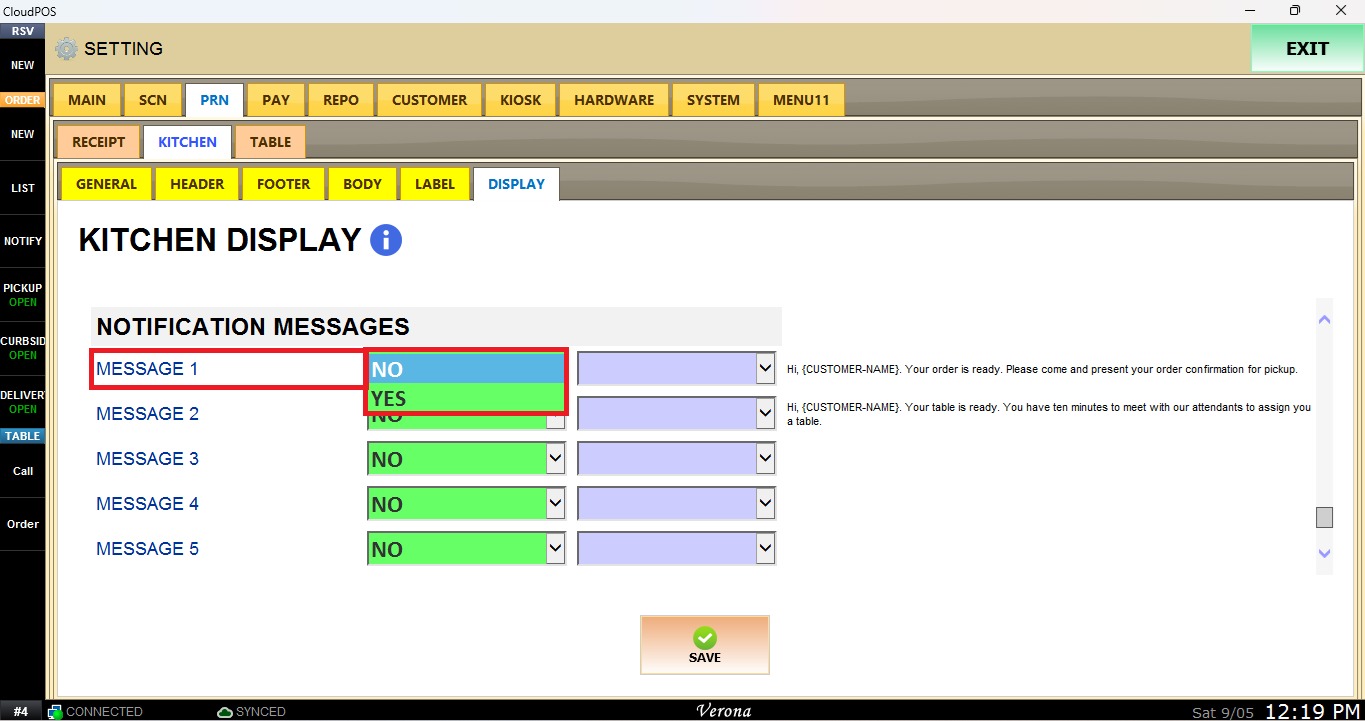
This section allows you to configure predefined messages that can be sent/displayed in connection with customer notifications.
NOTE: These settings can be configured at the Store or Terminal level using the corresponding dropdown menu.
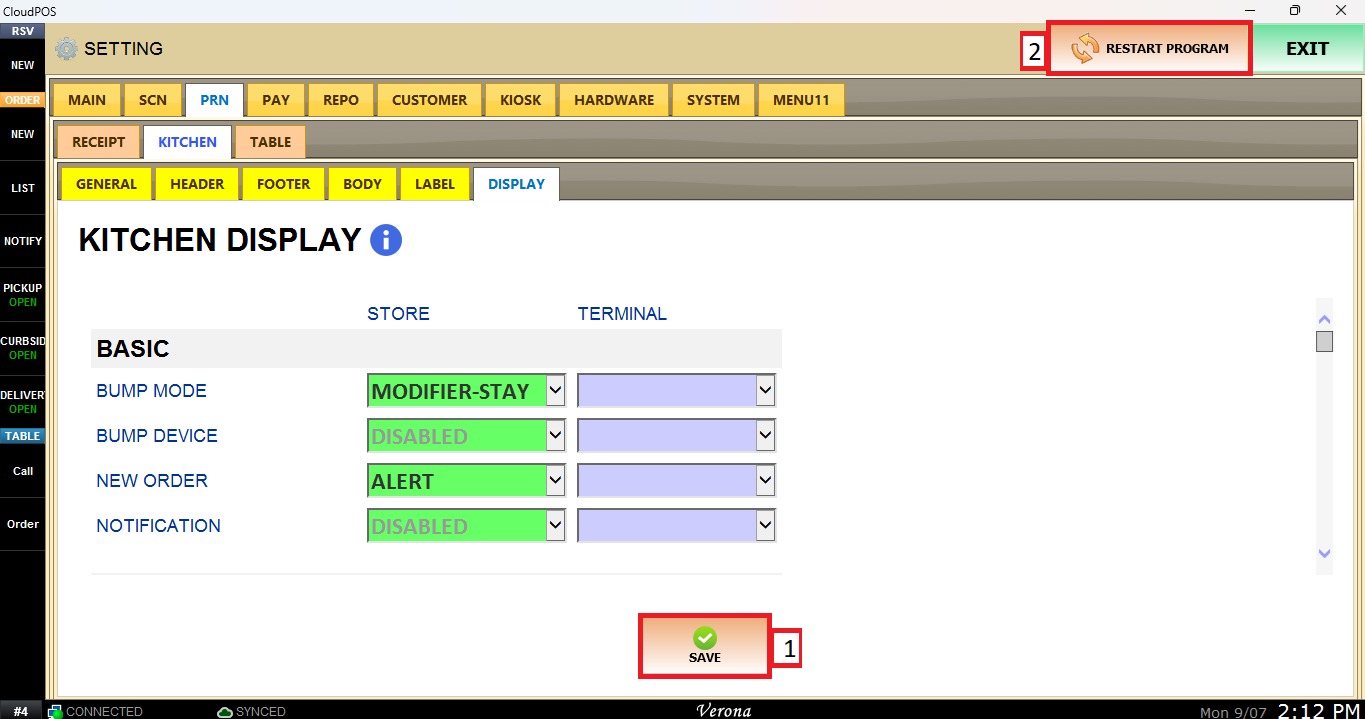
After completing the desired configurations, click Save and Restart Program to save the changes and apply the new settings.