Adding a Customer to the Wating List
The Waiting List allows staff to register walk-in guests before a table becomes available. Guest information, seating preferences, and estimated wait times can be recorded, making it easier to organize seating and manage customer flow.
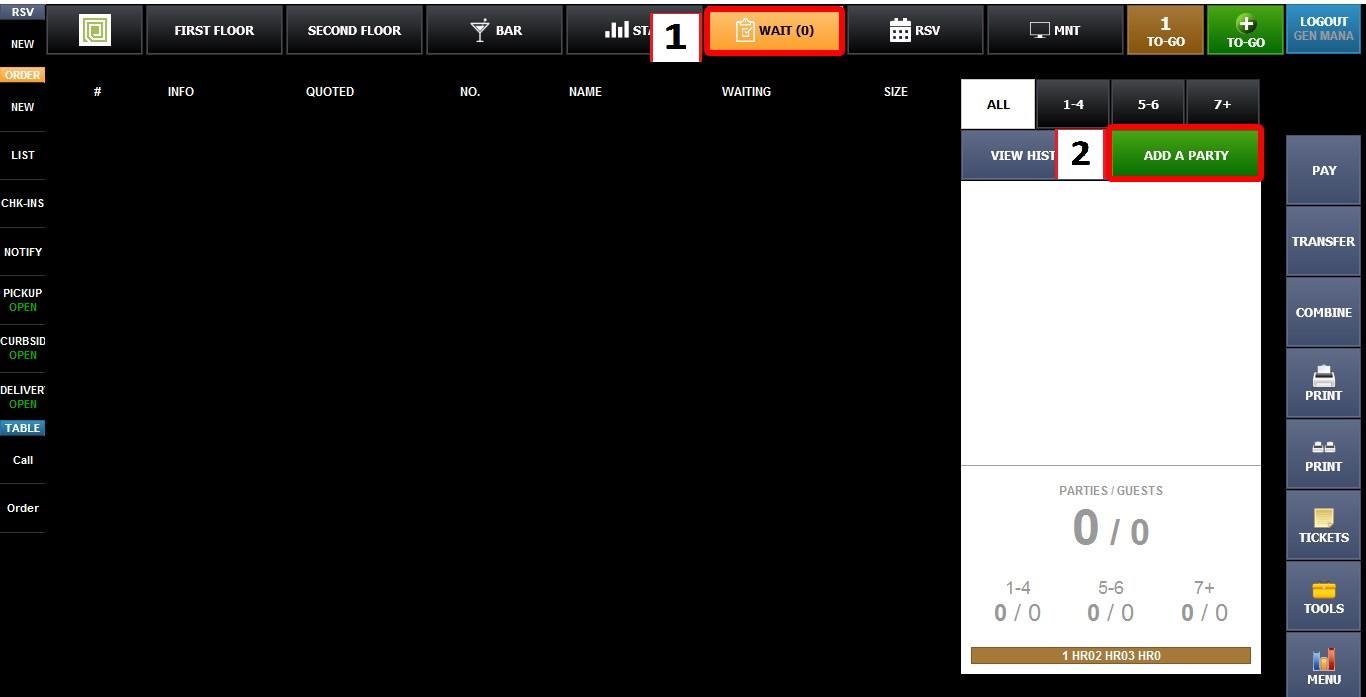
MAIN SCREEN > SALES SCREEN > WAIT
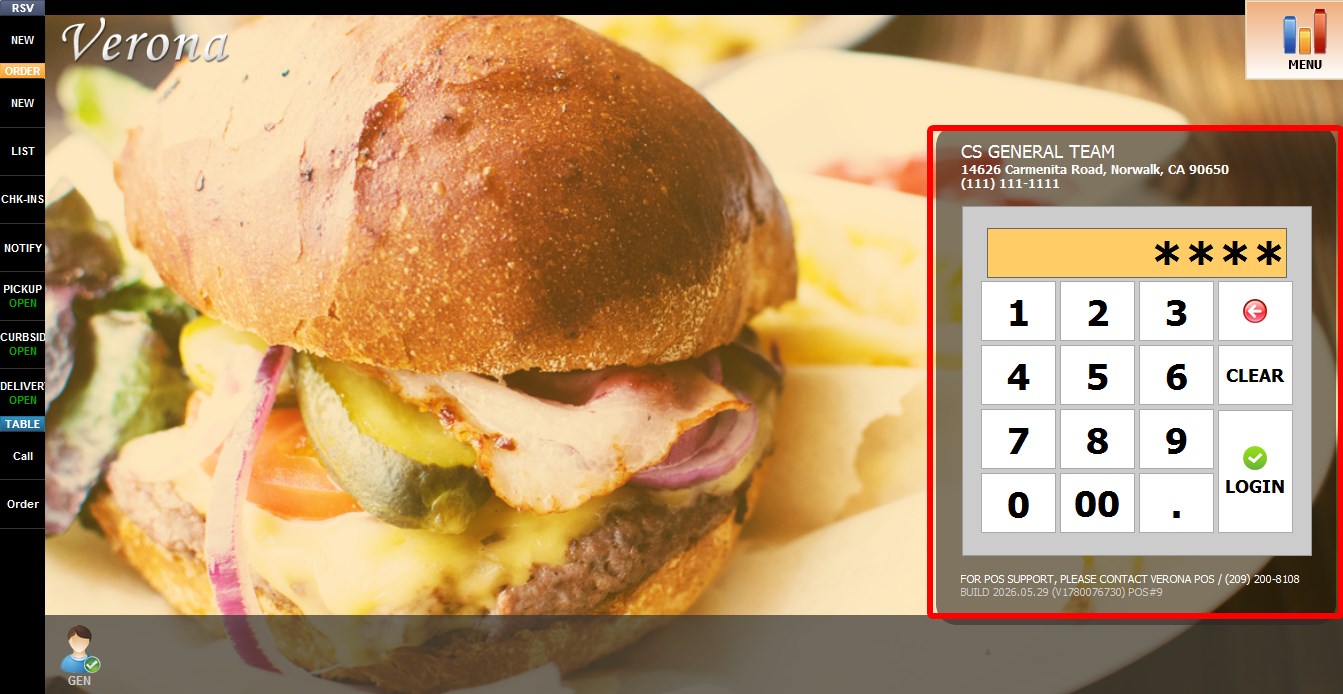
Go to the SALES SCREEN.
Click WAIT, then click ADD A PARTY.
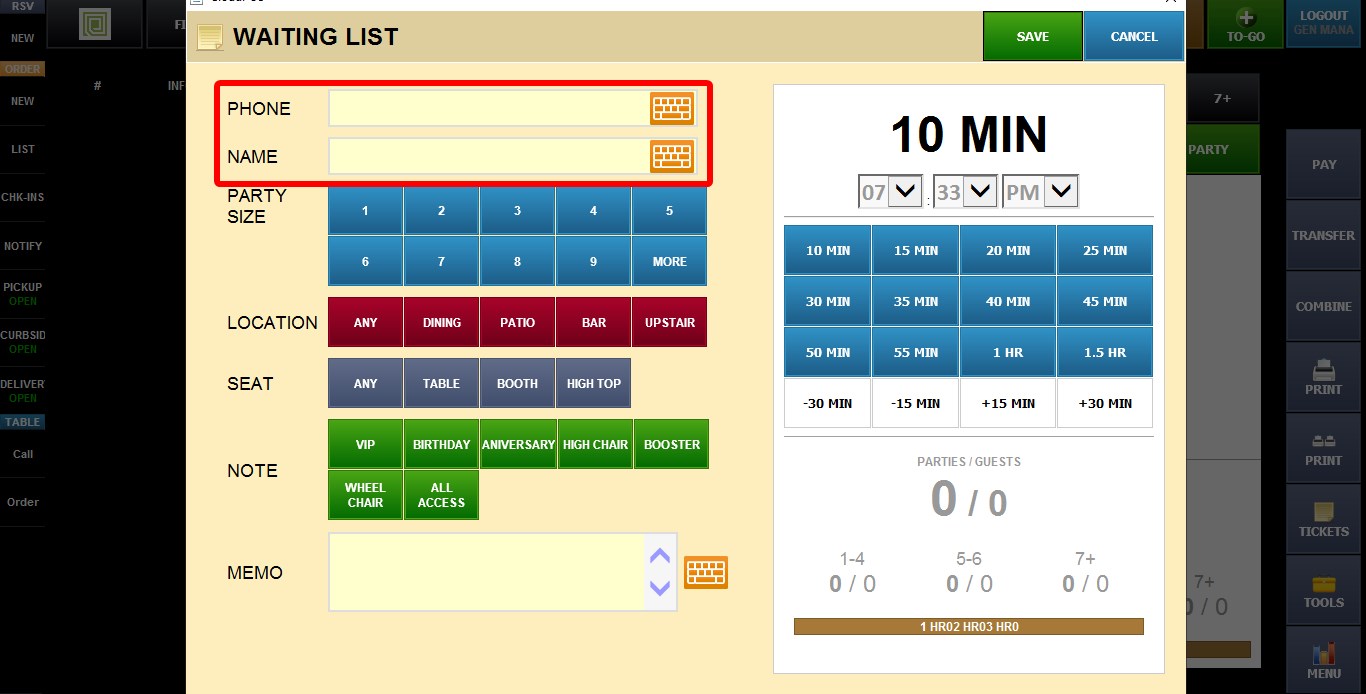
A screen will open where a new guest or party can be added to the waiting list.
PHONE: Enter the customer's phone number.
NAME: Enter the customer's name.
PARTY SIZE: Select a party size from 1 through 9, or click MORE to enter any number of guests.
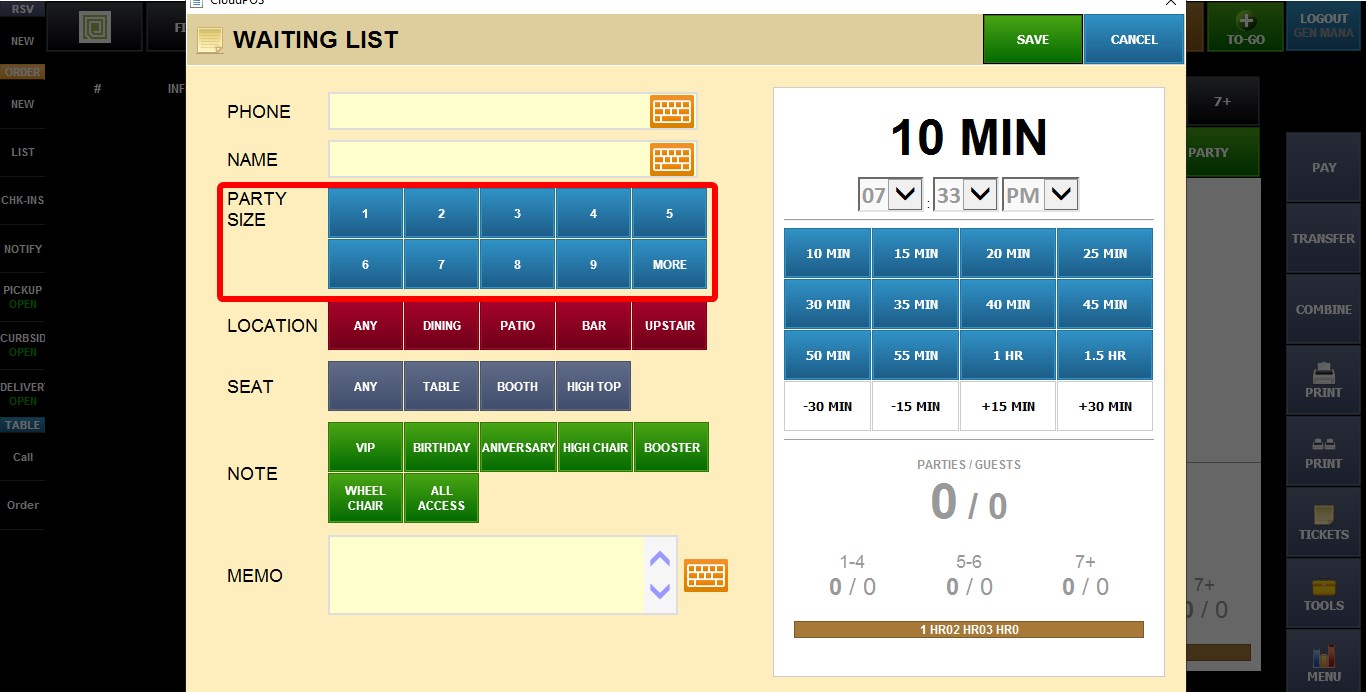
HINT: The minimum required information to add a party is the phone number, customer name, and party size.
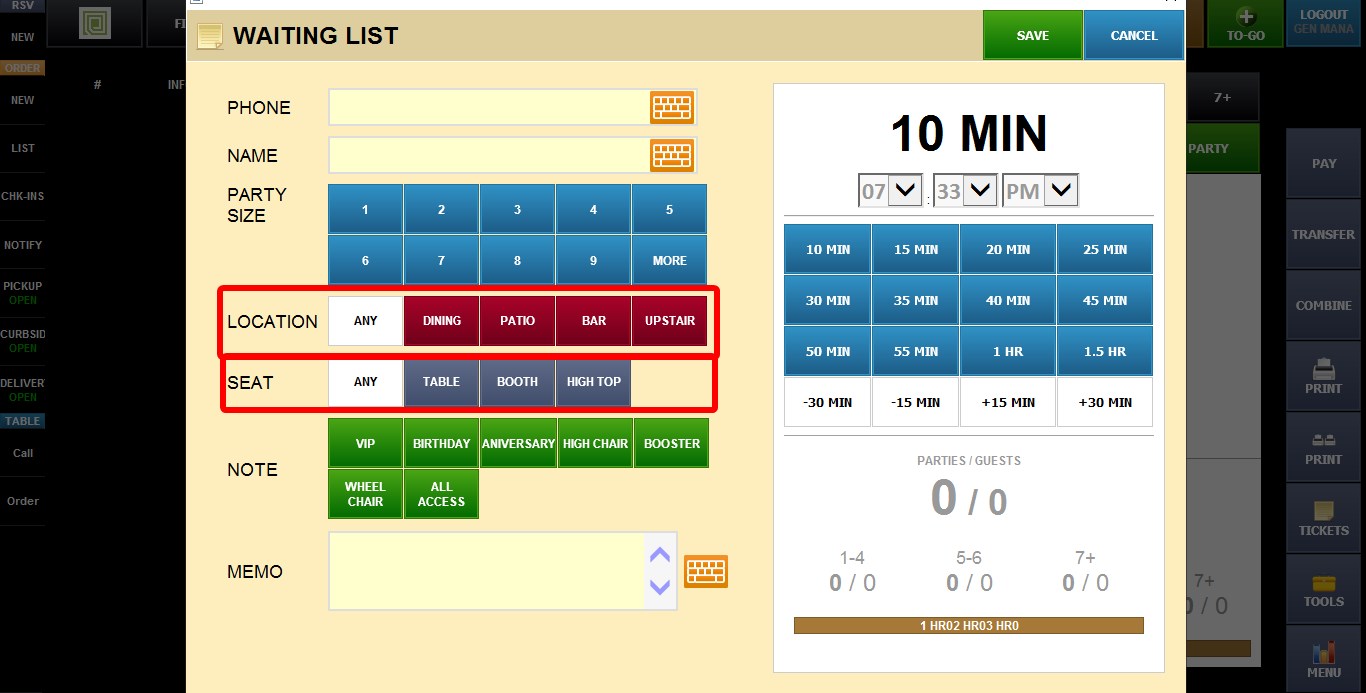
LOCATION: Select the preferred seating area of the customer.
SEAT: Select the preferred seating type of the customer.
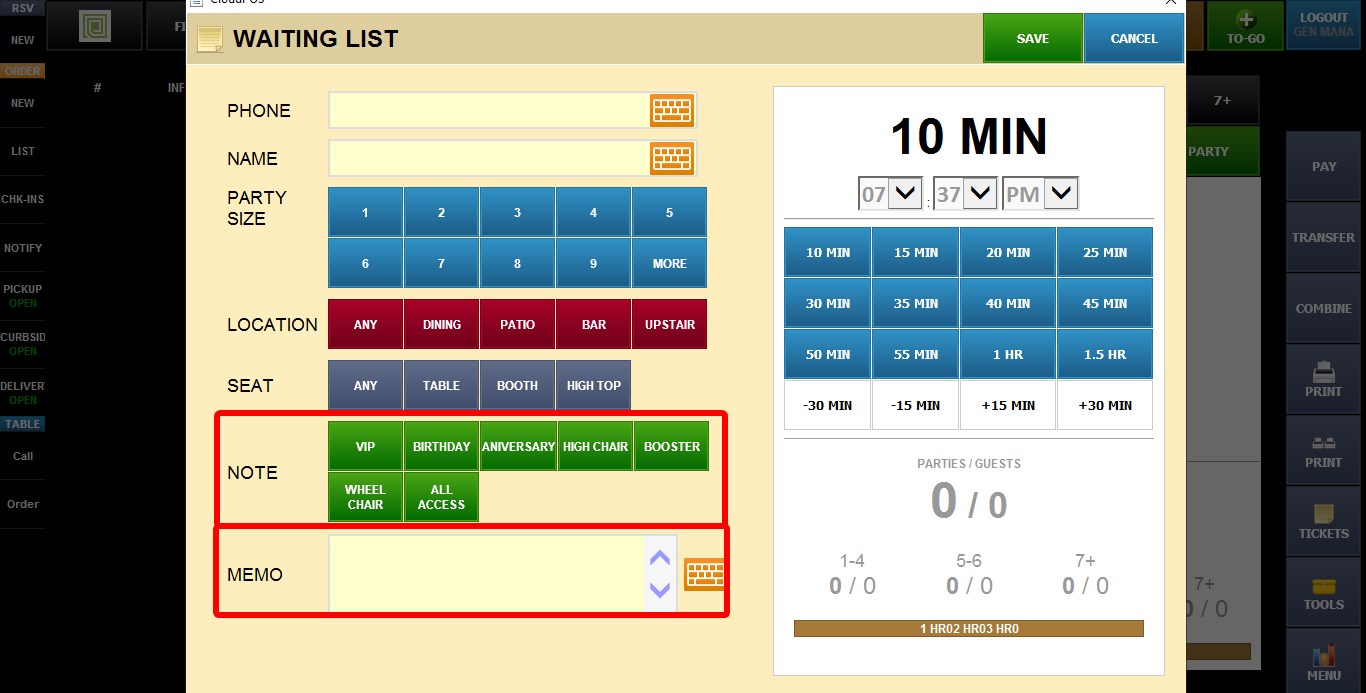
NOTE: Select one of the predefined notes to quickly identify special requests or guest information.
MEMO: Enter any additional information about the guest.
To learn how to configure LOCATION, SEAT, NOTE buttons please refer to the Host Mode Settings Guide.
Configure the wait time
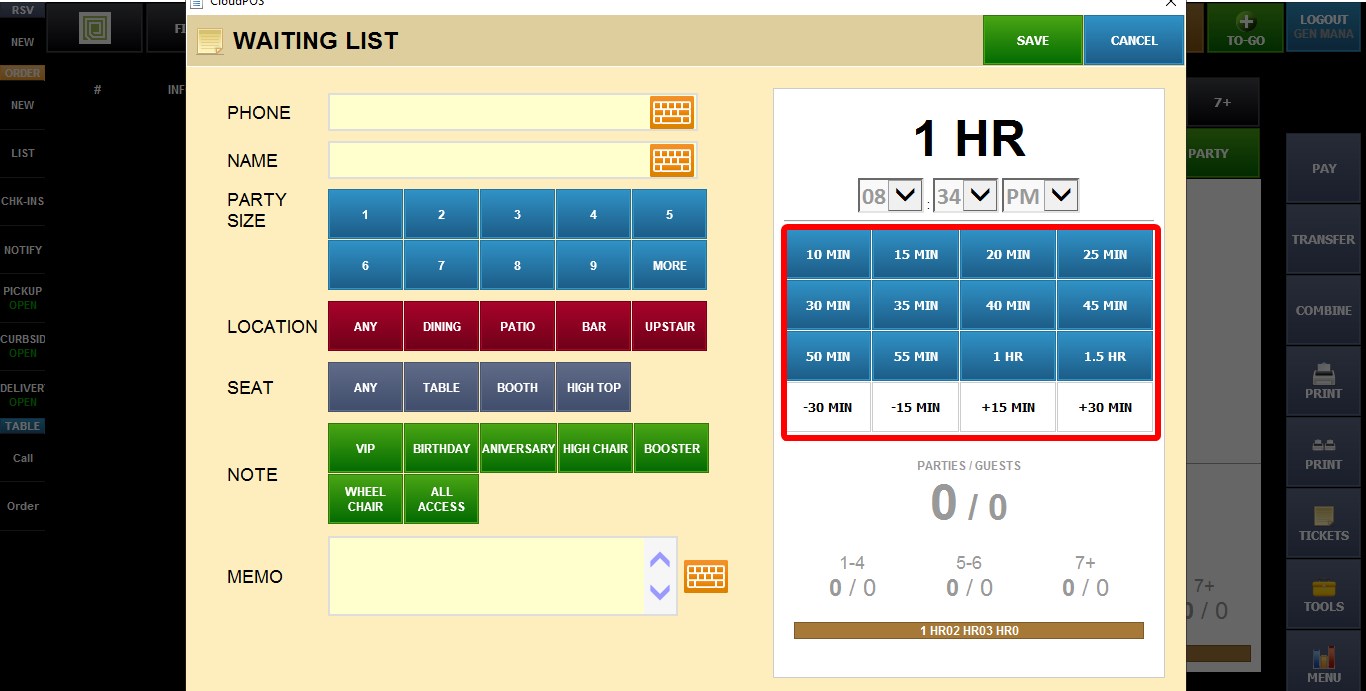
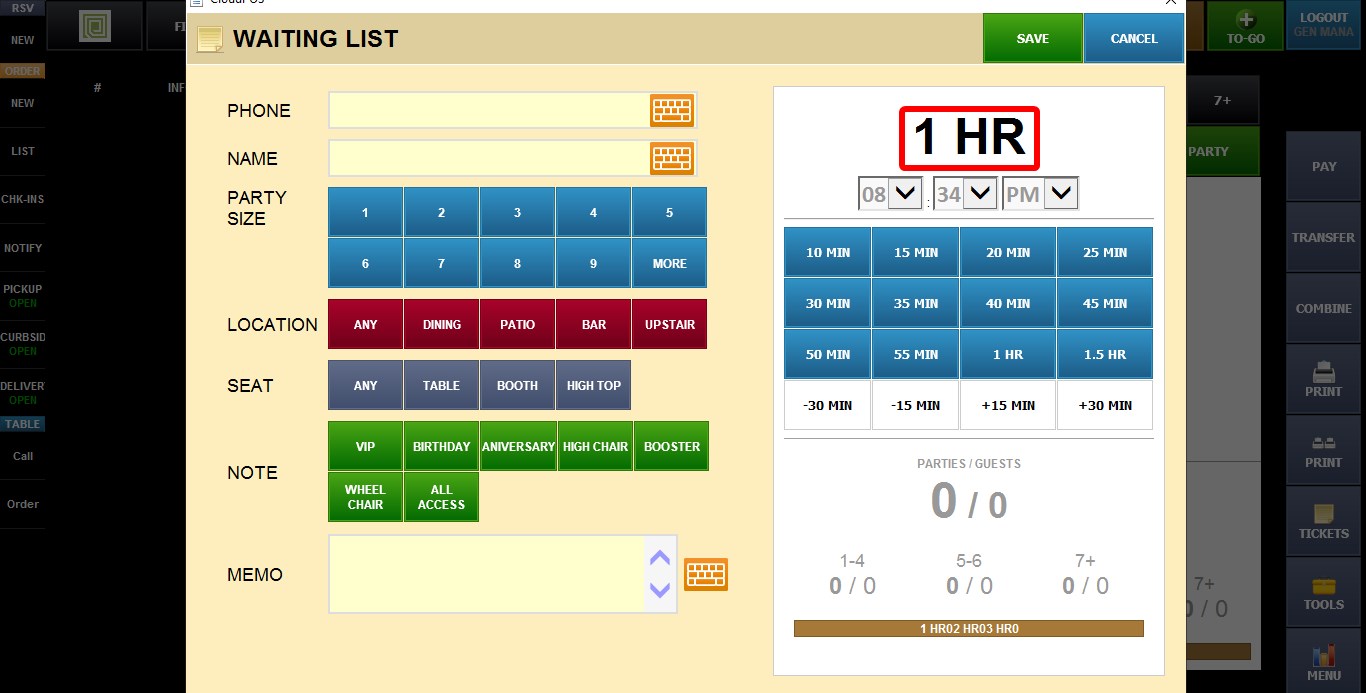
Use the preset time buttons to quickly increase or decrease the estimated wait time in common intervals.
Alternatively, use the HOUR, MINUTE, and AM/PM dropdown menus to select a specific ready time.
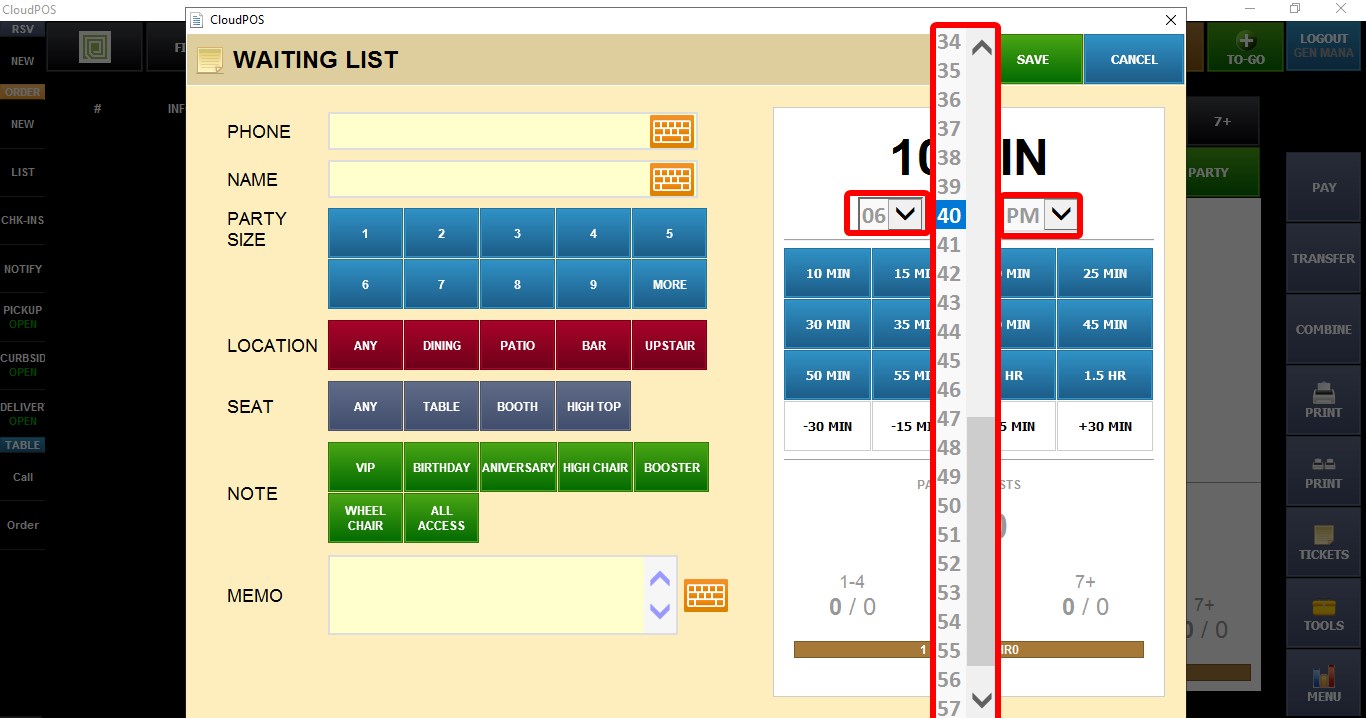
The estimated ready time displayed at the top of the section will automatically update based on the selected buttons or dropdown menus.
Party summary
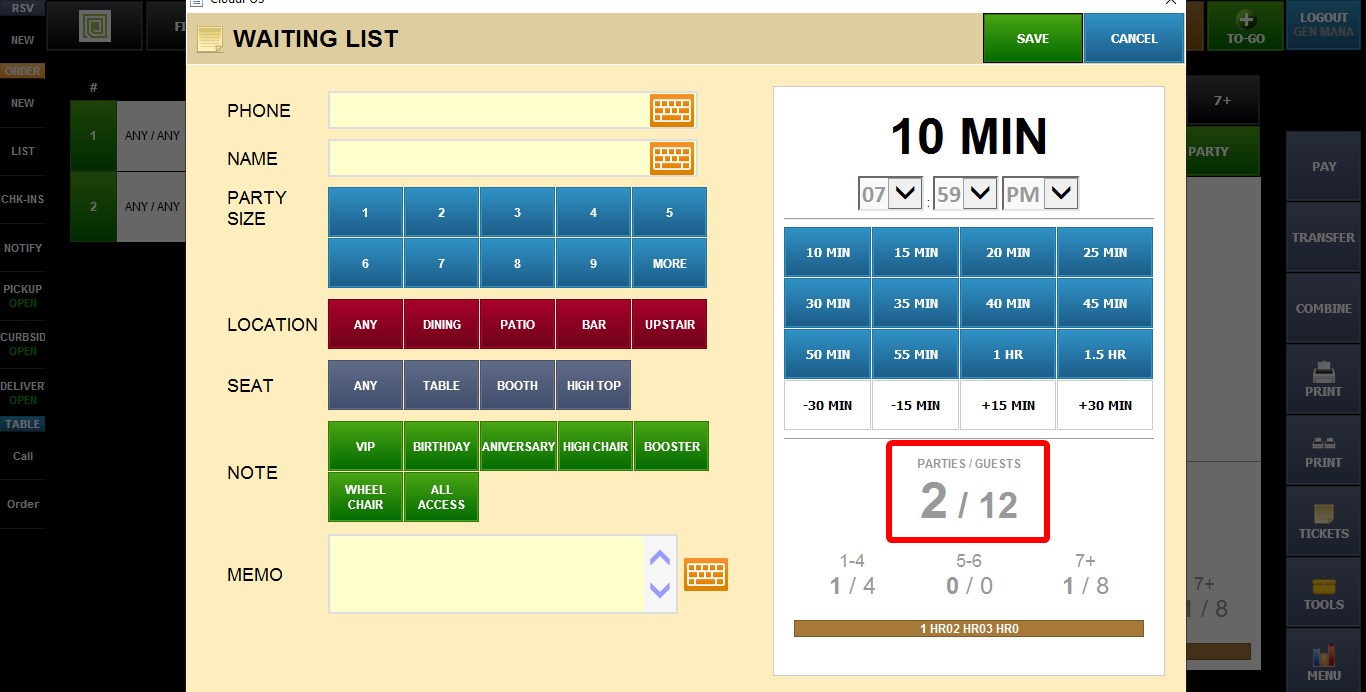
PARTIES / GUEST displays the total number of parties and the total number of guests currently waiting.
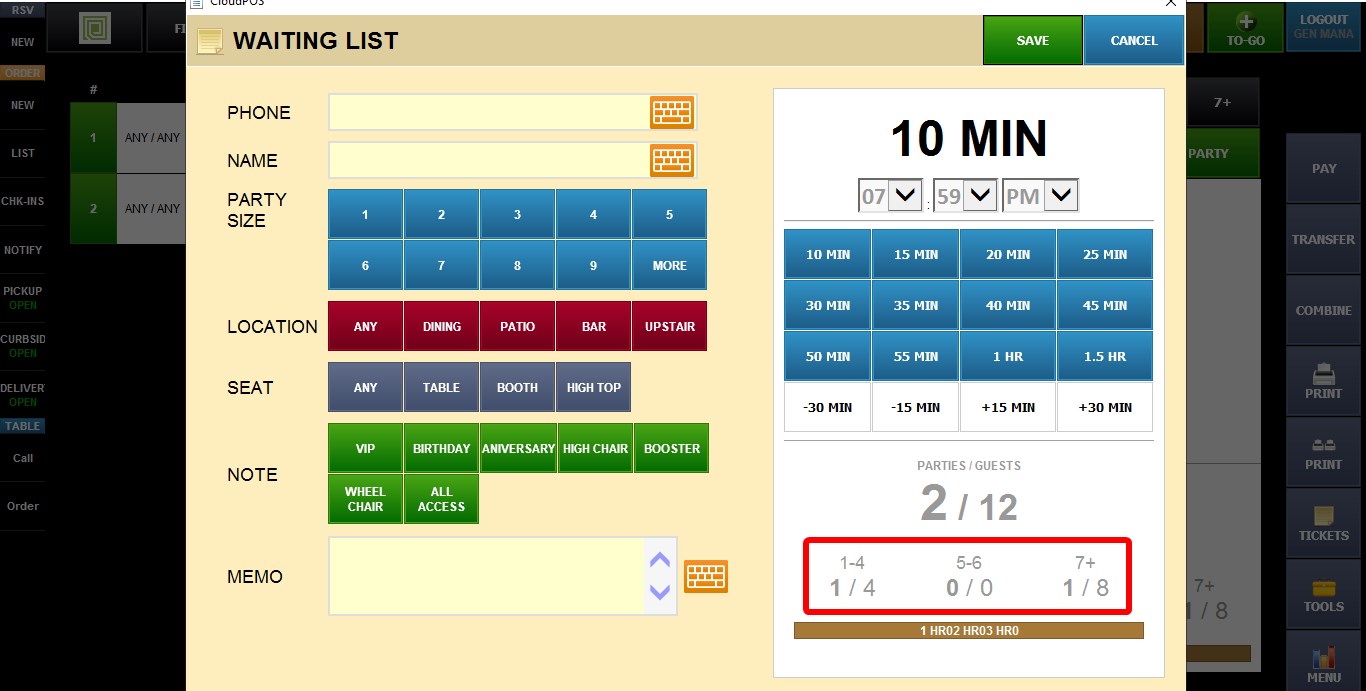
The 1-4, 5-6, and 7+ sections provide the same totals, grouped by party size.
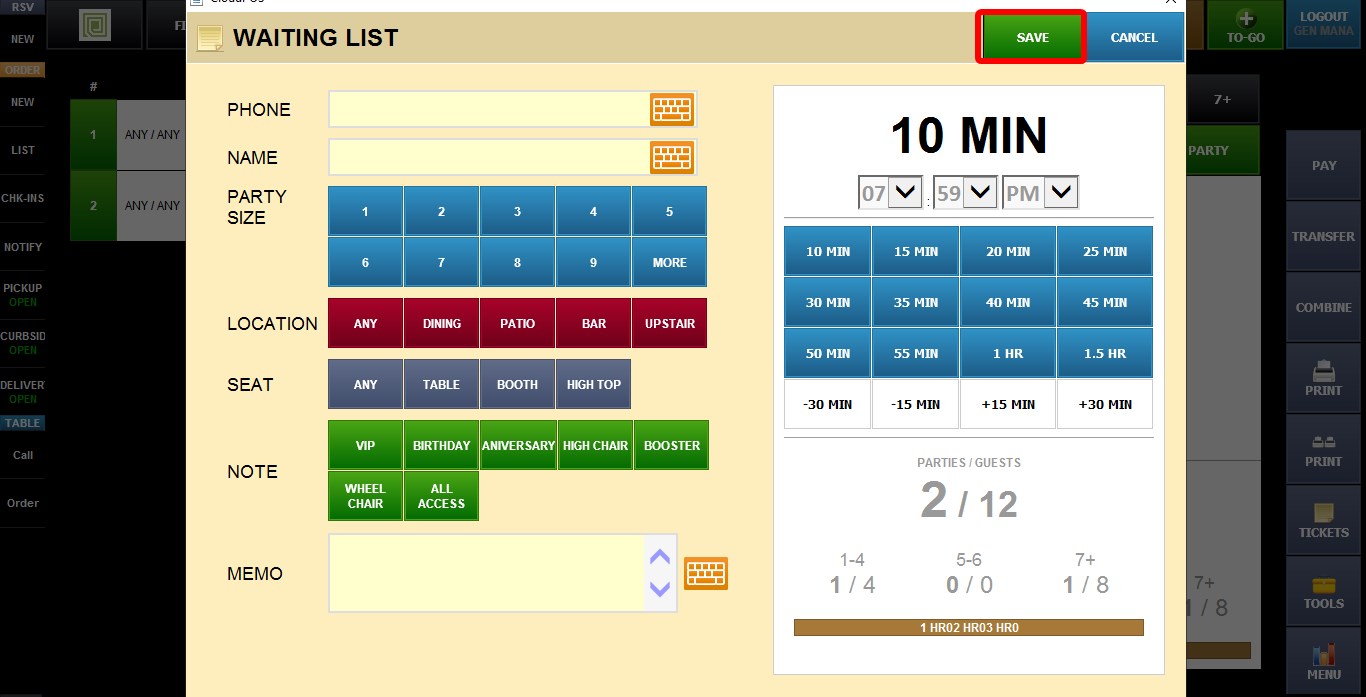
After entering the required information, click SAVE.
Repeat the process to add additional guests or parties to the waiting list.
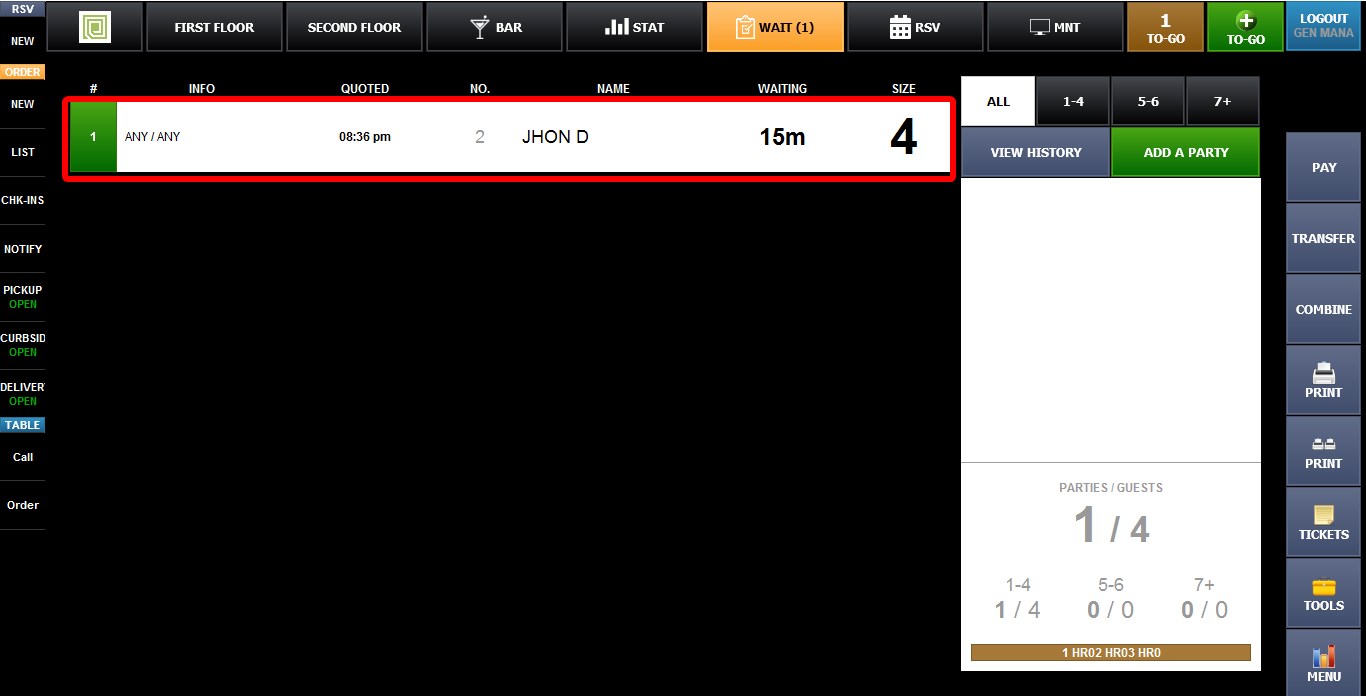
Result
The guest or party will be added to the waiting list and will be available to notify, edit, cancel, or seat when a table becomes available.
To learn how to manage waiting parties, please refer to the Manage the Waiting List Guide.