Managing the Waiting List
The Waiting List screen allows staff to manage waiting guests, notify customers when tables become available, seat parties, edit guest information, and review waiting list history.
MAIN SCREEN> LOCK ICON> WAITING LIST.
To learn how to add guests to the waiting list, refer to the Add a Customer to the Waiting List guide.
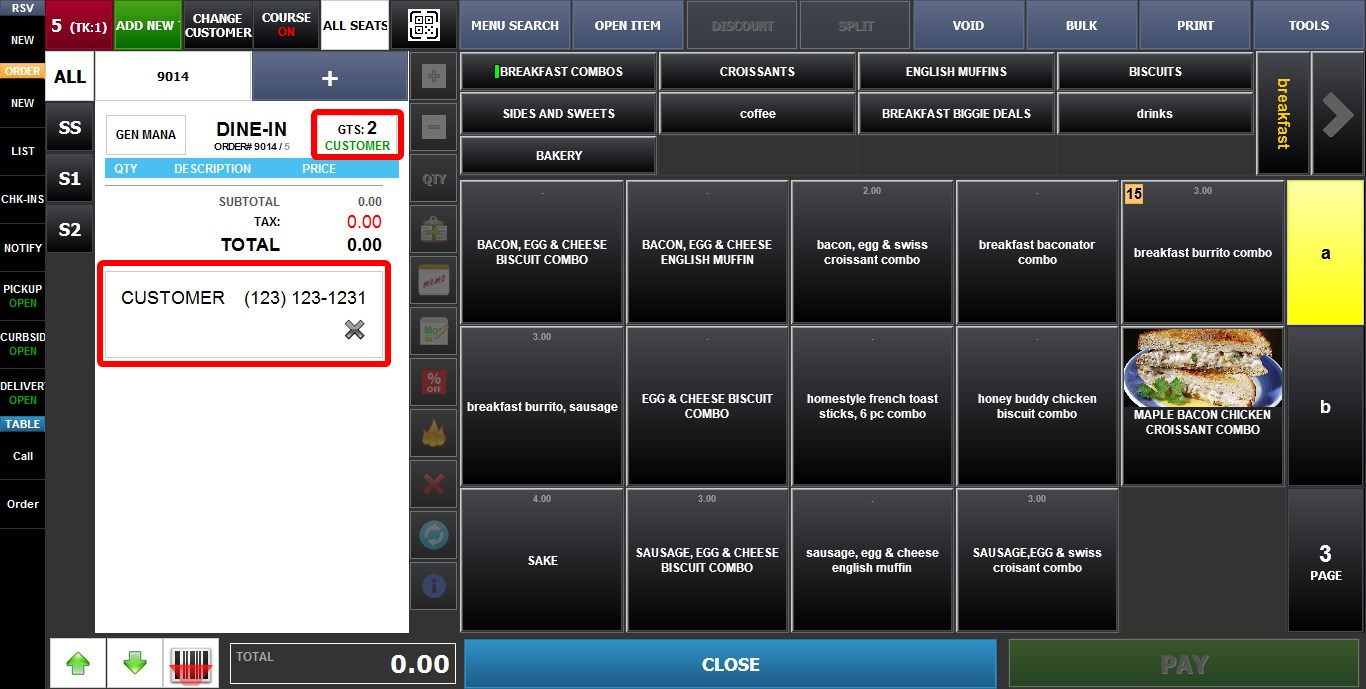
After adding one or more parties to the waiting list, return to the Sales Screen by clicking the LOCK icon.
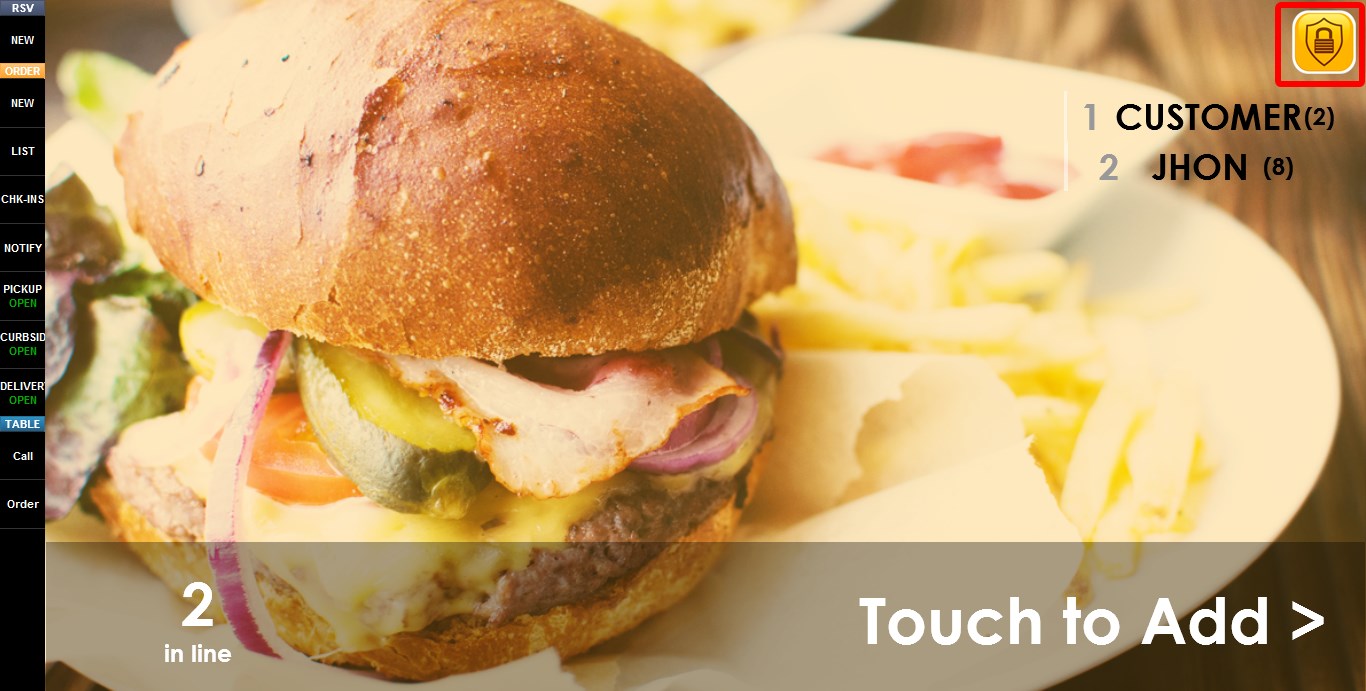
Click WAIT.
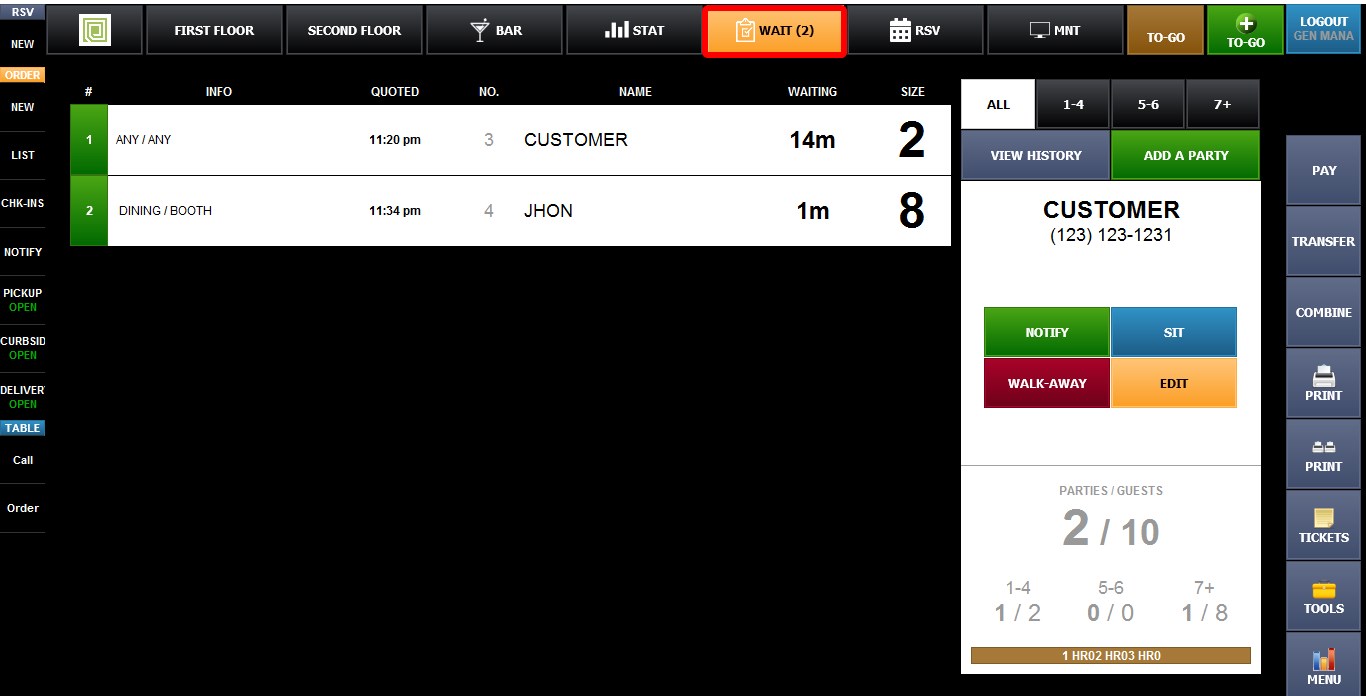
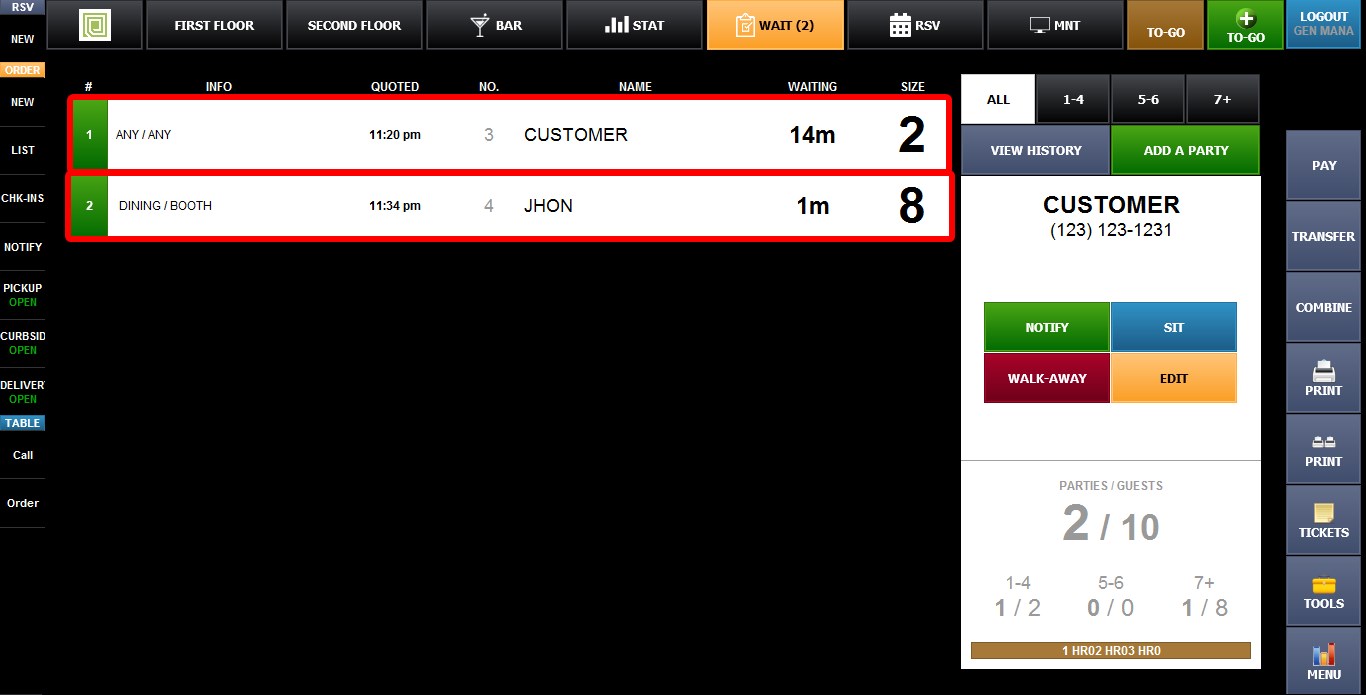
The Waiting List screen will display all parties currently waiting to be seated.
WAITING LIST INFORMATION
Each waiting list entry includes the following information:
QUOTED NUMBER: Displays the estimated wait time before the party is seated.
NAME: Displays the customer namee.
WAITING: Displays how long the party has been waiting.
SIZE: Displays the number of guests in the party.
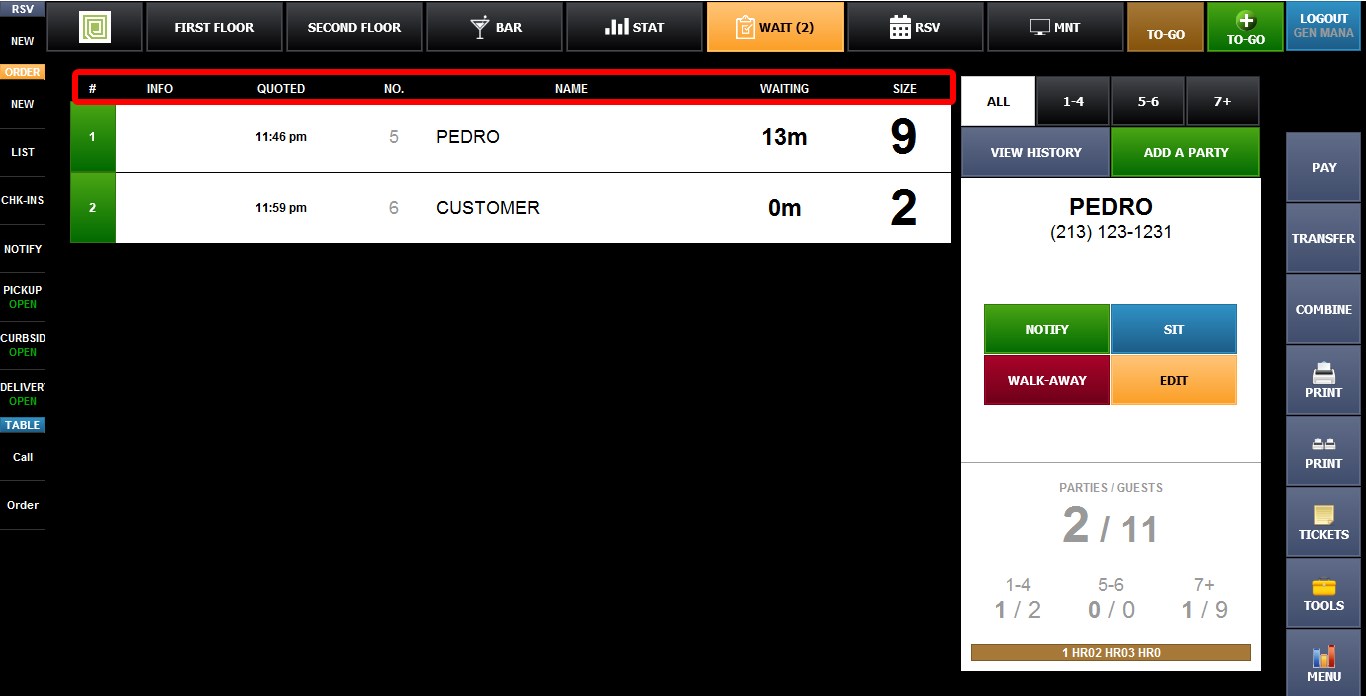
Click any waiting list entry to view additional options.
FILTERING THE WAITING LIST
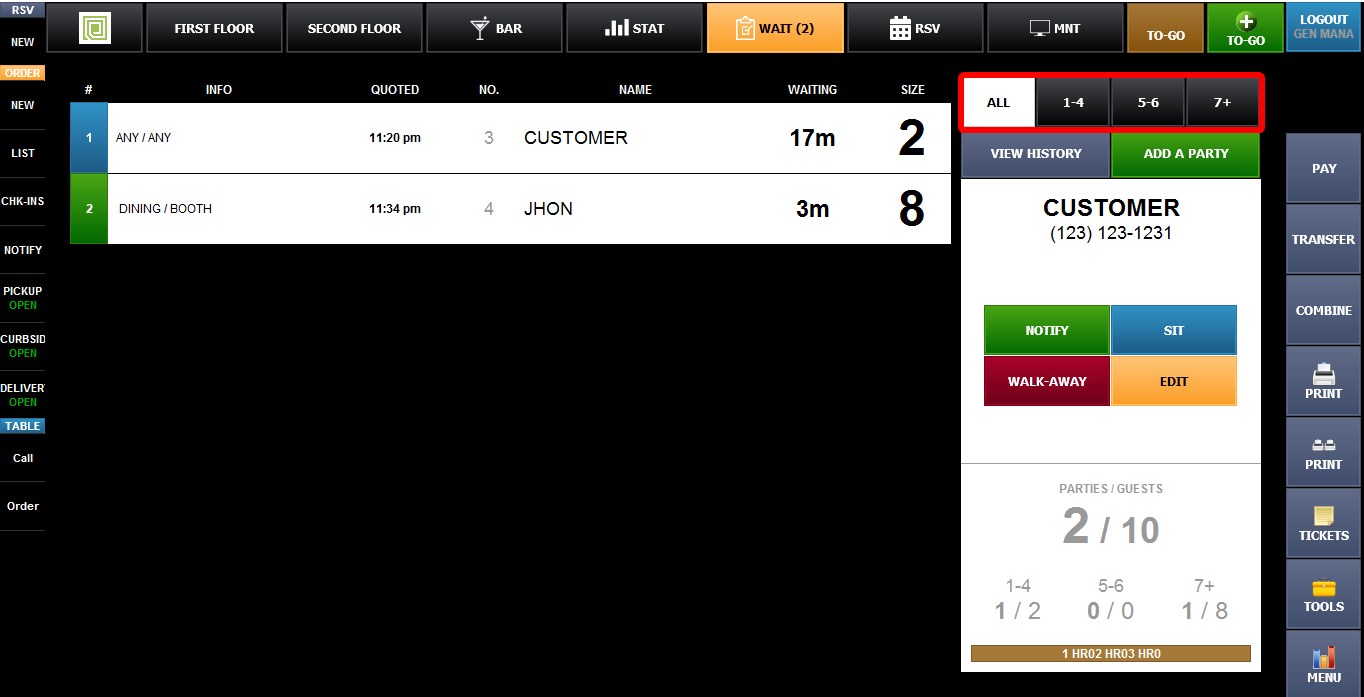
Waiting list entries can be filtered by party size.
ALL: Displays all waiting list entries.
1-4: Displays parties with 1 to 4 guests.
5-6: Displays parties with 5 to 6 guests.
7+: Displays parties with 7 or more guests.
VIEWING WAITING LIST HISTORY
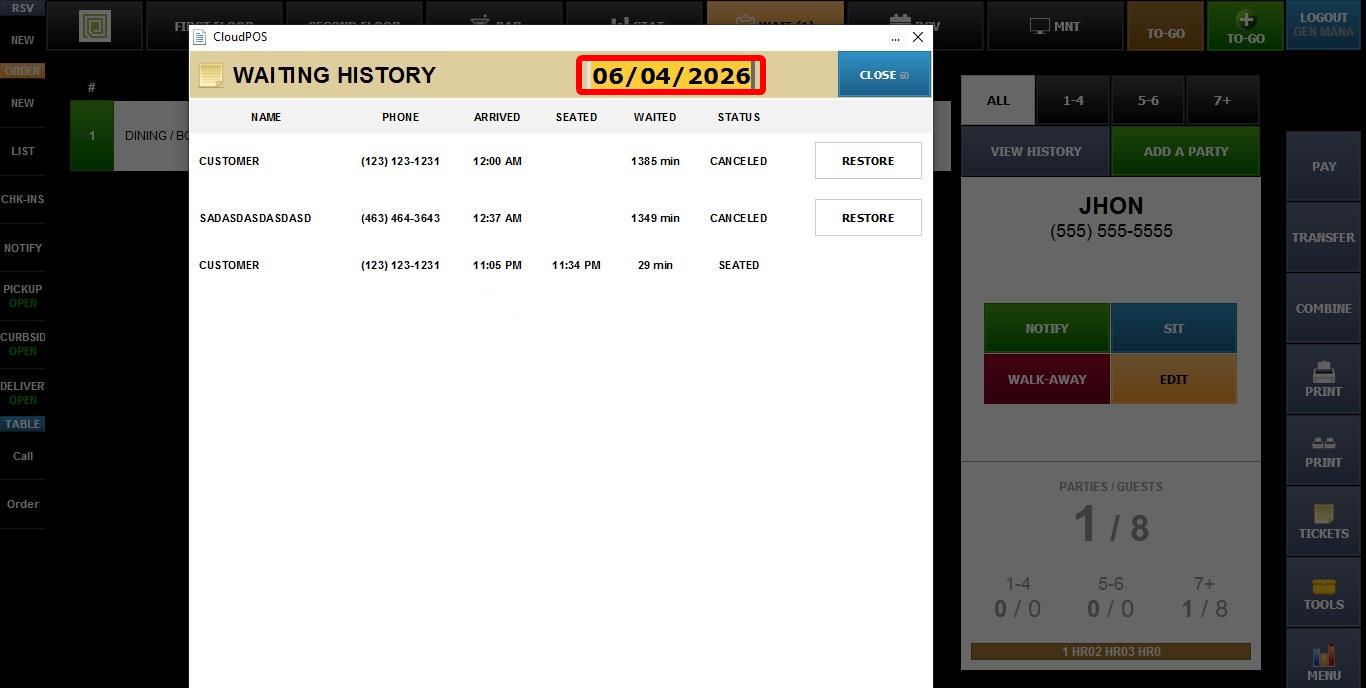
Click VIEW HISTORY to review previous waiting list activity.
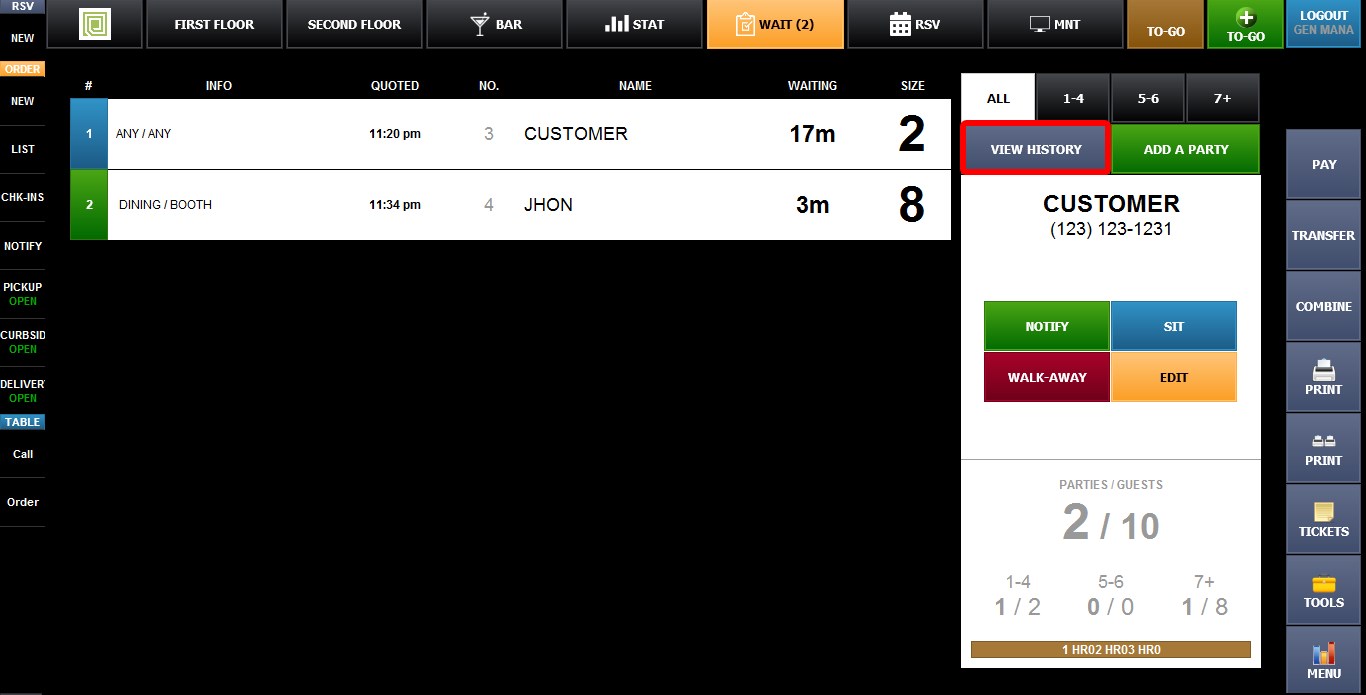
The history screen includes information such as customer name, phone number, arrival time, seating time, wait time, and status.
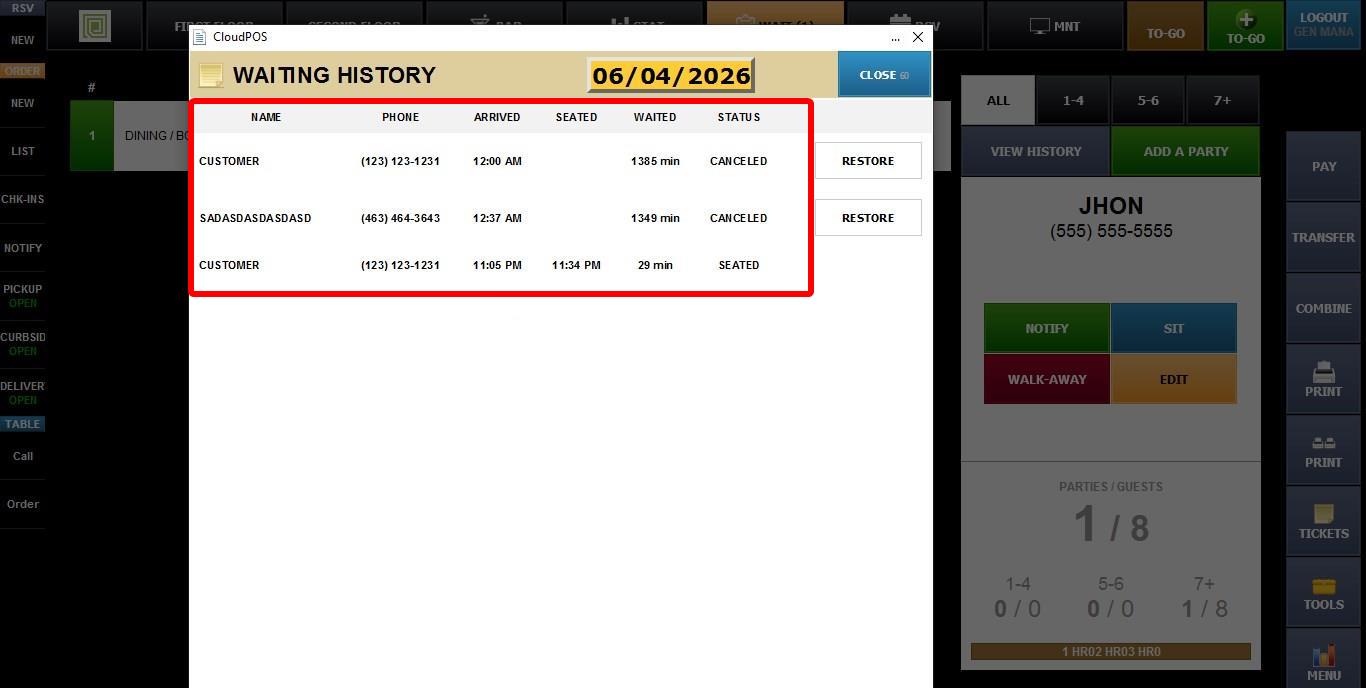
The current date is displayed at the top of the screen. Click the date to open the calendar and select a different date.
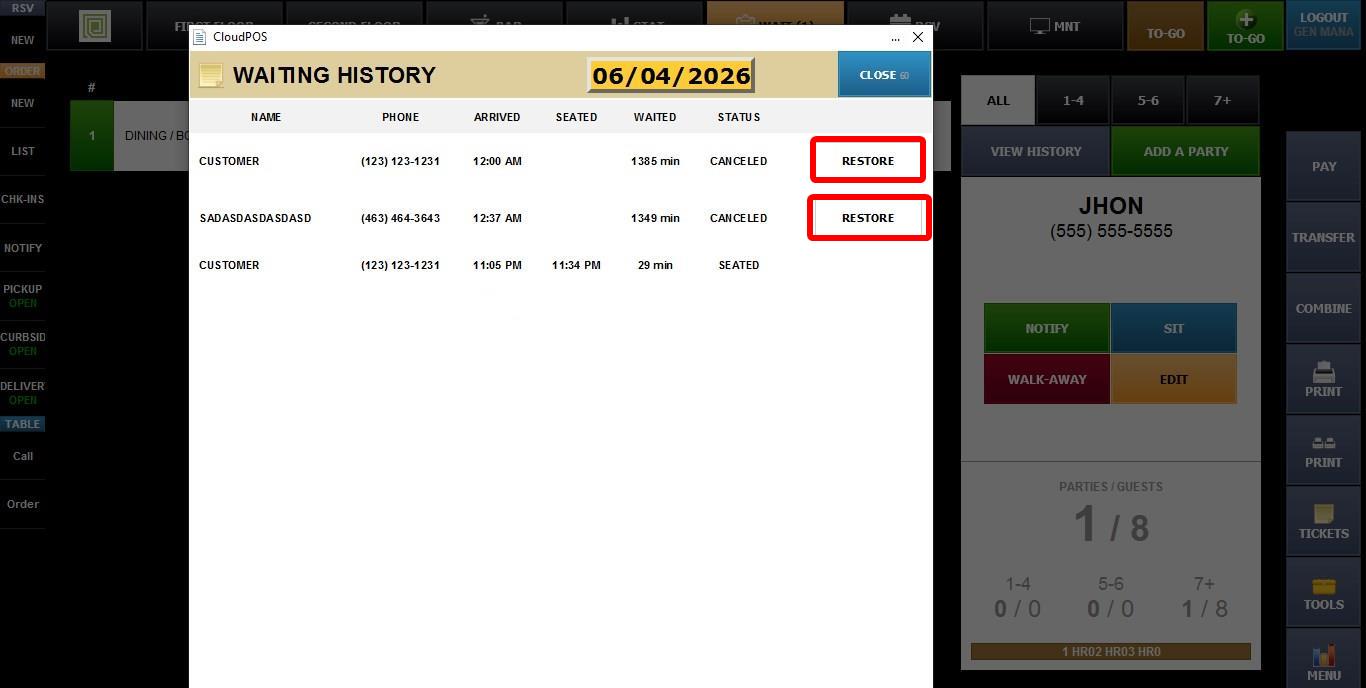
Cancelled entries can be restored by clicking RESTORE
WAITING LIST ACTIONS
ADD A PARTY: Opens a screen where a new guest can be added to the waiting list.
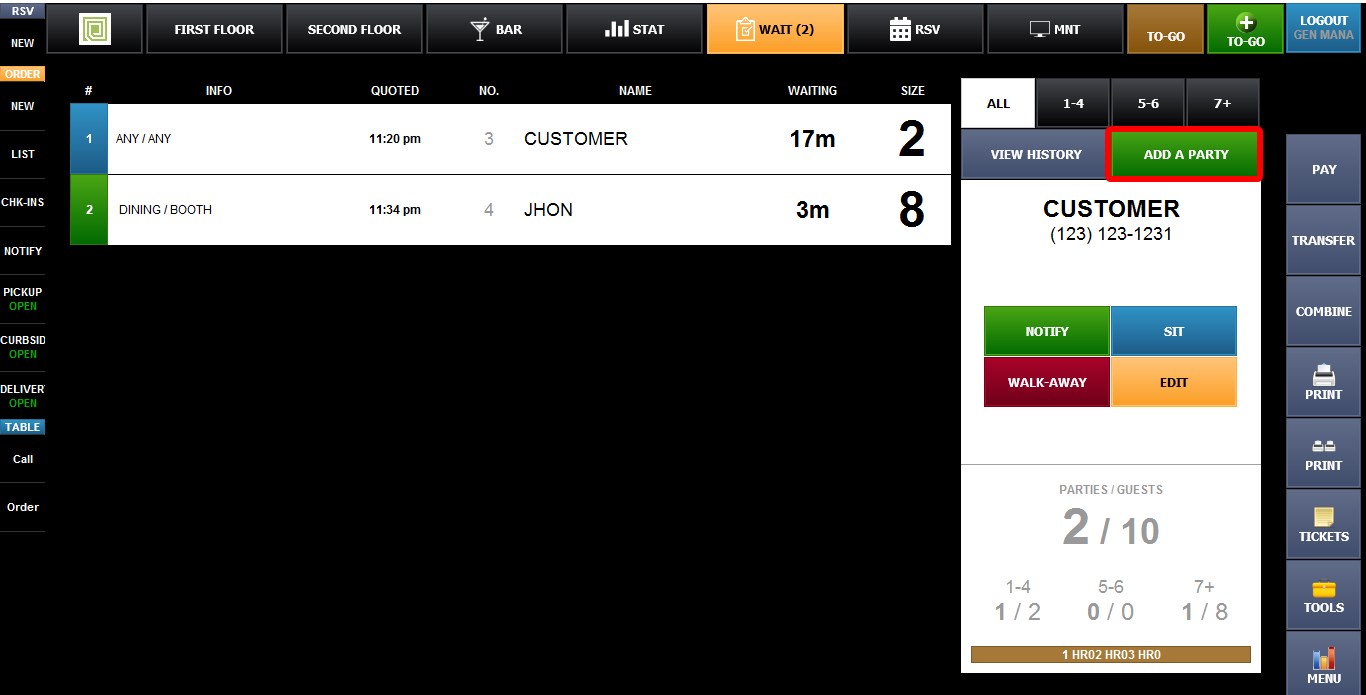
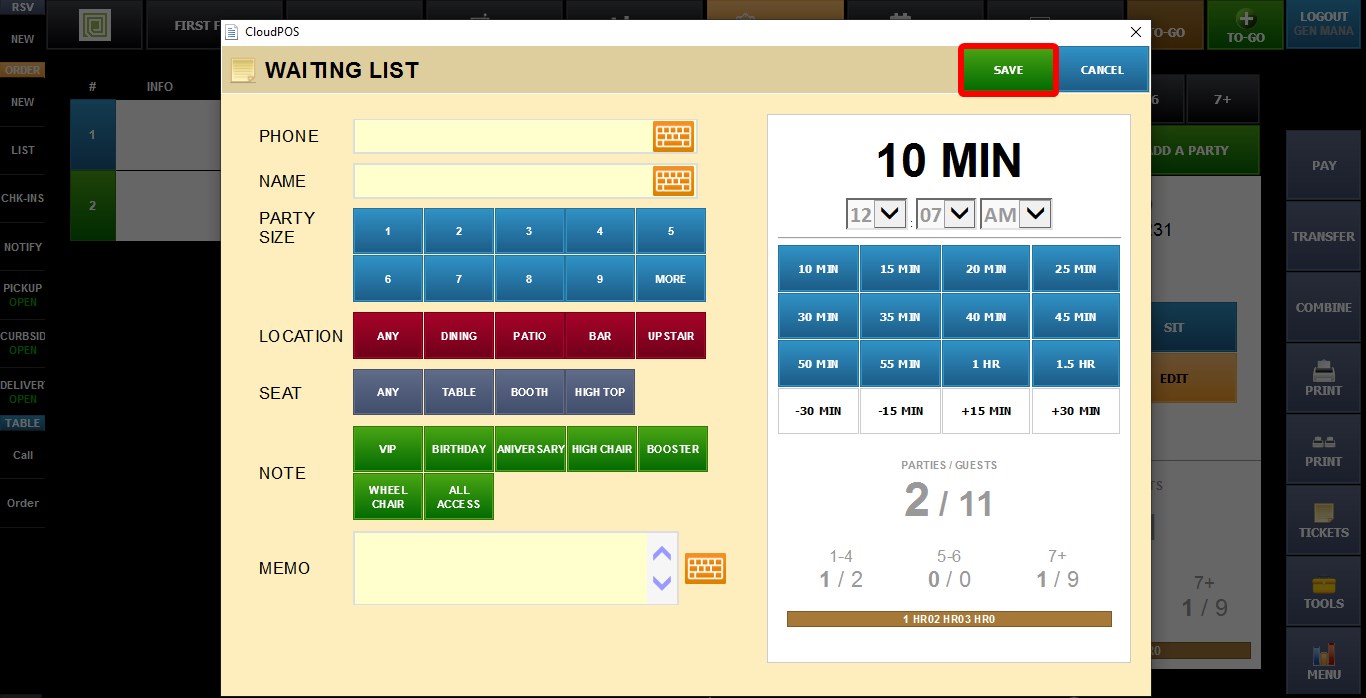
Refer to the Add a Customer to the Waiting List Guide for detailed information about customer information, seating preferences, notes, and scheduling options.
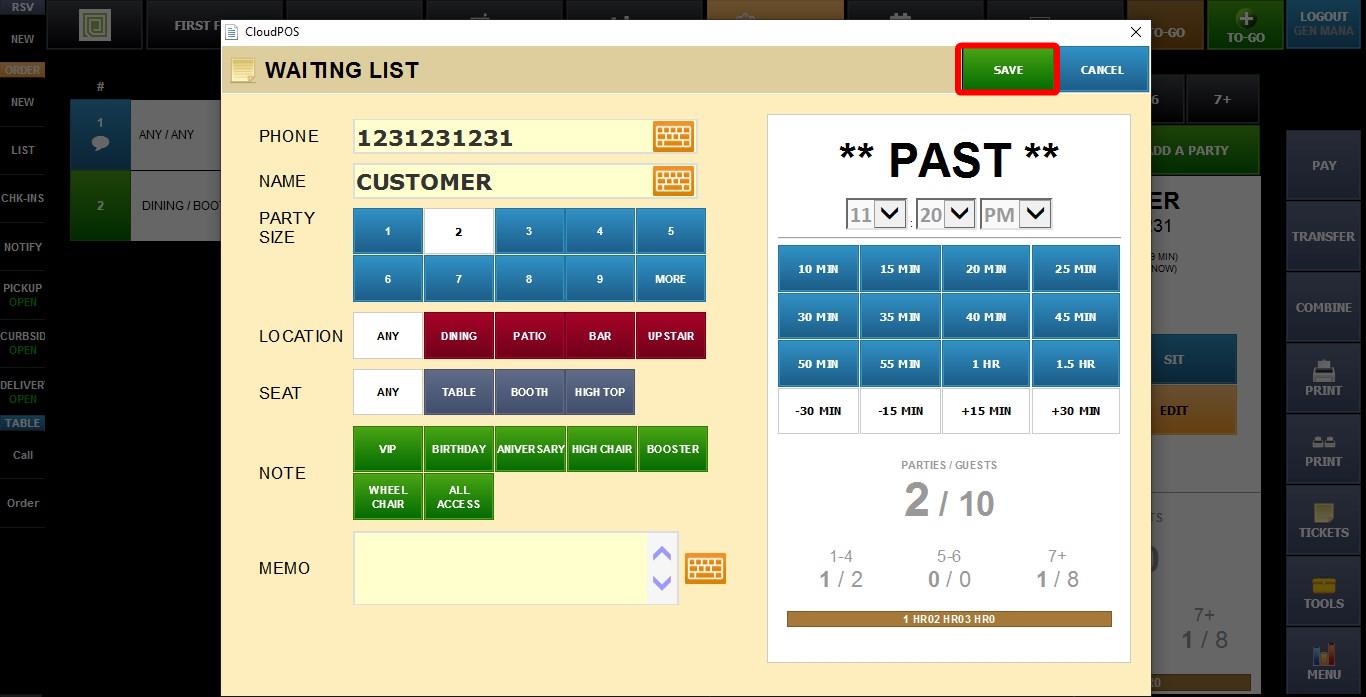
After entering the required information, click SAVE.
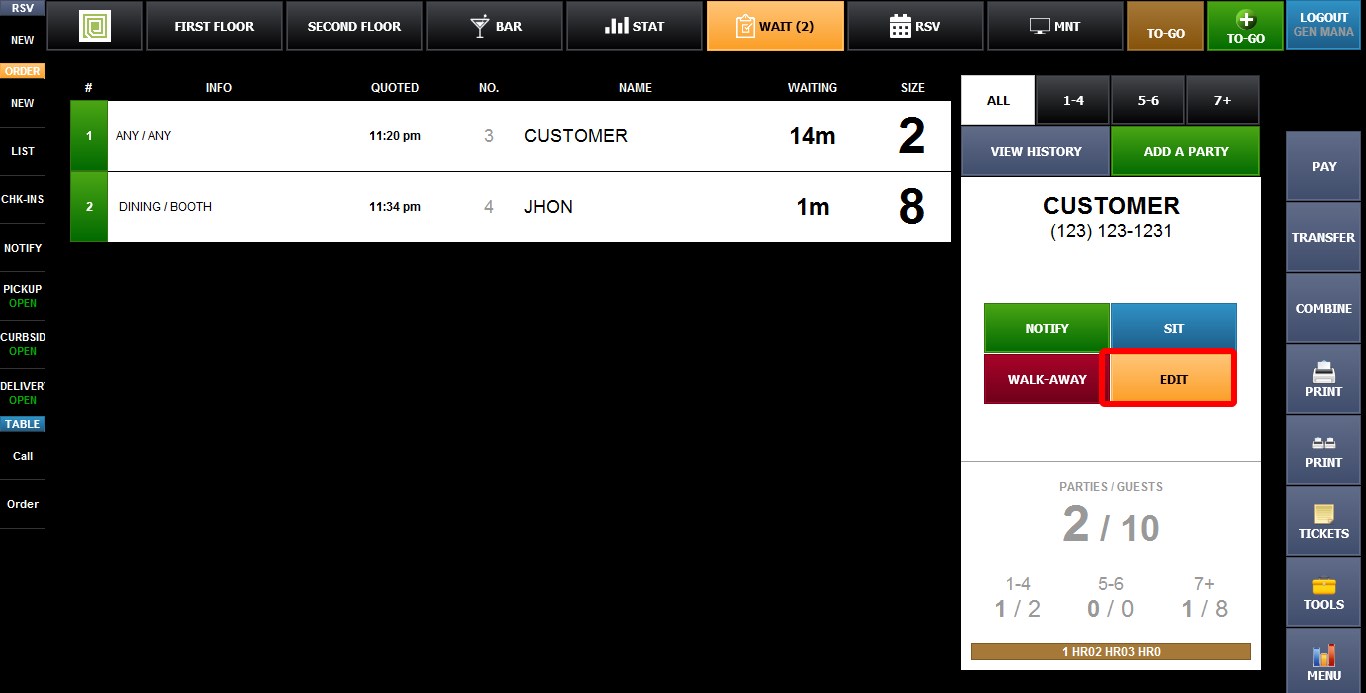
EDIT: Opens the guest entry screen for the selected party, allowing existing information to be modified.
Click SAVE when finished editing.
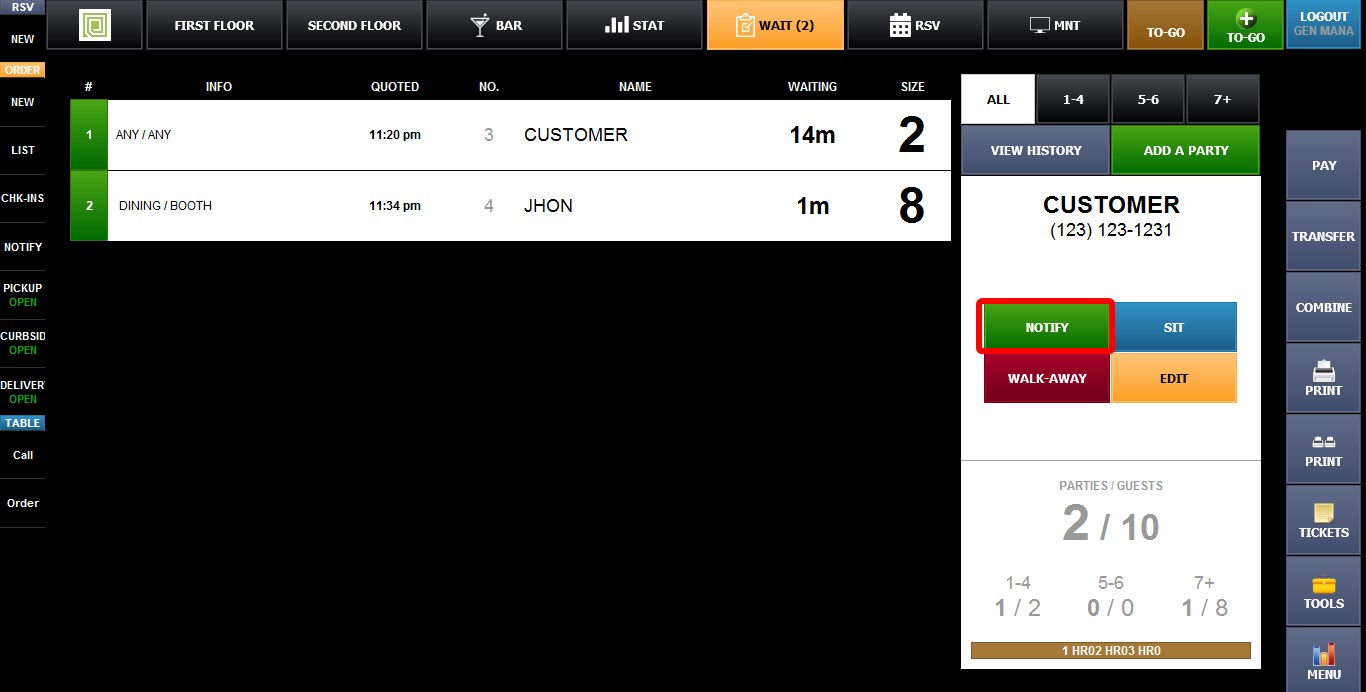
NOTIFY: Sends a notification message informing the customer that their table is ready.
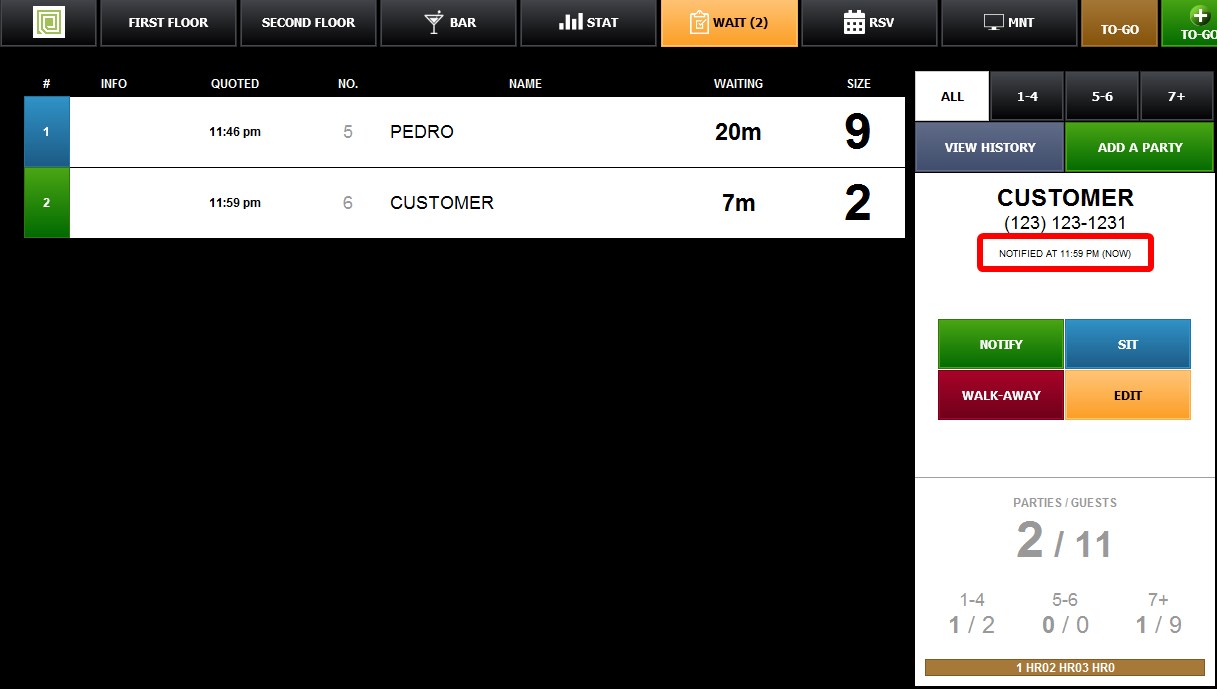
After the notification is sent, the waiting list entry will display the time the notification was delivered.
Hint: Refer to the Host Settings Guide to customize the notification message.
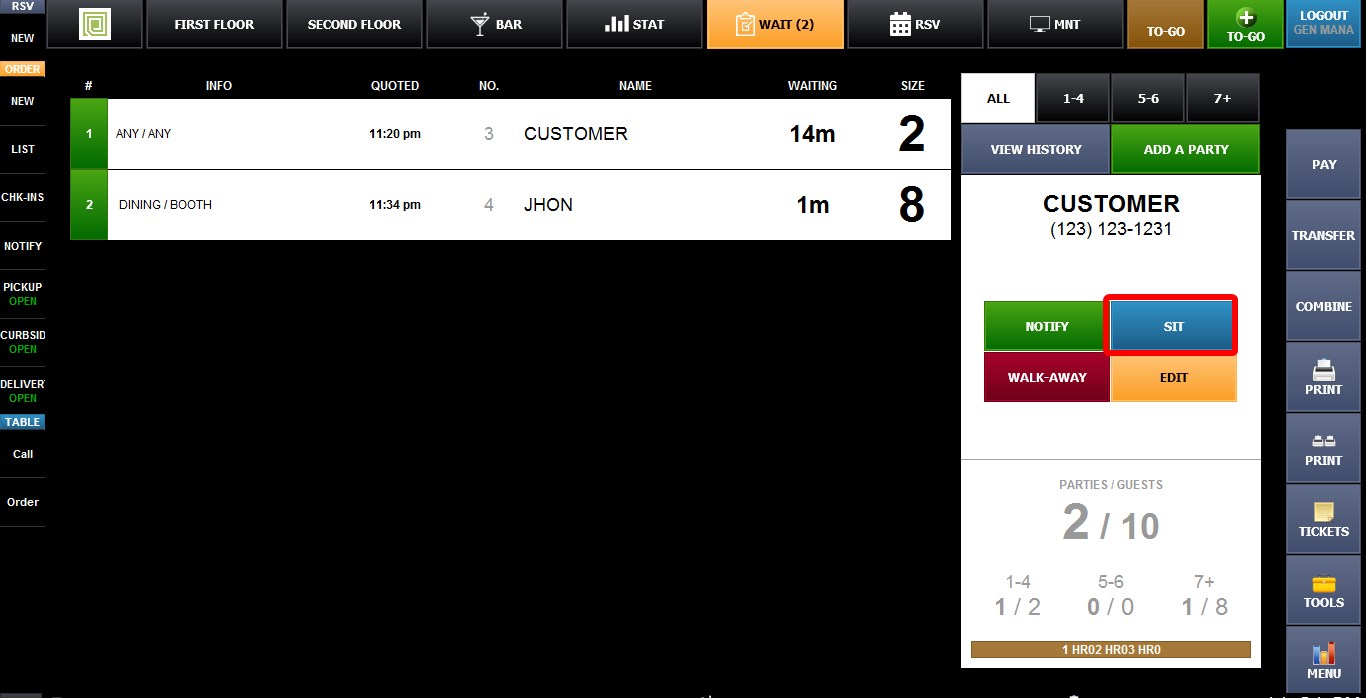
SIT: Seats the selected party. You will be prompted to select a table in the table map. Once seated, the party will be removed from the waiting list.
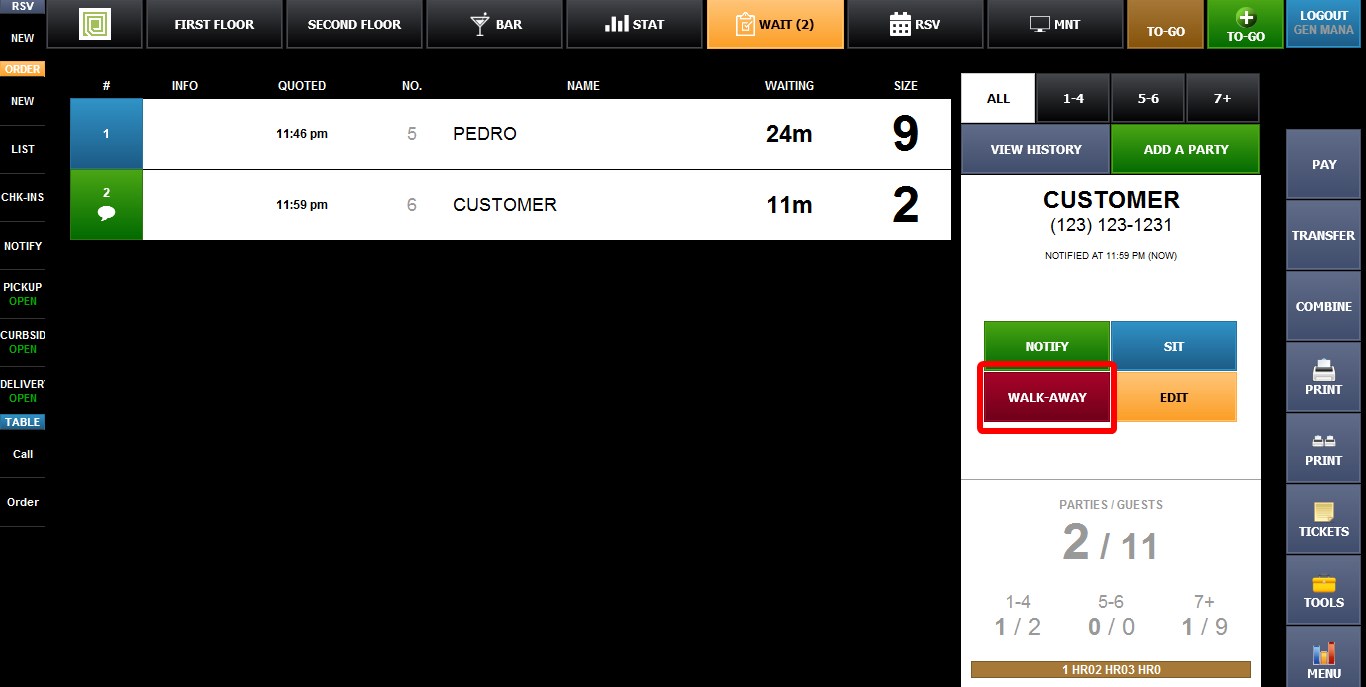
WALK AWAY: Marks the party as cancelled or no-show and removes them from the active waiting list.
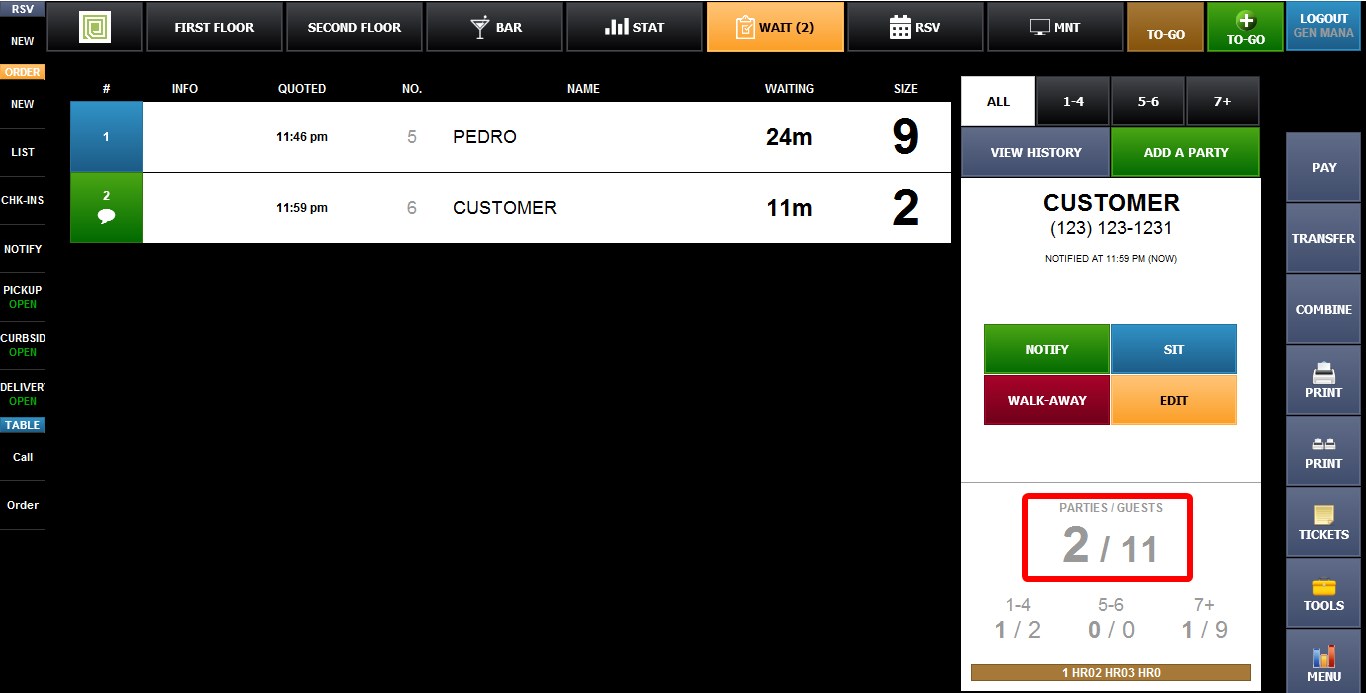
At the bottom of the screen, waiting list statistics are displayed.
WAITING LIST STATISTICS
PARTIES / GUEST: Displays the total number of waiting parties and the combined total number of guests. (e.g. 2/10 means 2 parties with a combined total of 10 guests.)
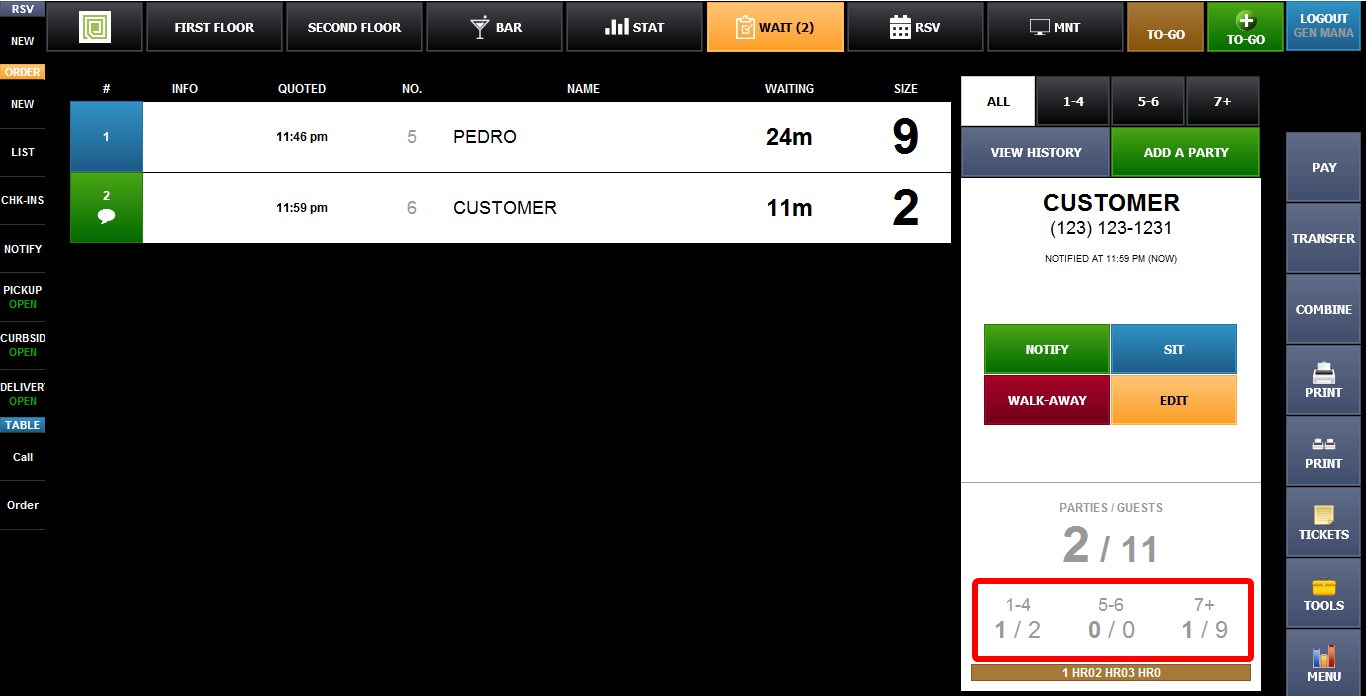
Displays the total number of parties and total number of guests currently waiting for the 1-4, 5-6, and 7+ party size groups.
RESULT:
After a party has been seated, the assigned table will appear as a blue table on the Sales Screen table map.
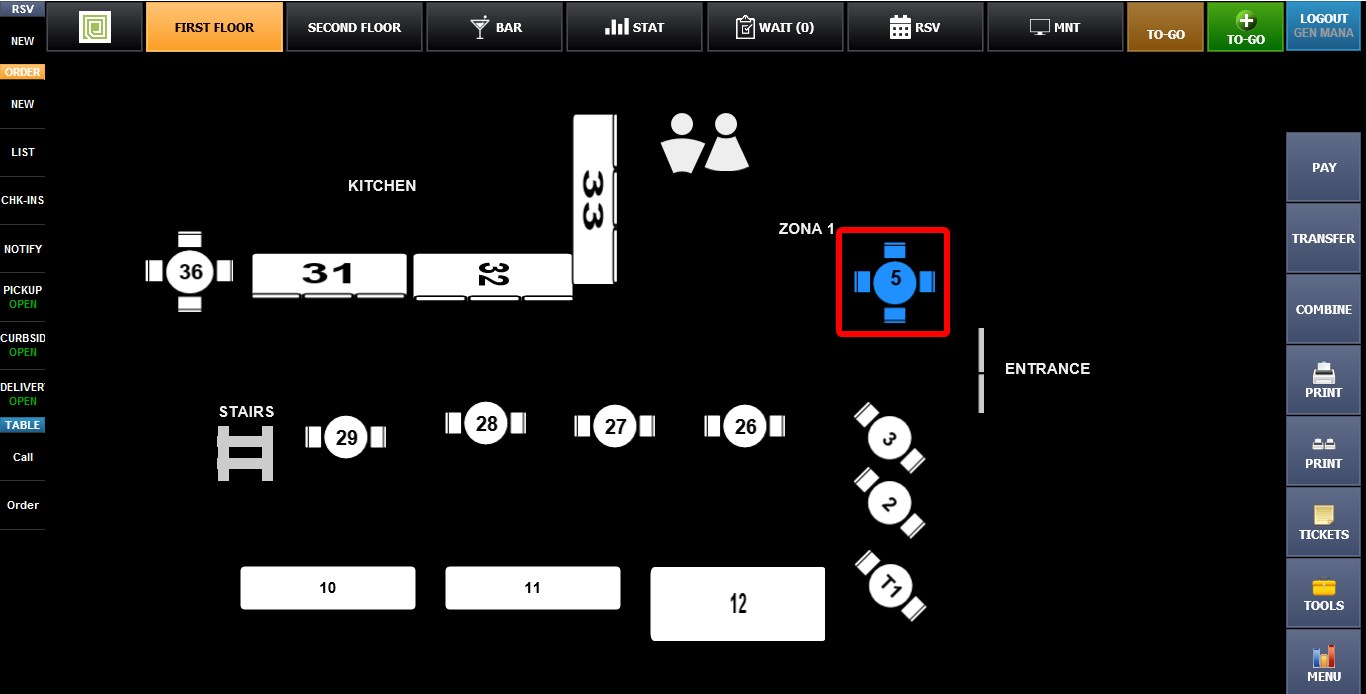
The table will display the customer information entered through the waiting list, including: the customer name, phone number, and party size.