How to Create Menu
This section covers the initial steps required to create a new menu for your business. It will guide you through the basic setup needed for your menu to be created, as well as the main buttons that will help you throughout the entire menu creation process.
Main Screen> MENU> SETTINGS> REPOSITORY> MENU
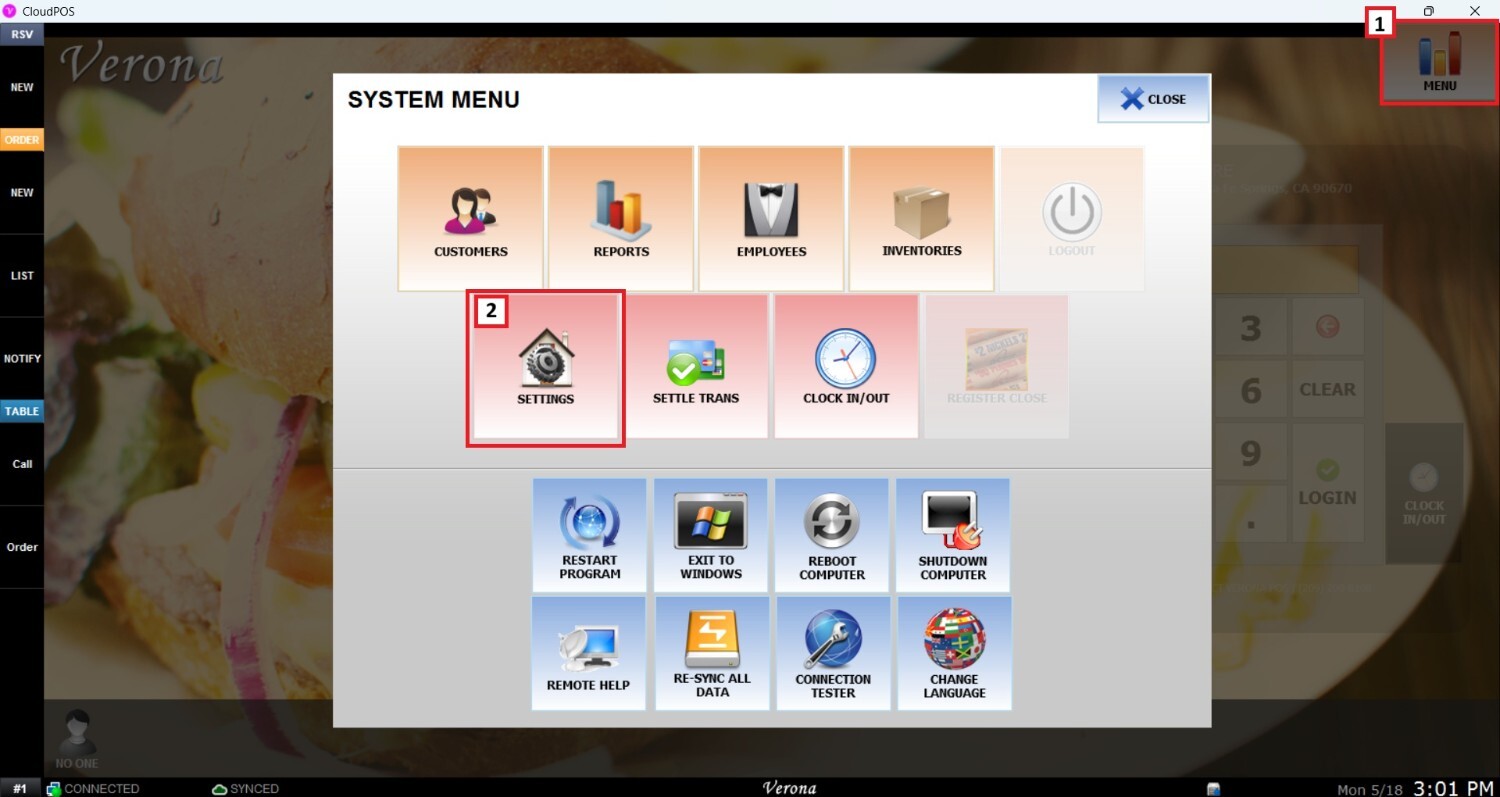
Click on MENU, then select SETTINGS.
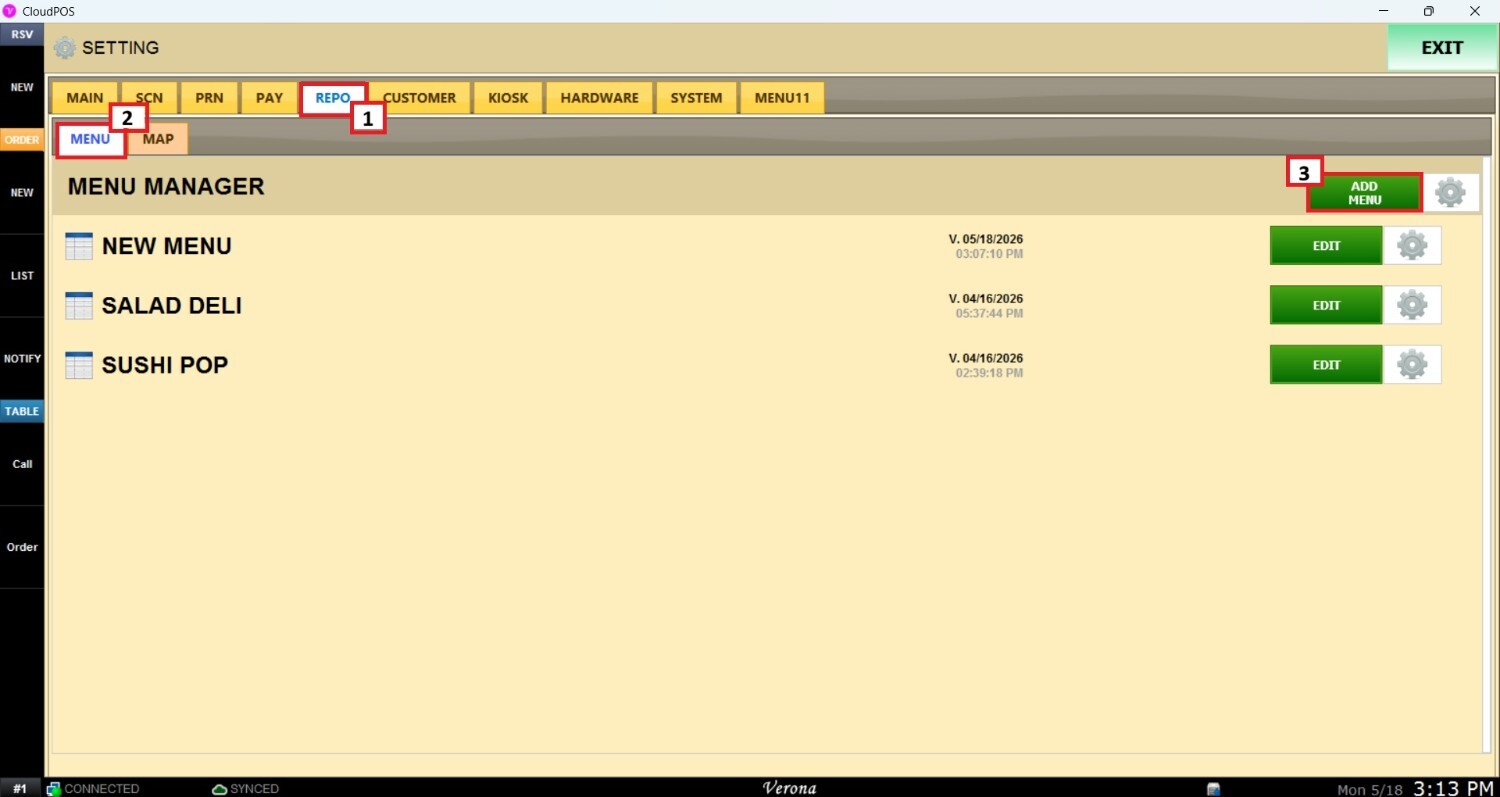
Once the setting panel is opened, select REPO (Repository), MENU and ADD MENU to create a menu.
Fill out the Name field with the name of the Menu in the top middle.
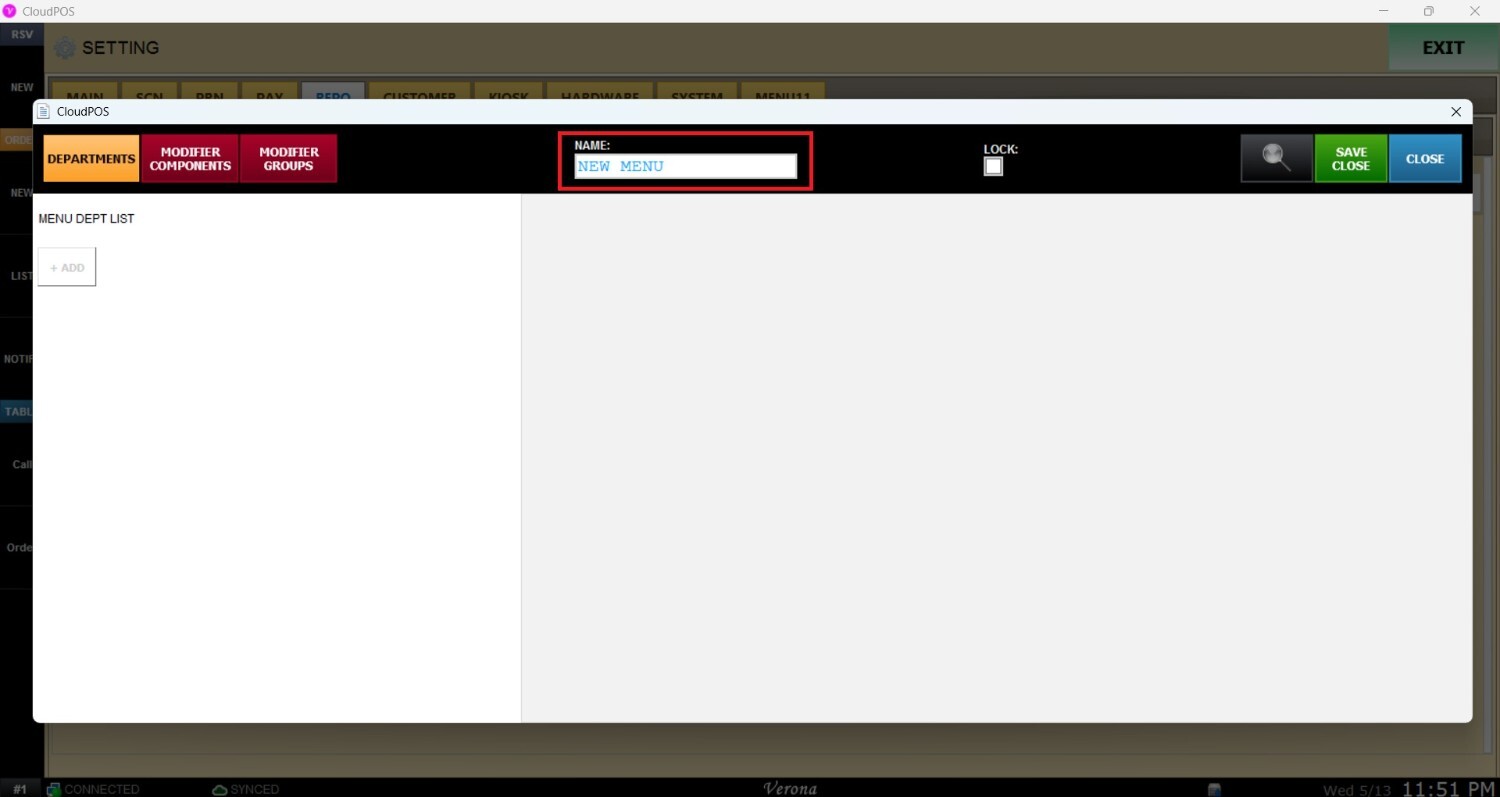
In the upper-right corner, DEPARTMENTS, MODIFIER COMPONENTS, and MODIFIER GROUPS can be chosen to set up. Please refer to Departments and Modifier Structure to learn how to create them.
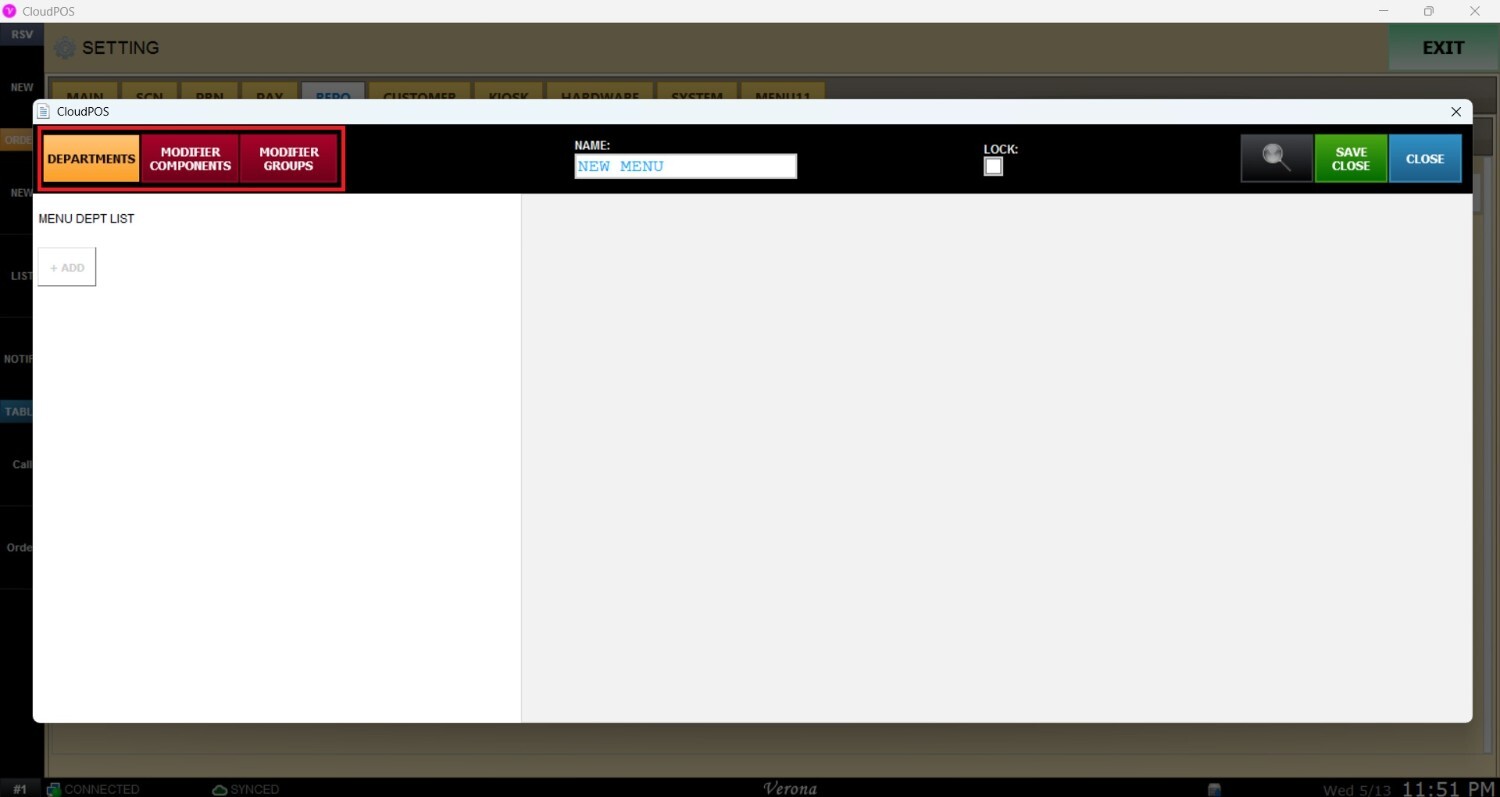
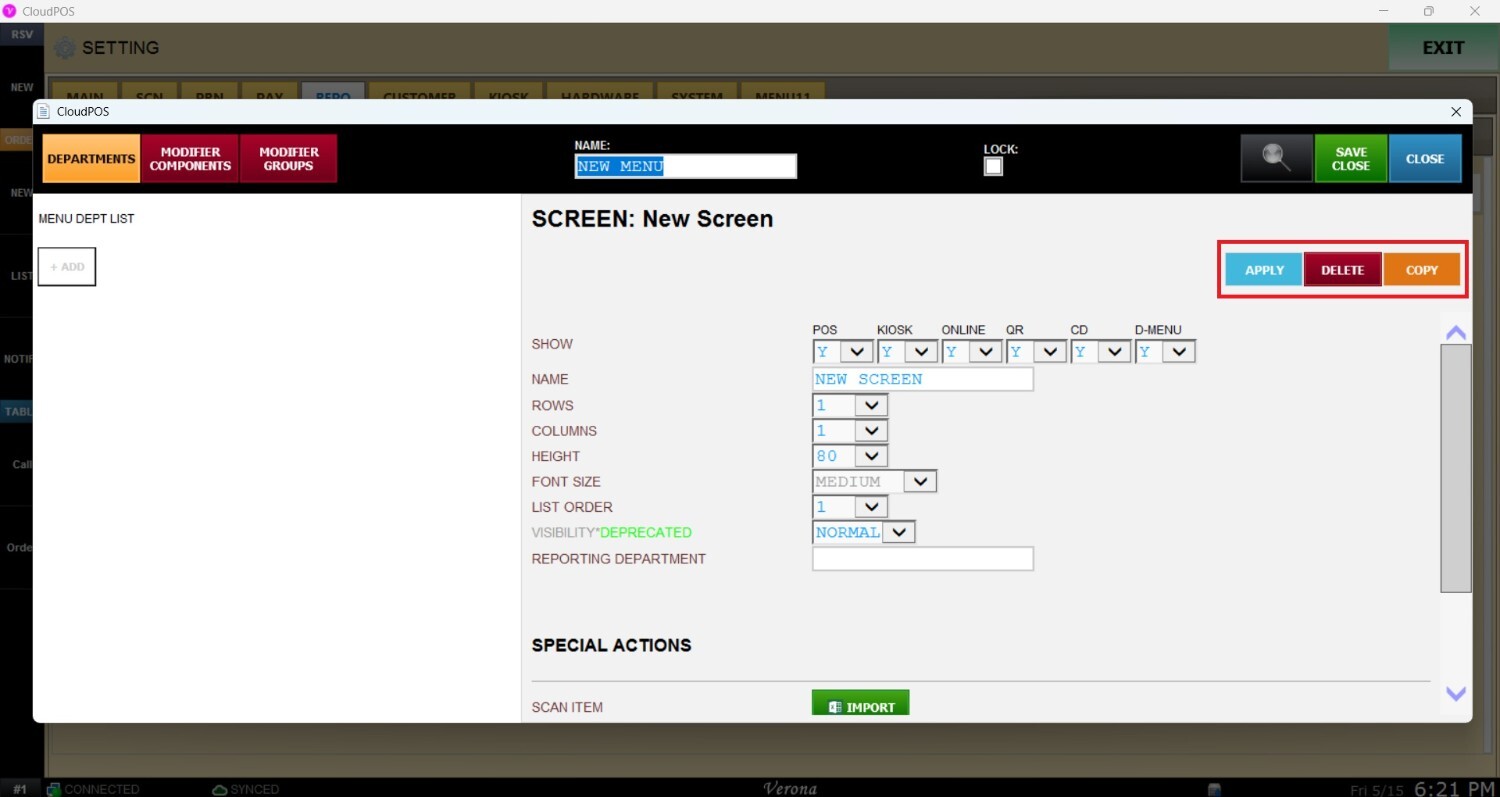
These three options have an +ADD button right below them. When the +ADD button is clicked, a new setup window will open. This window is the template for all the settings that are made in the Menu.
.jpeg)

 In the upper-right corner of the window, there are three buttons:
1. APPLY: is clicked to confirm all the settings on the menu.
2. DELETE: is used to delete the selected ITEM, CATEGORY, DEPARTMENT, or MODIFIER.
3. COPY: is used to create a copy of the selected ITEM, CATEGORY, DEPARTMENT, or MODIFIER.